Valentine's Day Cookies

Love is in the air.....and Valentine's day is fast approaching :)

I have decided to create some delicious Valentine's day cookies for all you love birds out there!

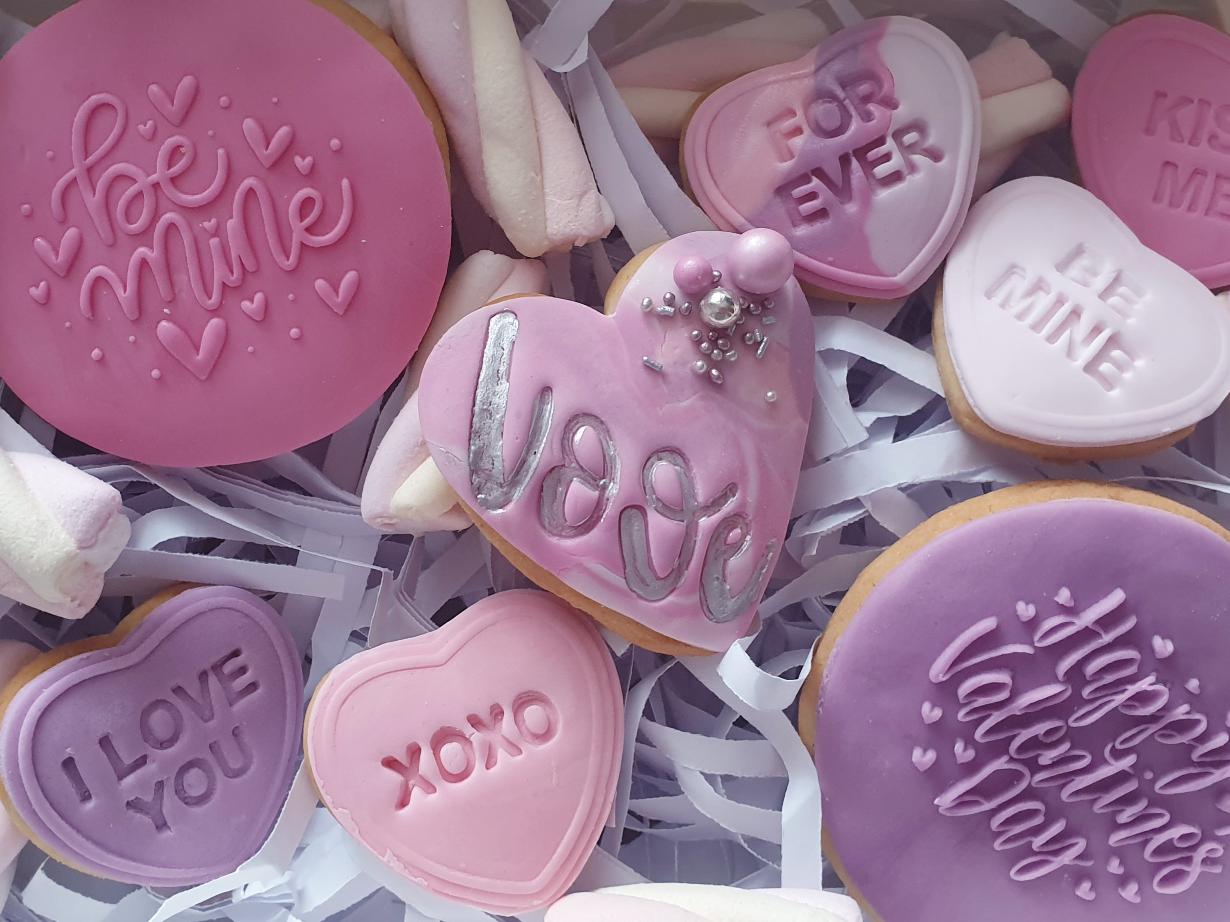
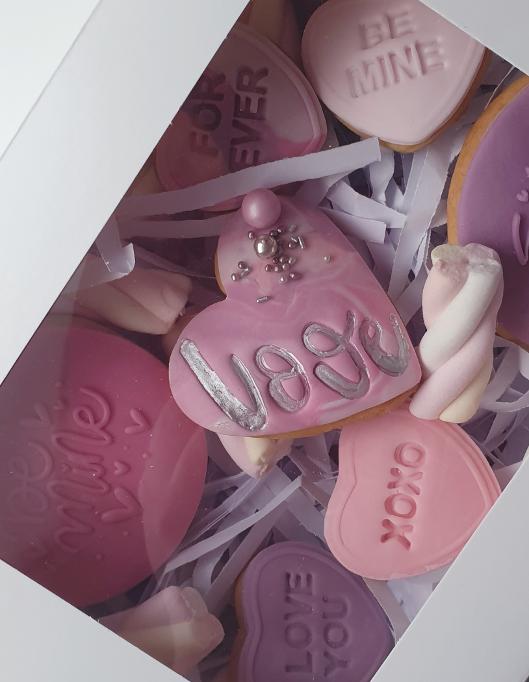
They are vanilla flavoured, and are covered in  pretty shades of pink and purple fondant.

I have also used my embossing set and fondant stamps to create some elegant messages on each cookie. This definitely gives them the wow factor :)

Have a look, which style is your favourite?

What you will need~

  • A Food processor (or a large bowl and electric mixer)
  • A Spatula
  • A baking tray
  • A rolling pin
  • Greaseproof paper
  • A Scissors
  • Cookie cutters (Round and heart shaped)
  • Coloured Fondant (Dark pink, light pink, baby pink and purple)
  • Embossers / Fondant stamps ~ Valentine's themed
  • Small cake brush
  • Edible paint (Silver)
  • Assorted Sprinkles 


Ingredients~ (Makes approx. 12 medium cookies)

  • 200 gm of Plain Flour 
  • 85 gm of Icing Sugar
  • 1/2 Teaspoon of Baking Powder
  • 110 gm Salted Butter
  • Half a whisked  Egg (Free Range - because we love chickens)
  • 1 Teaspoon of Vanilla Extract

Cookie Dough ~

  • In your food processor (or bowl) mix in your icing sugar and your butter.
  • Once they have come together, mix in your egg and vanilla extract.
  • Sift in your flour and baking powder, and mix on high until fully combined.
  • Leave the dough to the side for around 40 minutes until it has firmed up.
  • You will need to cut a large segment of greaseproof paper.
  • Pop some cookie dough on the sheet and fold the sheet over. Use your rolling pin and roll out the dough evenly. Continue this process until all of your cookie dough is used up.
  • Place the sheets of dough into the fridge for a few hours in order to firm them up more. This will also prevent the cookies from spreading while they are baking.
  • Take the dough out of the fridge and cut out your shapes with the cookie cutters. (Lightly dust your cutters with flour in order prevent them from sticking)
  • Place your cut outs onto your baking tray lined with paper. Pop this back into your fridge again for another hour or so to firm up more.
  • Bake the cookies at 180 degrees for around 10 /12 minutes until lightly golden.
  • Take them out of the oven and let them cool completely before decorating.

Decorating with Fondant~

  • Using a rolling pin, roll out your coloured fondants as needed.
  • Using the same cookie cutters you used for cutting the cookie shapes, cut out the fondant to match each cookie accordingly.
  • Take your fondant embossing letters and place them accurately in position on the fondant. Push down gently to emboss. Continue this process for all of your cut outs.
  • Take a medium sized brush and cover a cookie with some edible glue.
  • Gently take the piece of embossed fondant and place it on the relevant cookie. Push down gently to secure. Leave to the side and continue this process until all of the cookies are covered in fondant.
  • Using the small cake brush, colour in the embossed letters with different edible paint colours, and decorate with sprinkles for a bling effect.

Happy Baking!....Mwah!  xXxXxXxXx

© Copyright The Happy Spatula .ie