
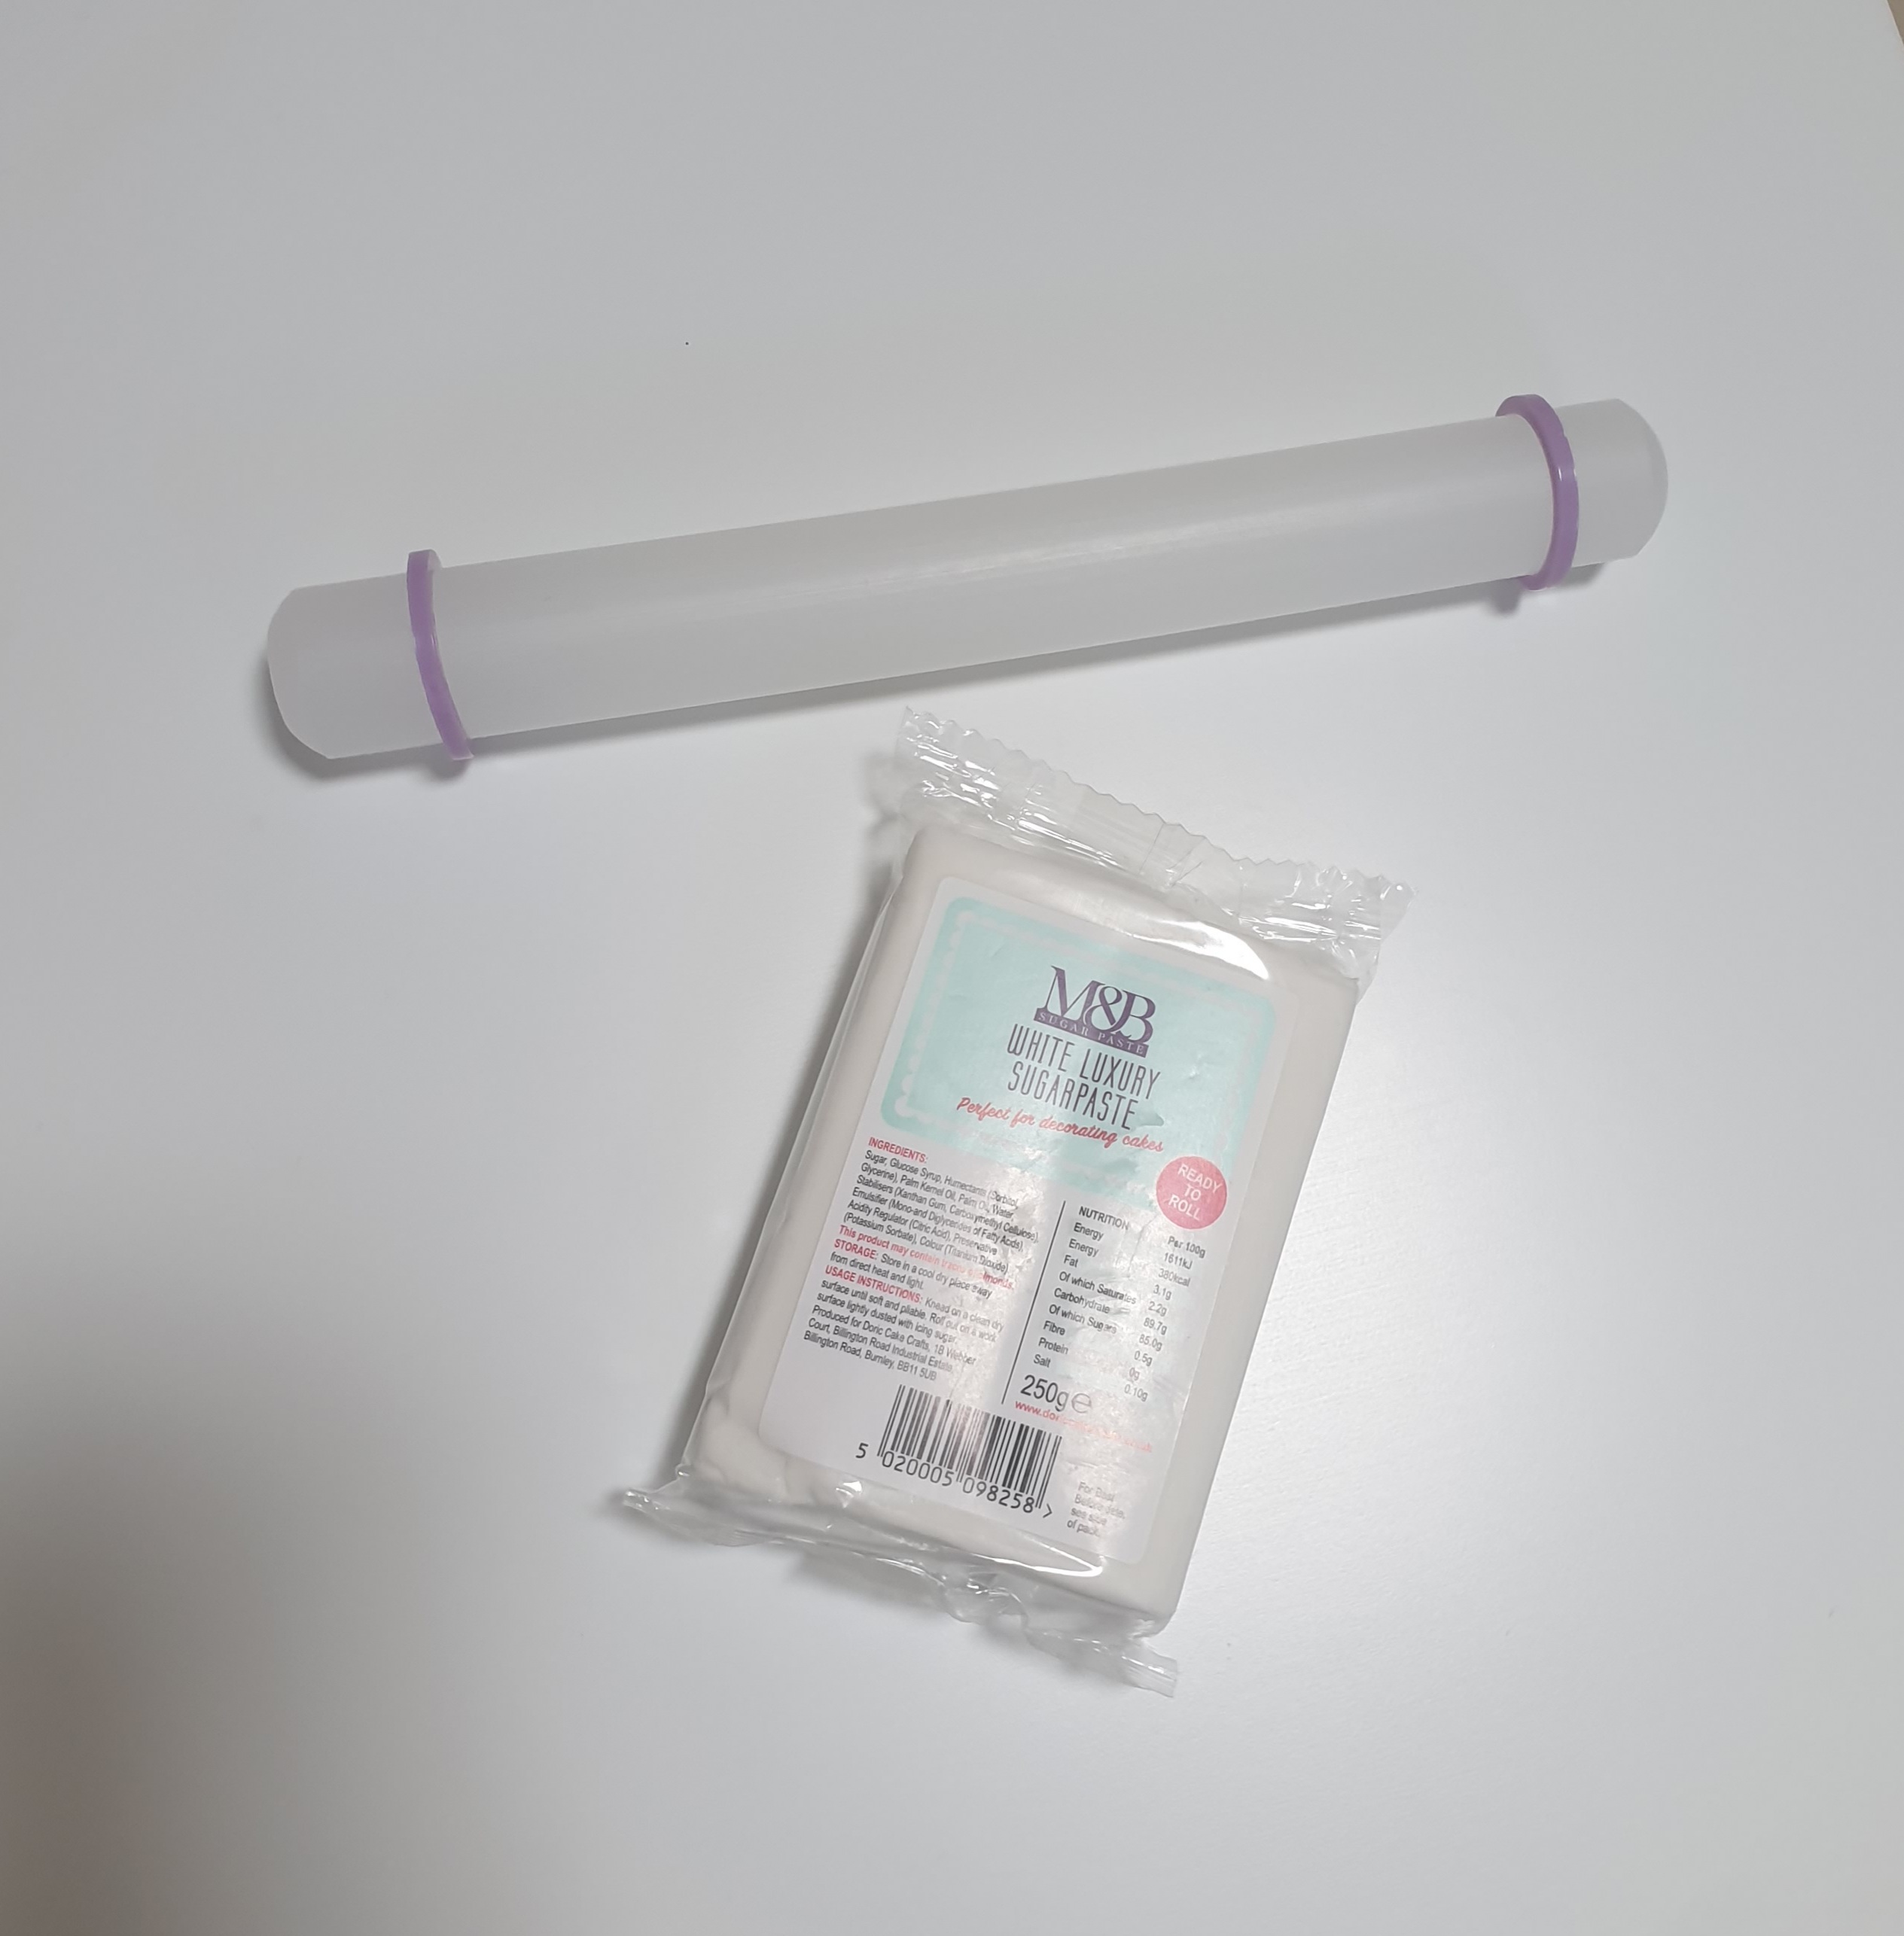
What you will need ~
- Food colouring (if you wish to create your own coloured fondant)
- Gloves
- Fondant ( White, Pink, Blue, Black)
- Serrated fondant tool
- Cornflour
- Rolling Pin
- Knife
- Medium size round shape cookie cutter
- Round fondant plungers
- Cake Brushes
- Water
- Palette Knife
- Small mixing bowl
- Small cupcake boards
- Buttercream scraper
- Cake smoothers
- Fondant Mould - border pattern
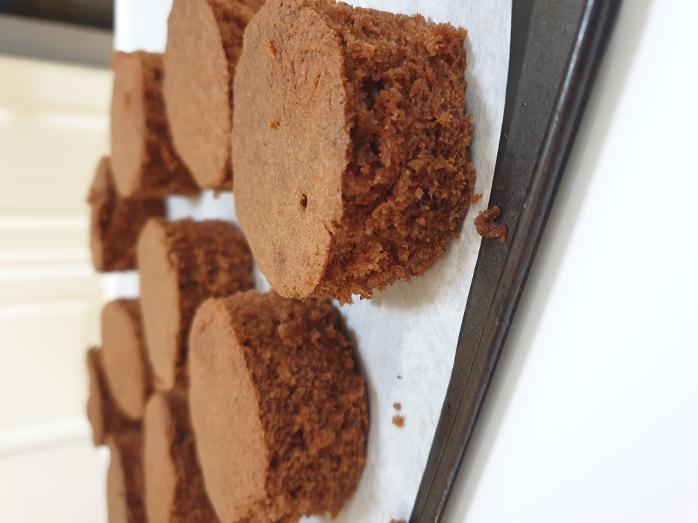
Step 1. Create your Chocolate Sponge Cake Sheet ~
Click Button for full Recipe
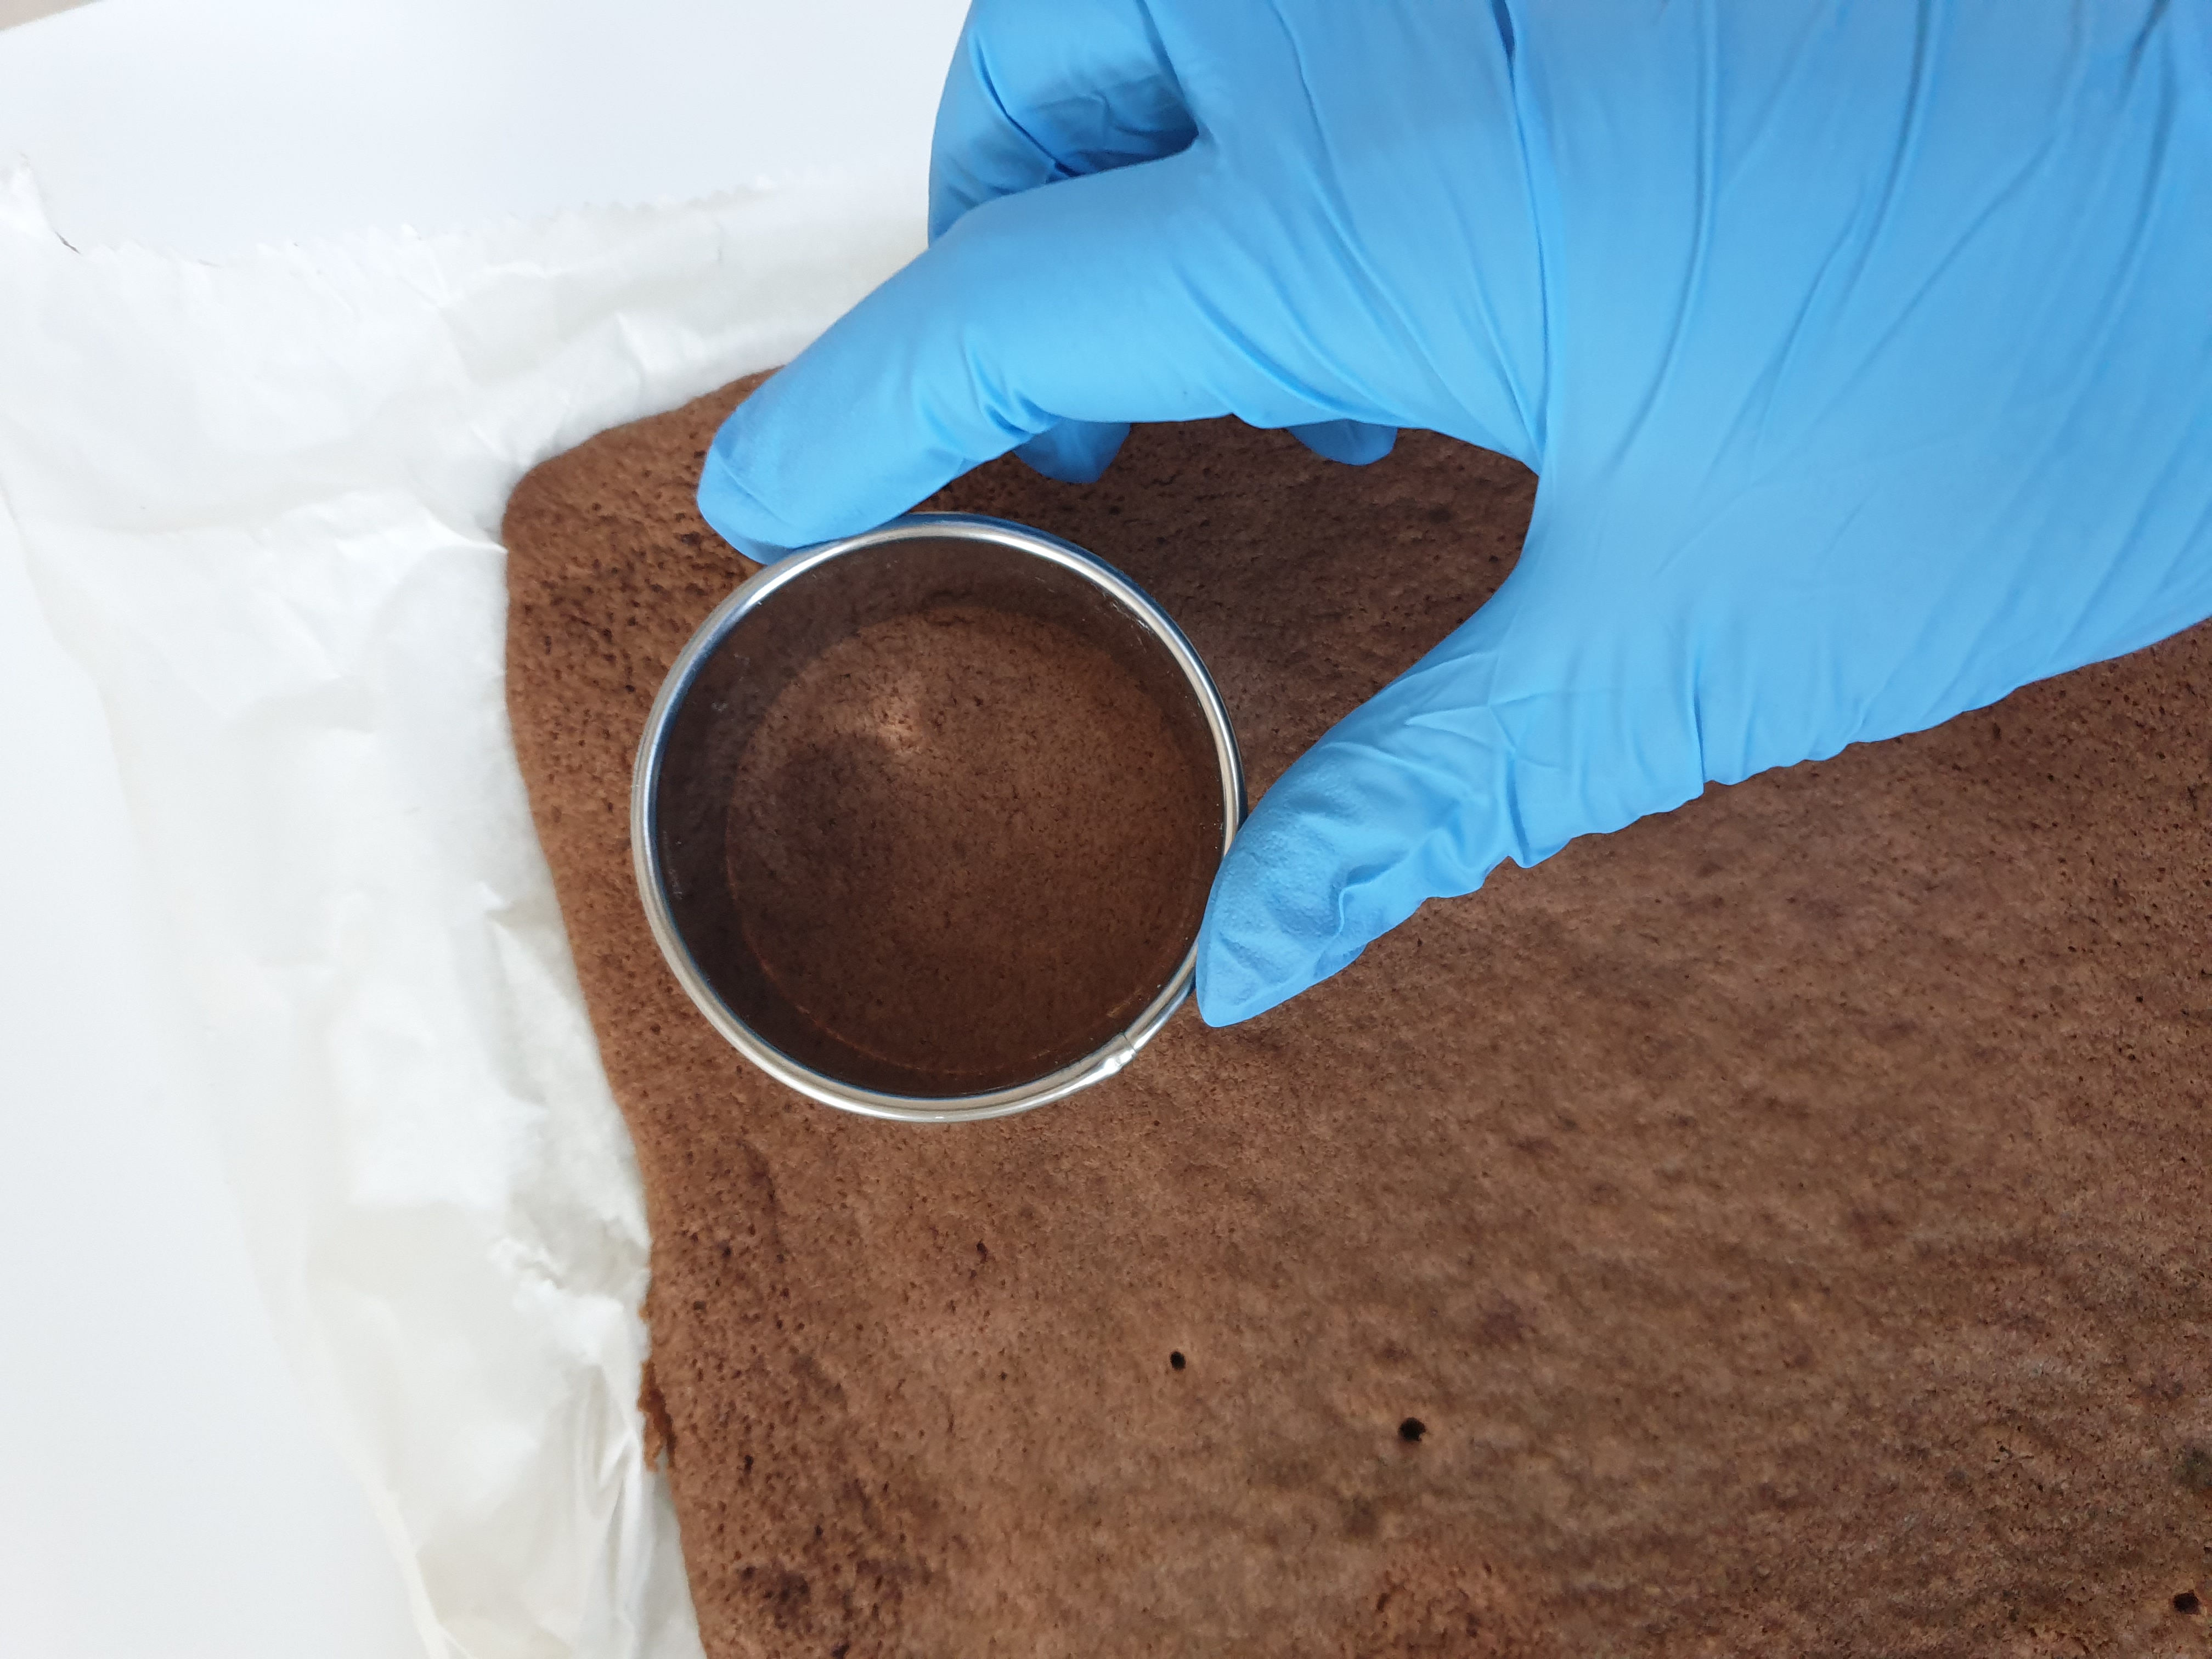
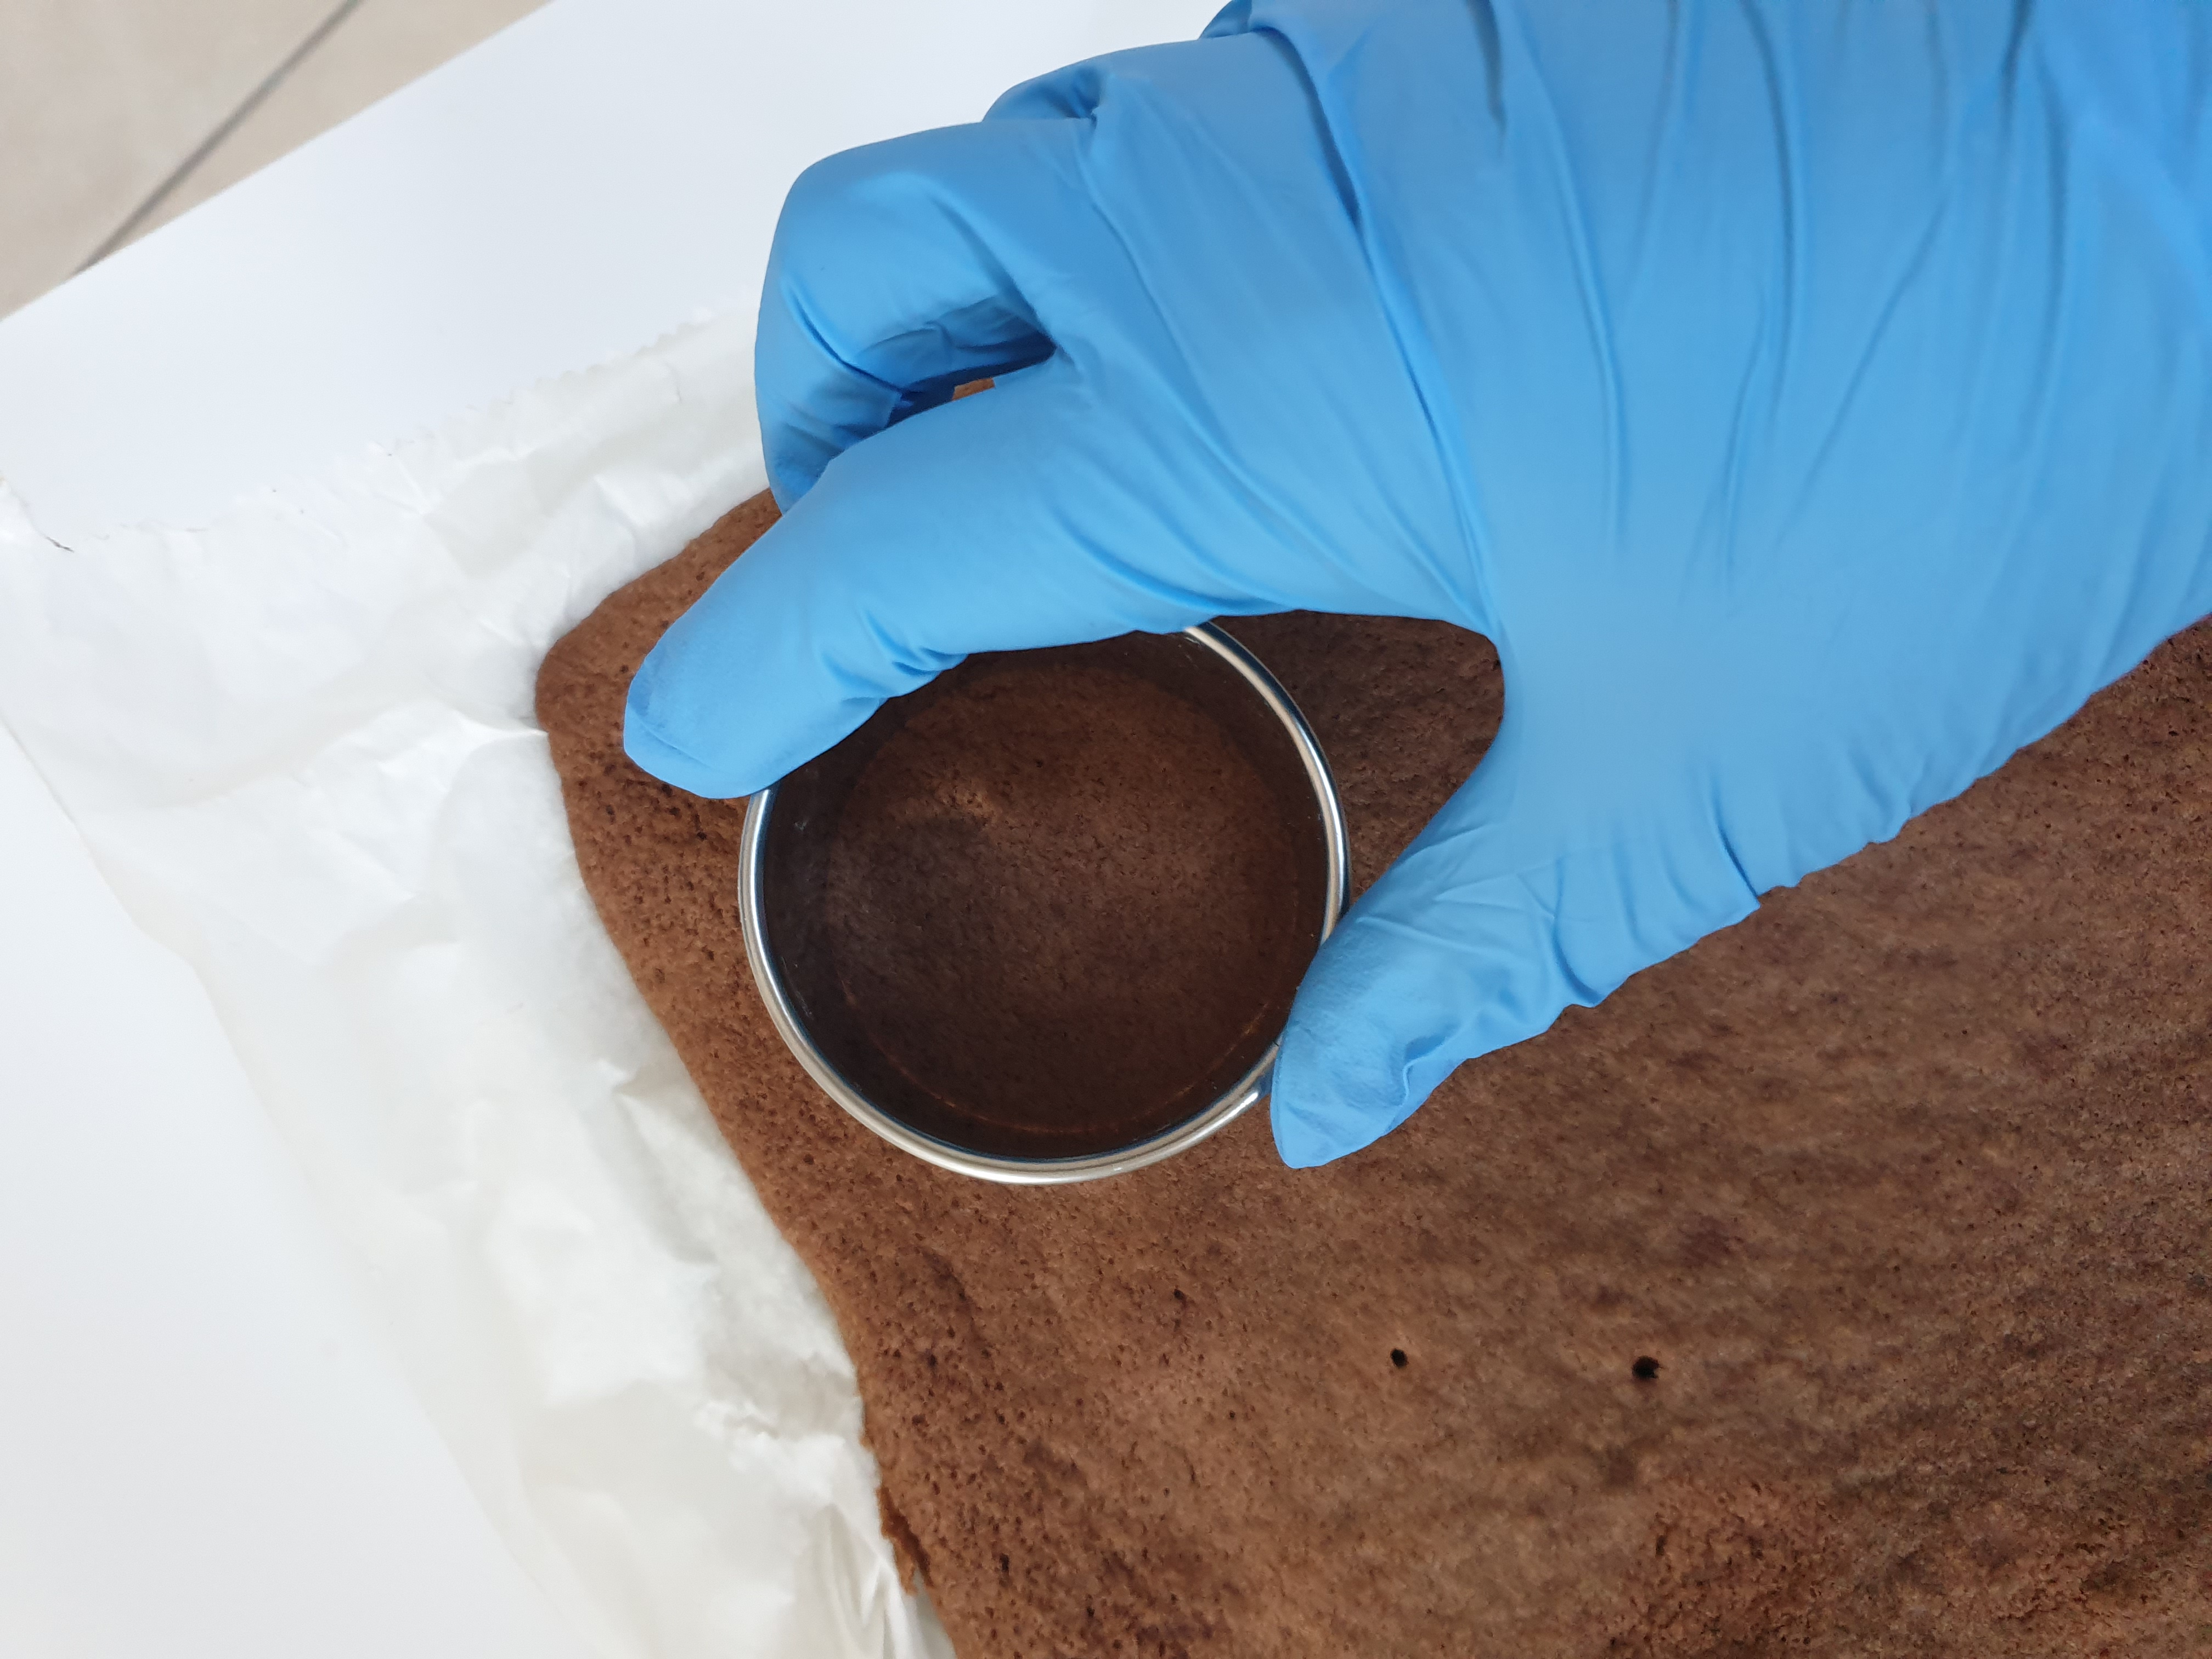
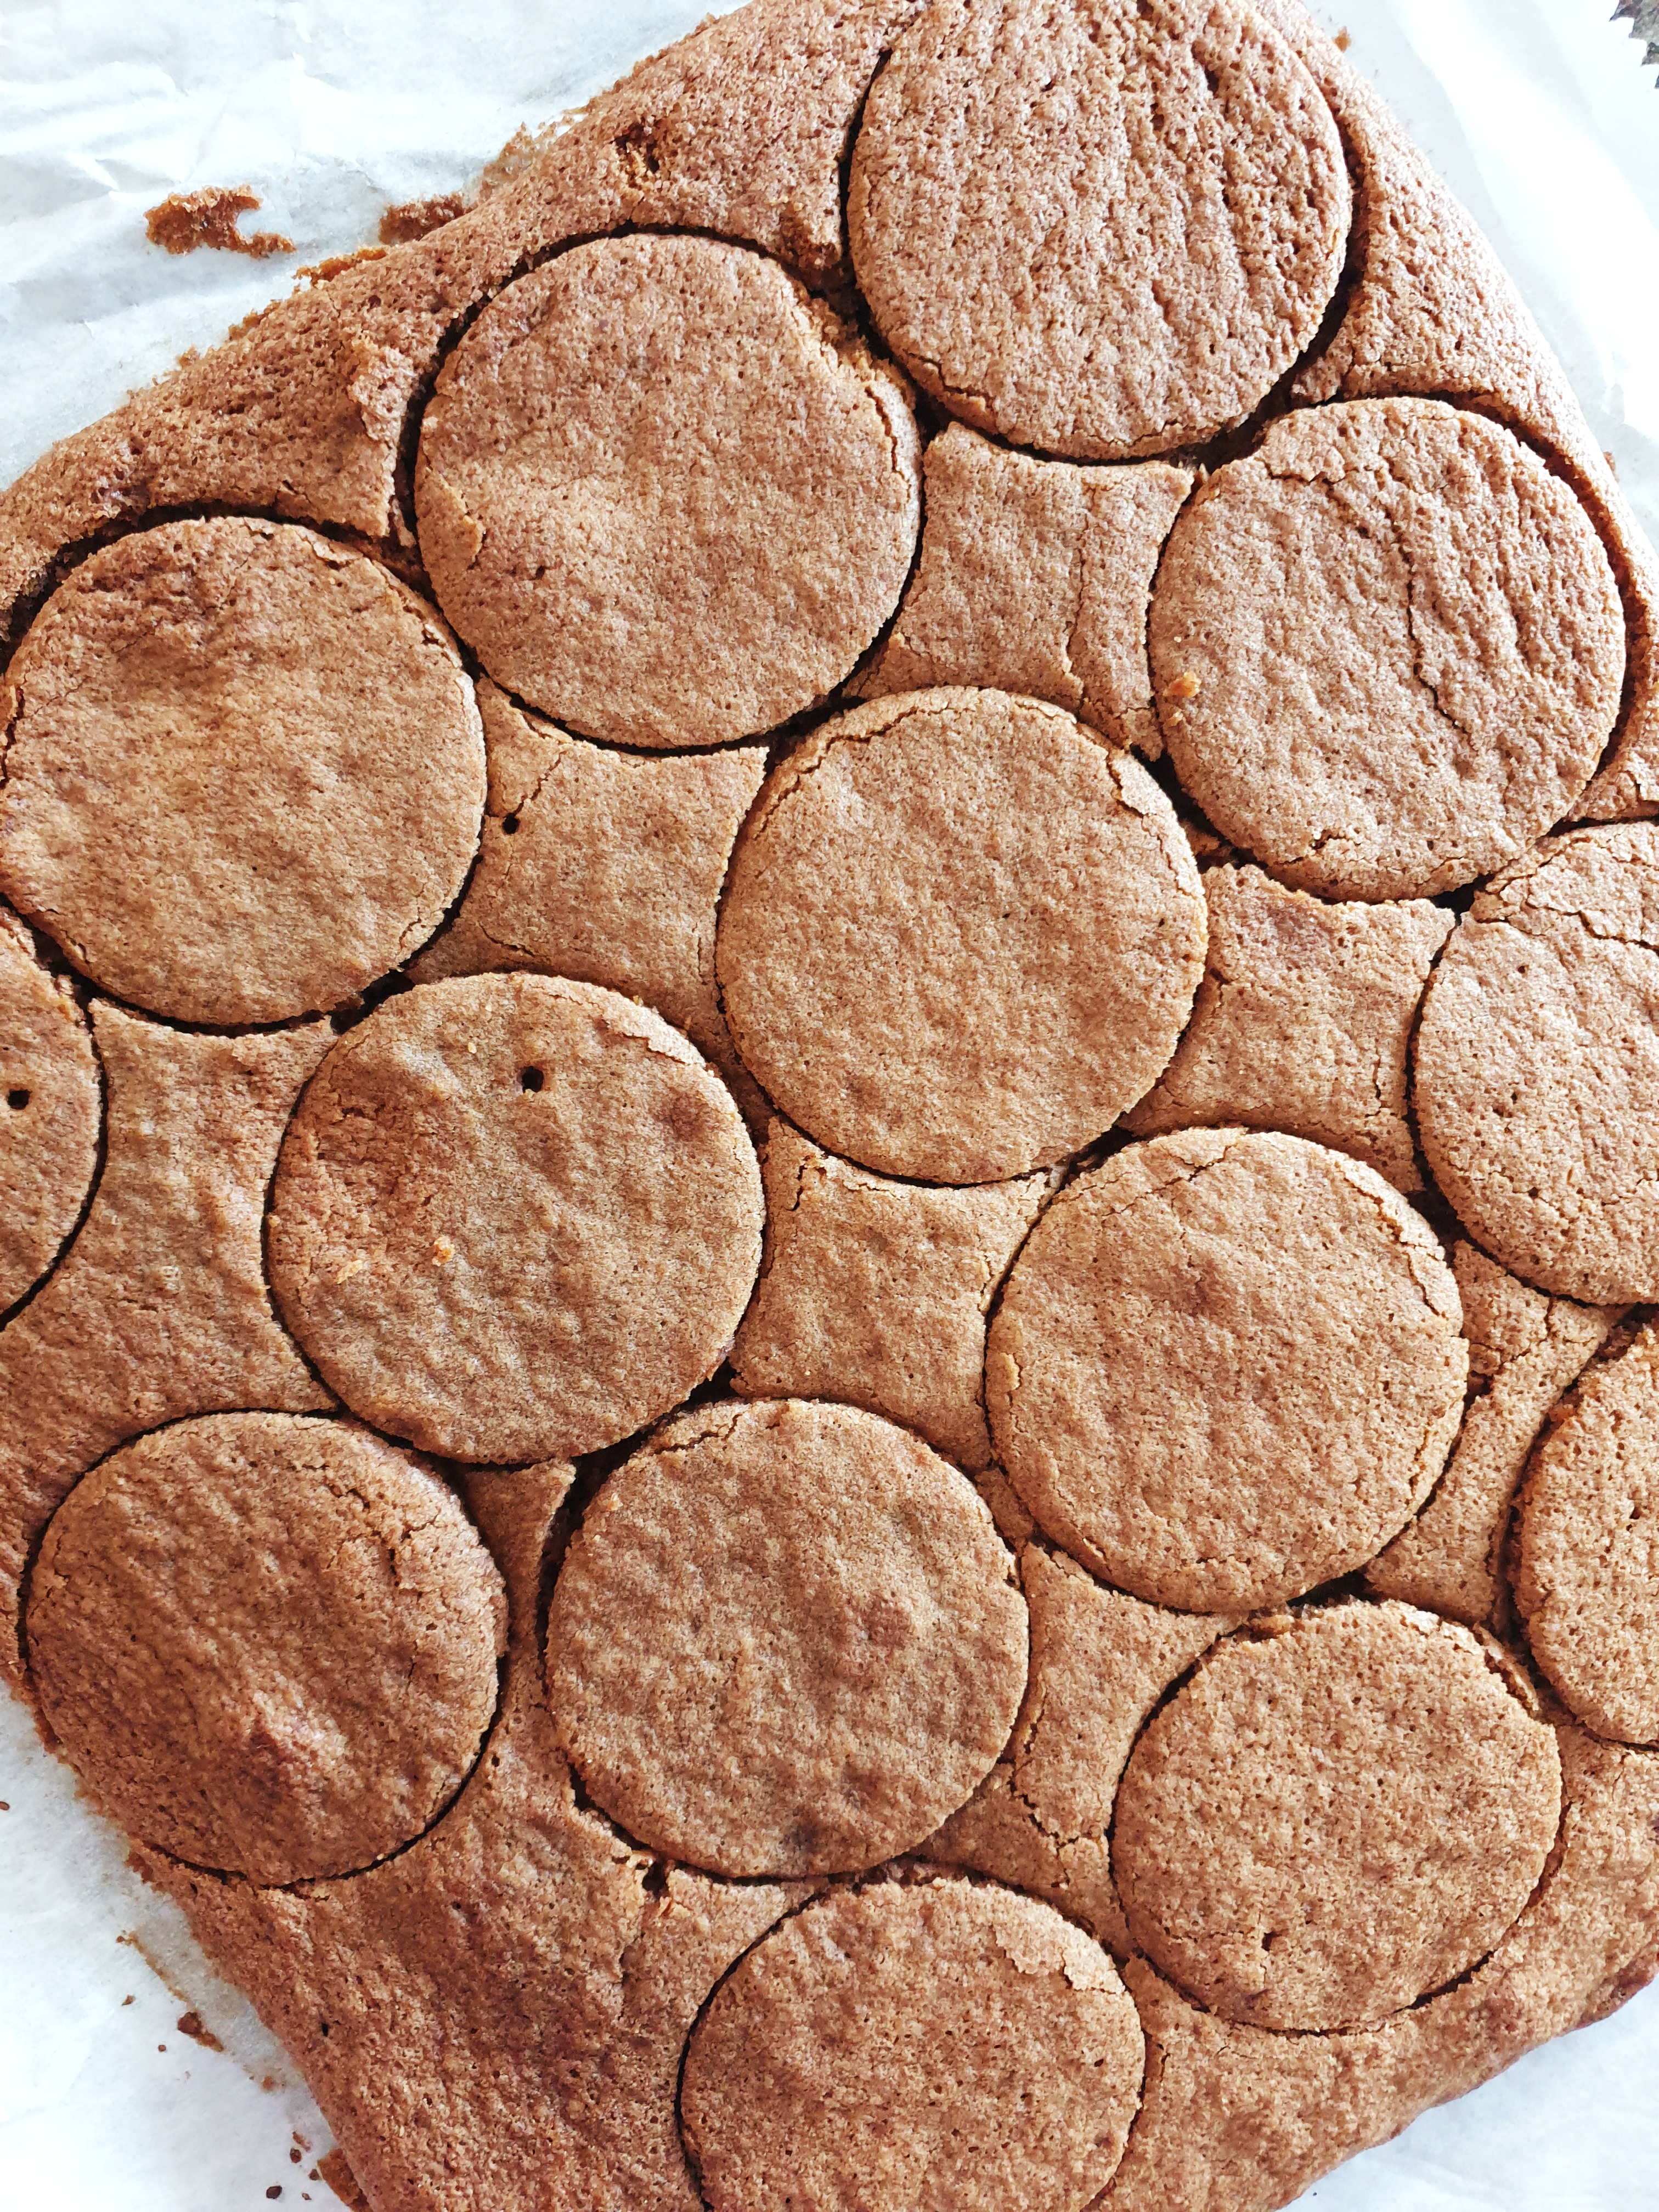
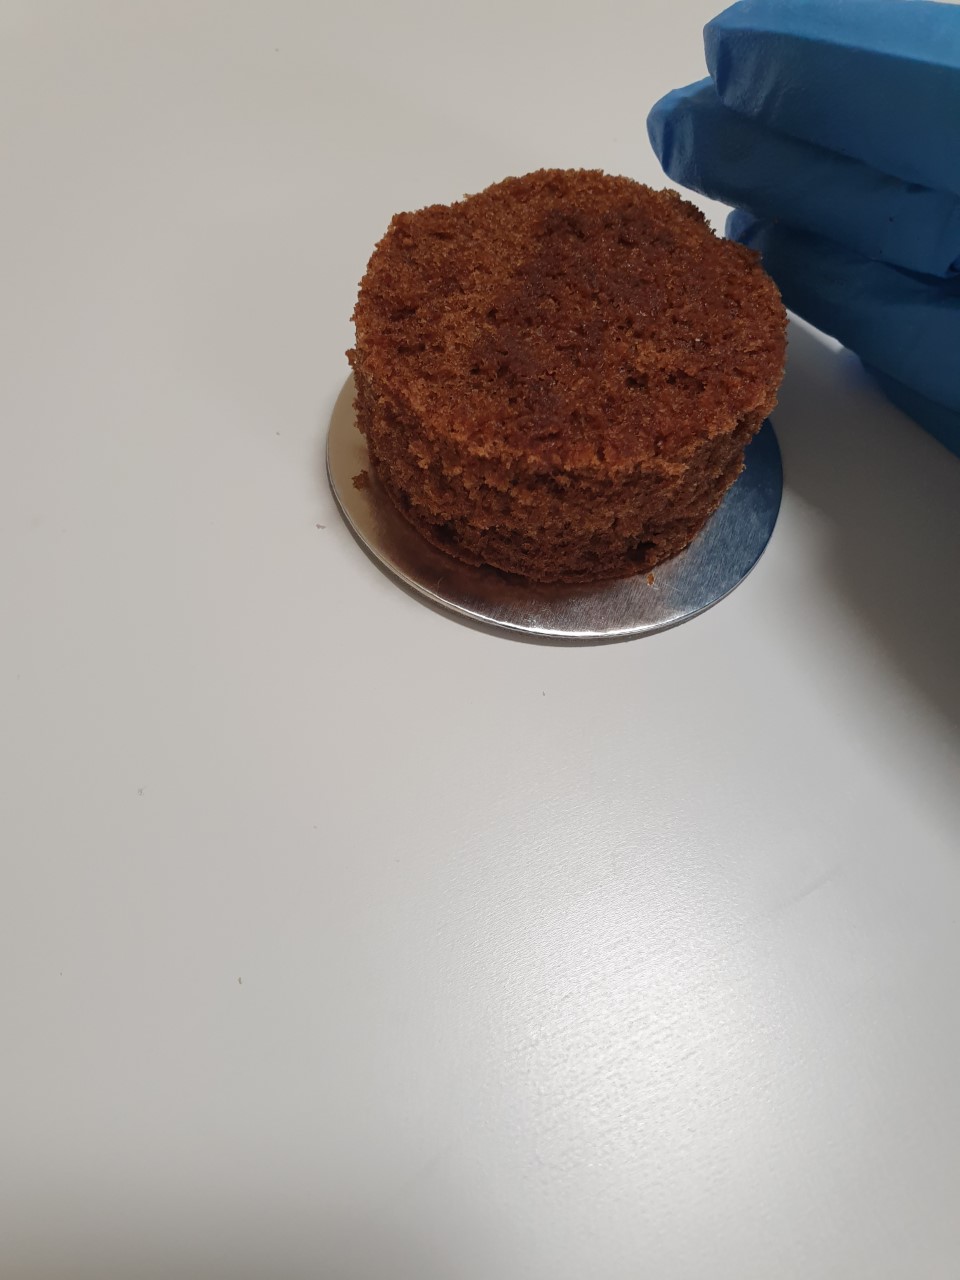
Step 2. Cutting your cake sheet ~
- Using a medium round cookie cutter, gently place the cutter at the top left corner of the cake sheet.
- Press the cutter down firmly and twist. This will give you a medium round cut out.
- Starting at the top left hand corner, continue to work you way down, and across the cake sheet, to complete all of your cut outs. Make sure not to leave big gaps between each cut, as you want to get as many cut outs as possible.
- Using a small palette knife, gently remove the cut outs and place them on a fresh sheet of parchment paper. Pop them into the fridge to firm up before assembling.
- You can put the remaining leftovers of the cake sheet into a small mixing bowl and gently break them up so they form a breadcrumb consistency. Put aside for now.
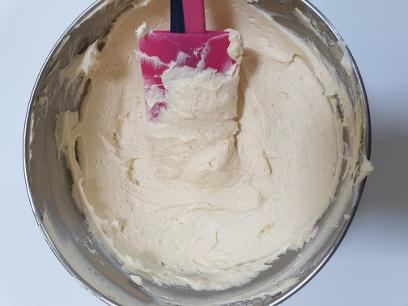
Step 3. Make your Buttercream ~ You can colour your buttercream if you wish, or instead of vanilla extract, I opted to use salted caramel extract for the bunny's buttercream filling :)
Click the button below for my buttercream recipe
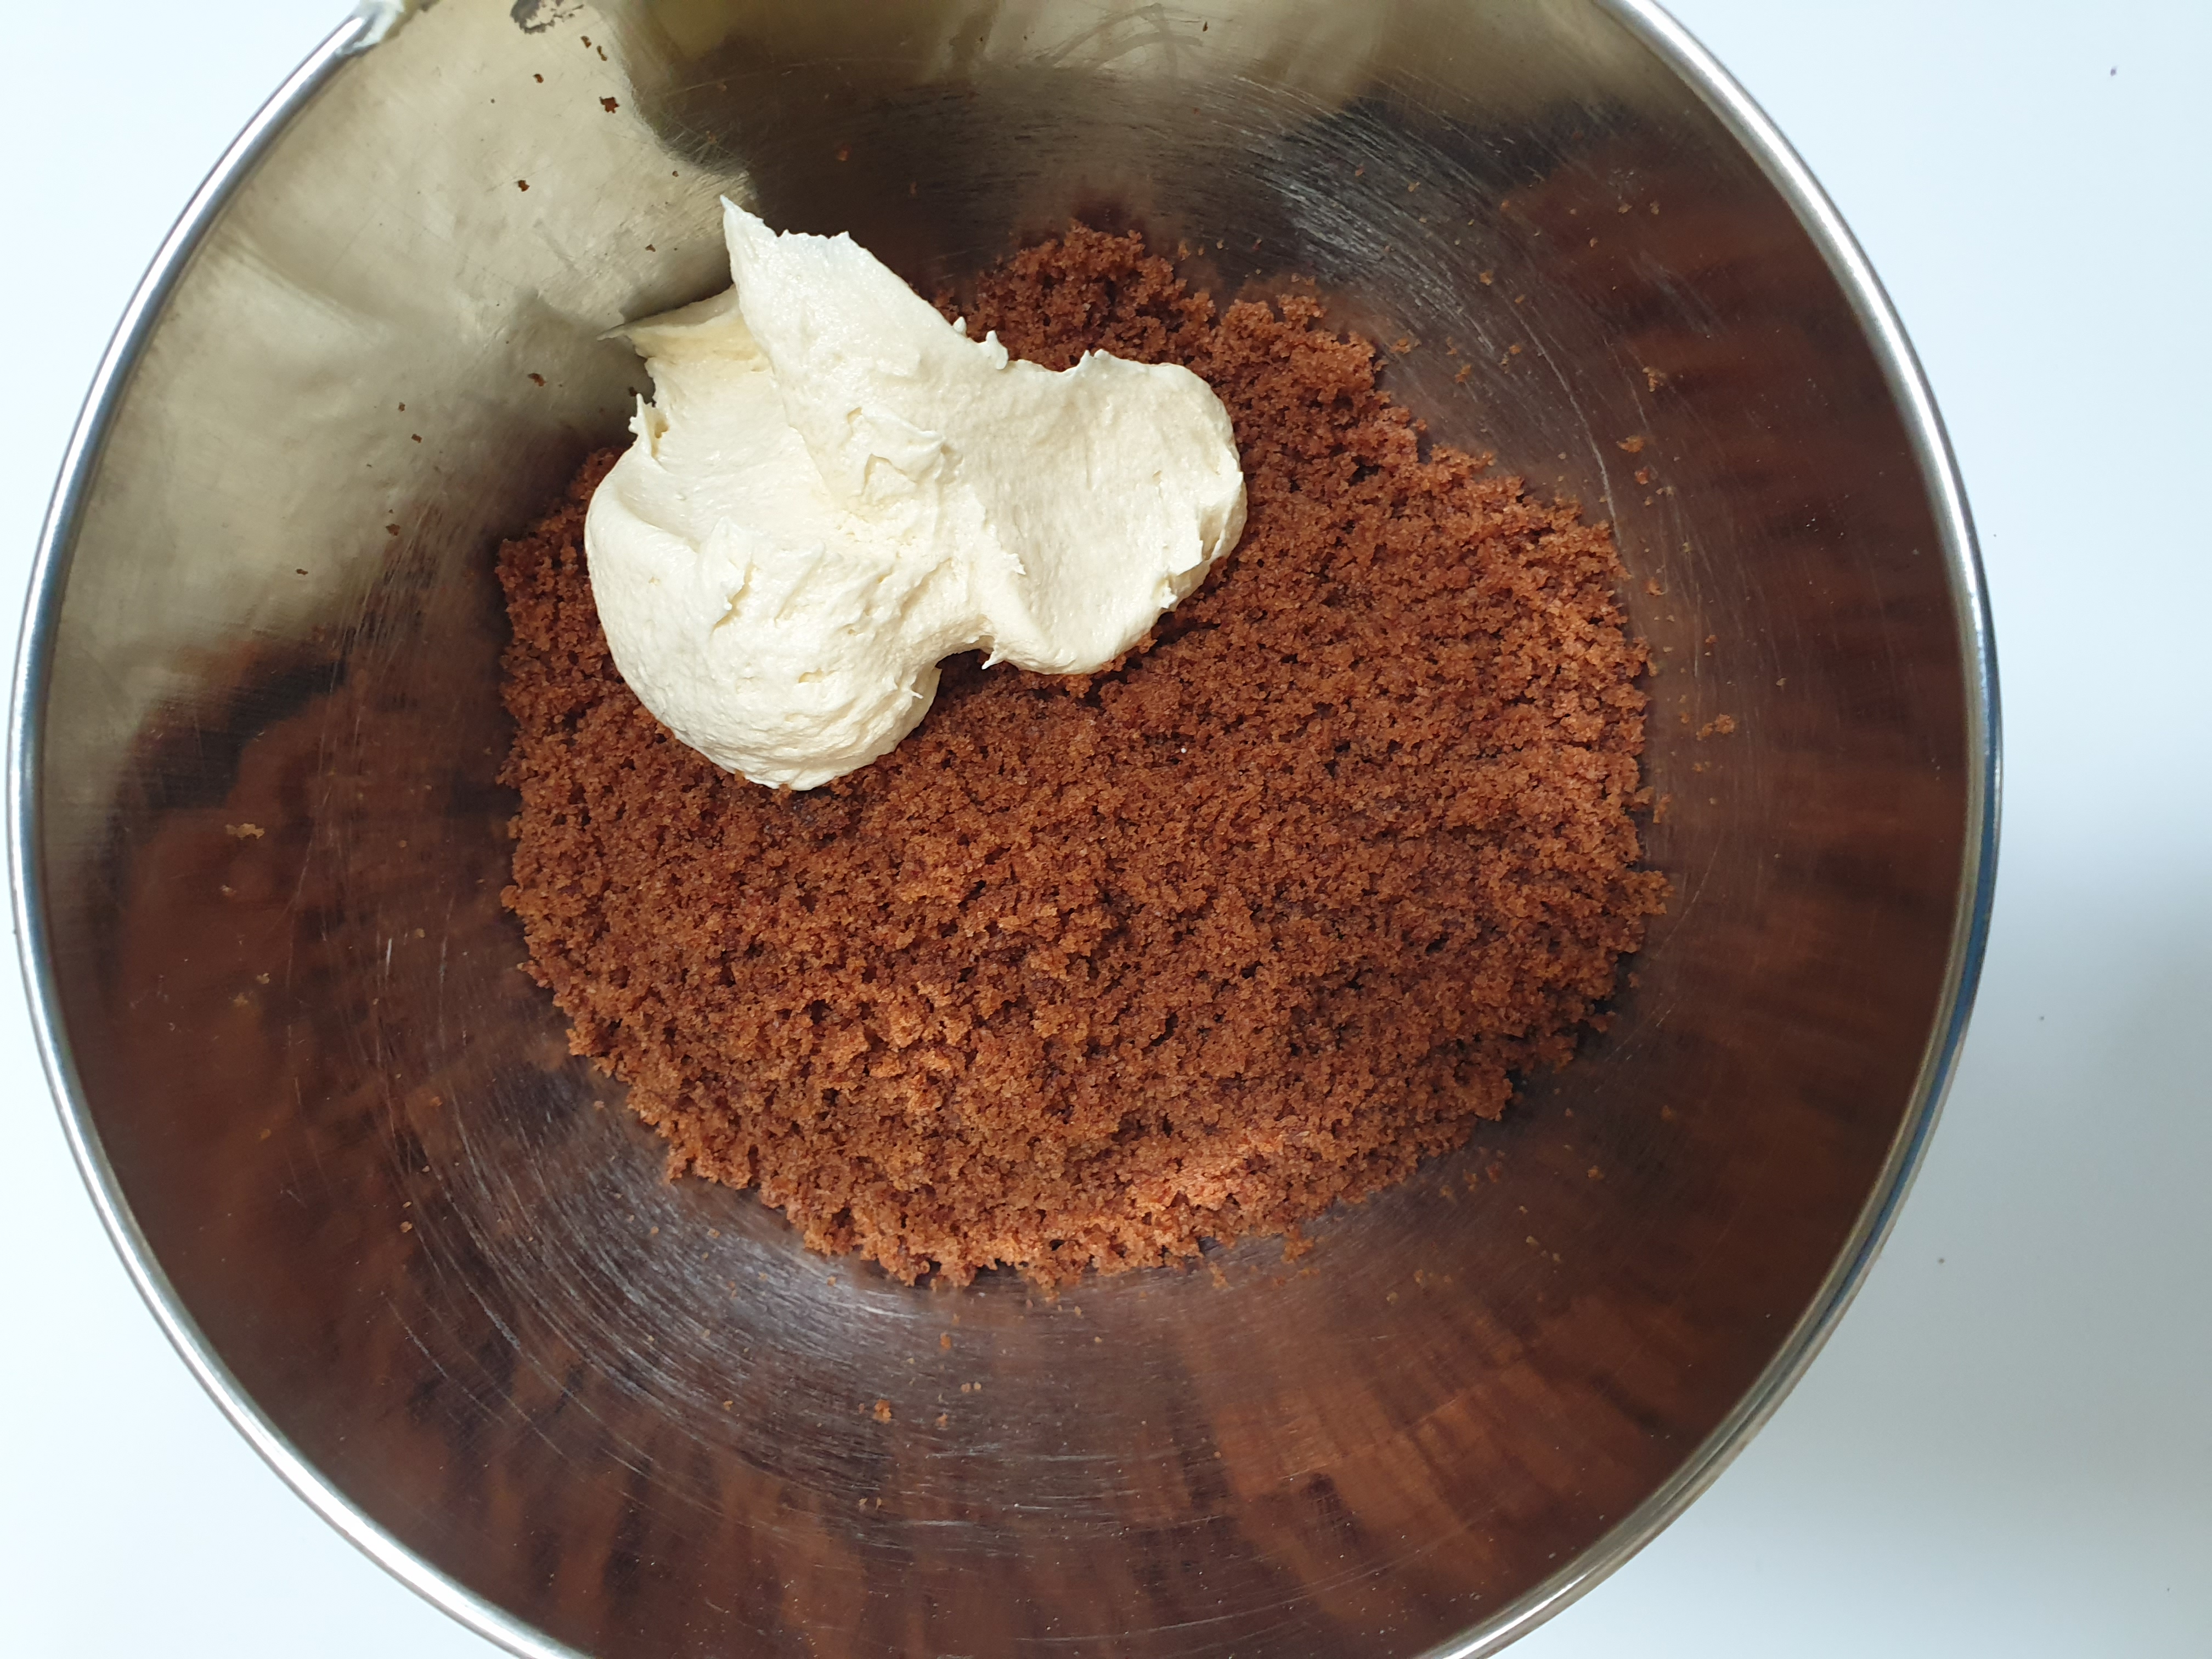
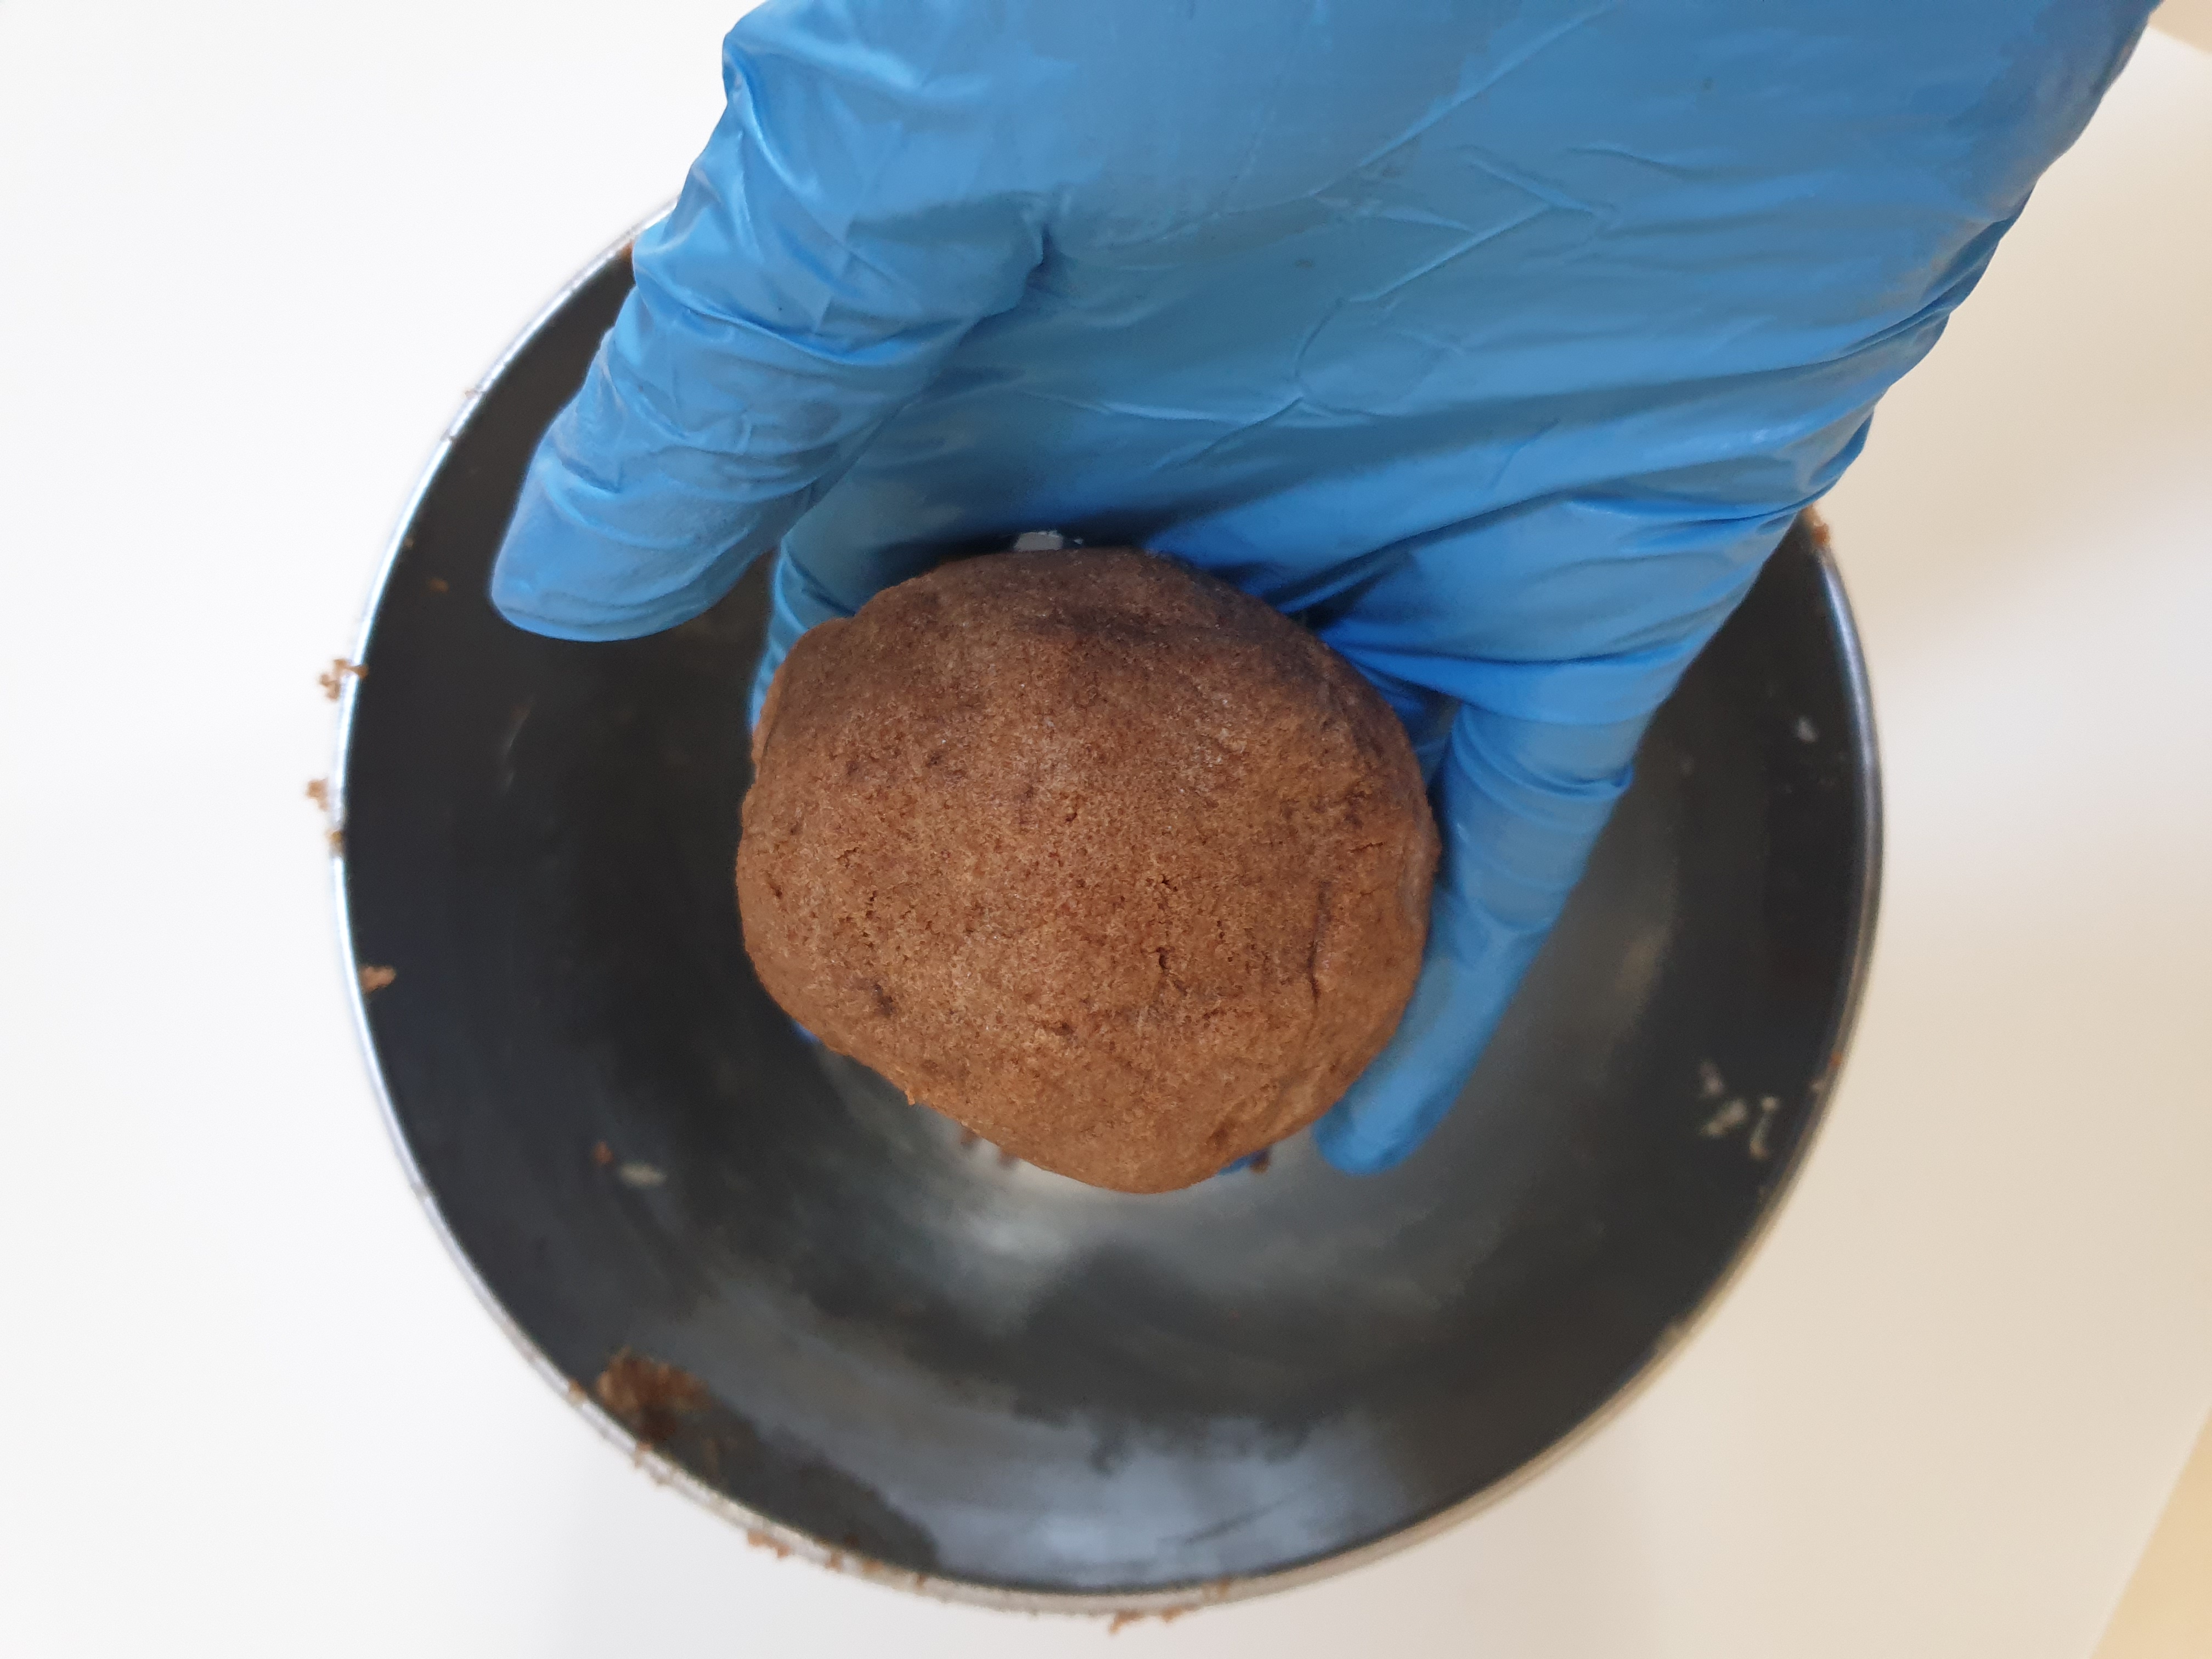
Step 4. Utilise your leftover cake sheet and make cake dough ~
- Take some of your buttercream and pop it into the small mixing bowl on top of the cake crumbs.
- Mix it together with your hands until it forms a soft dough ball.
- Leave the dough ball in the bowl and pop into your fridge to firm up a bit. You will be using this dough to shape the top of your cakes later on.
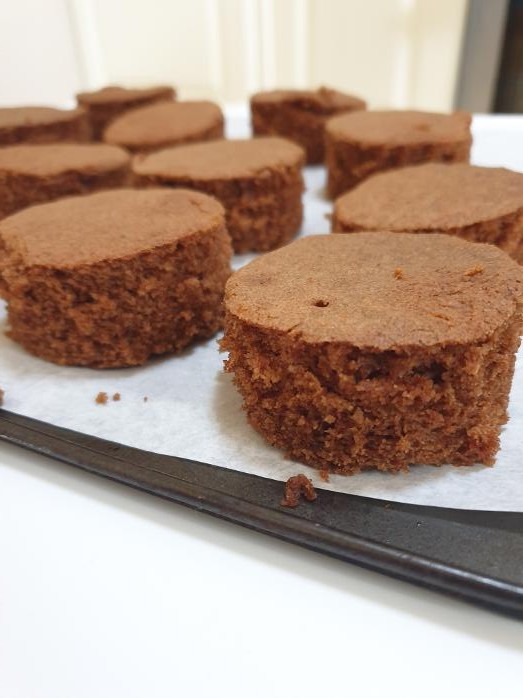
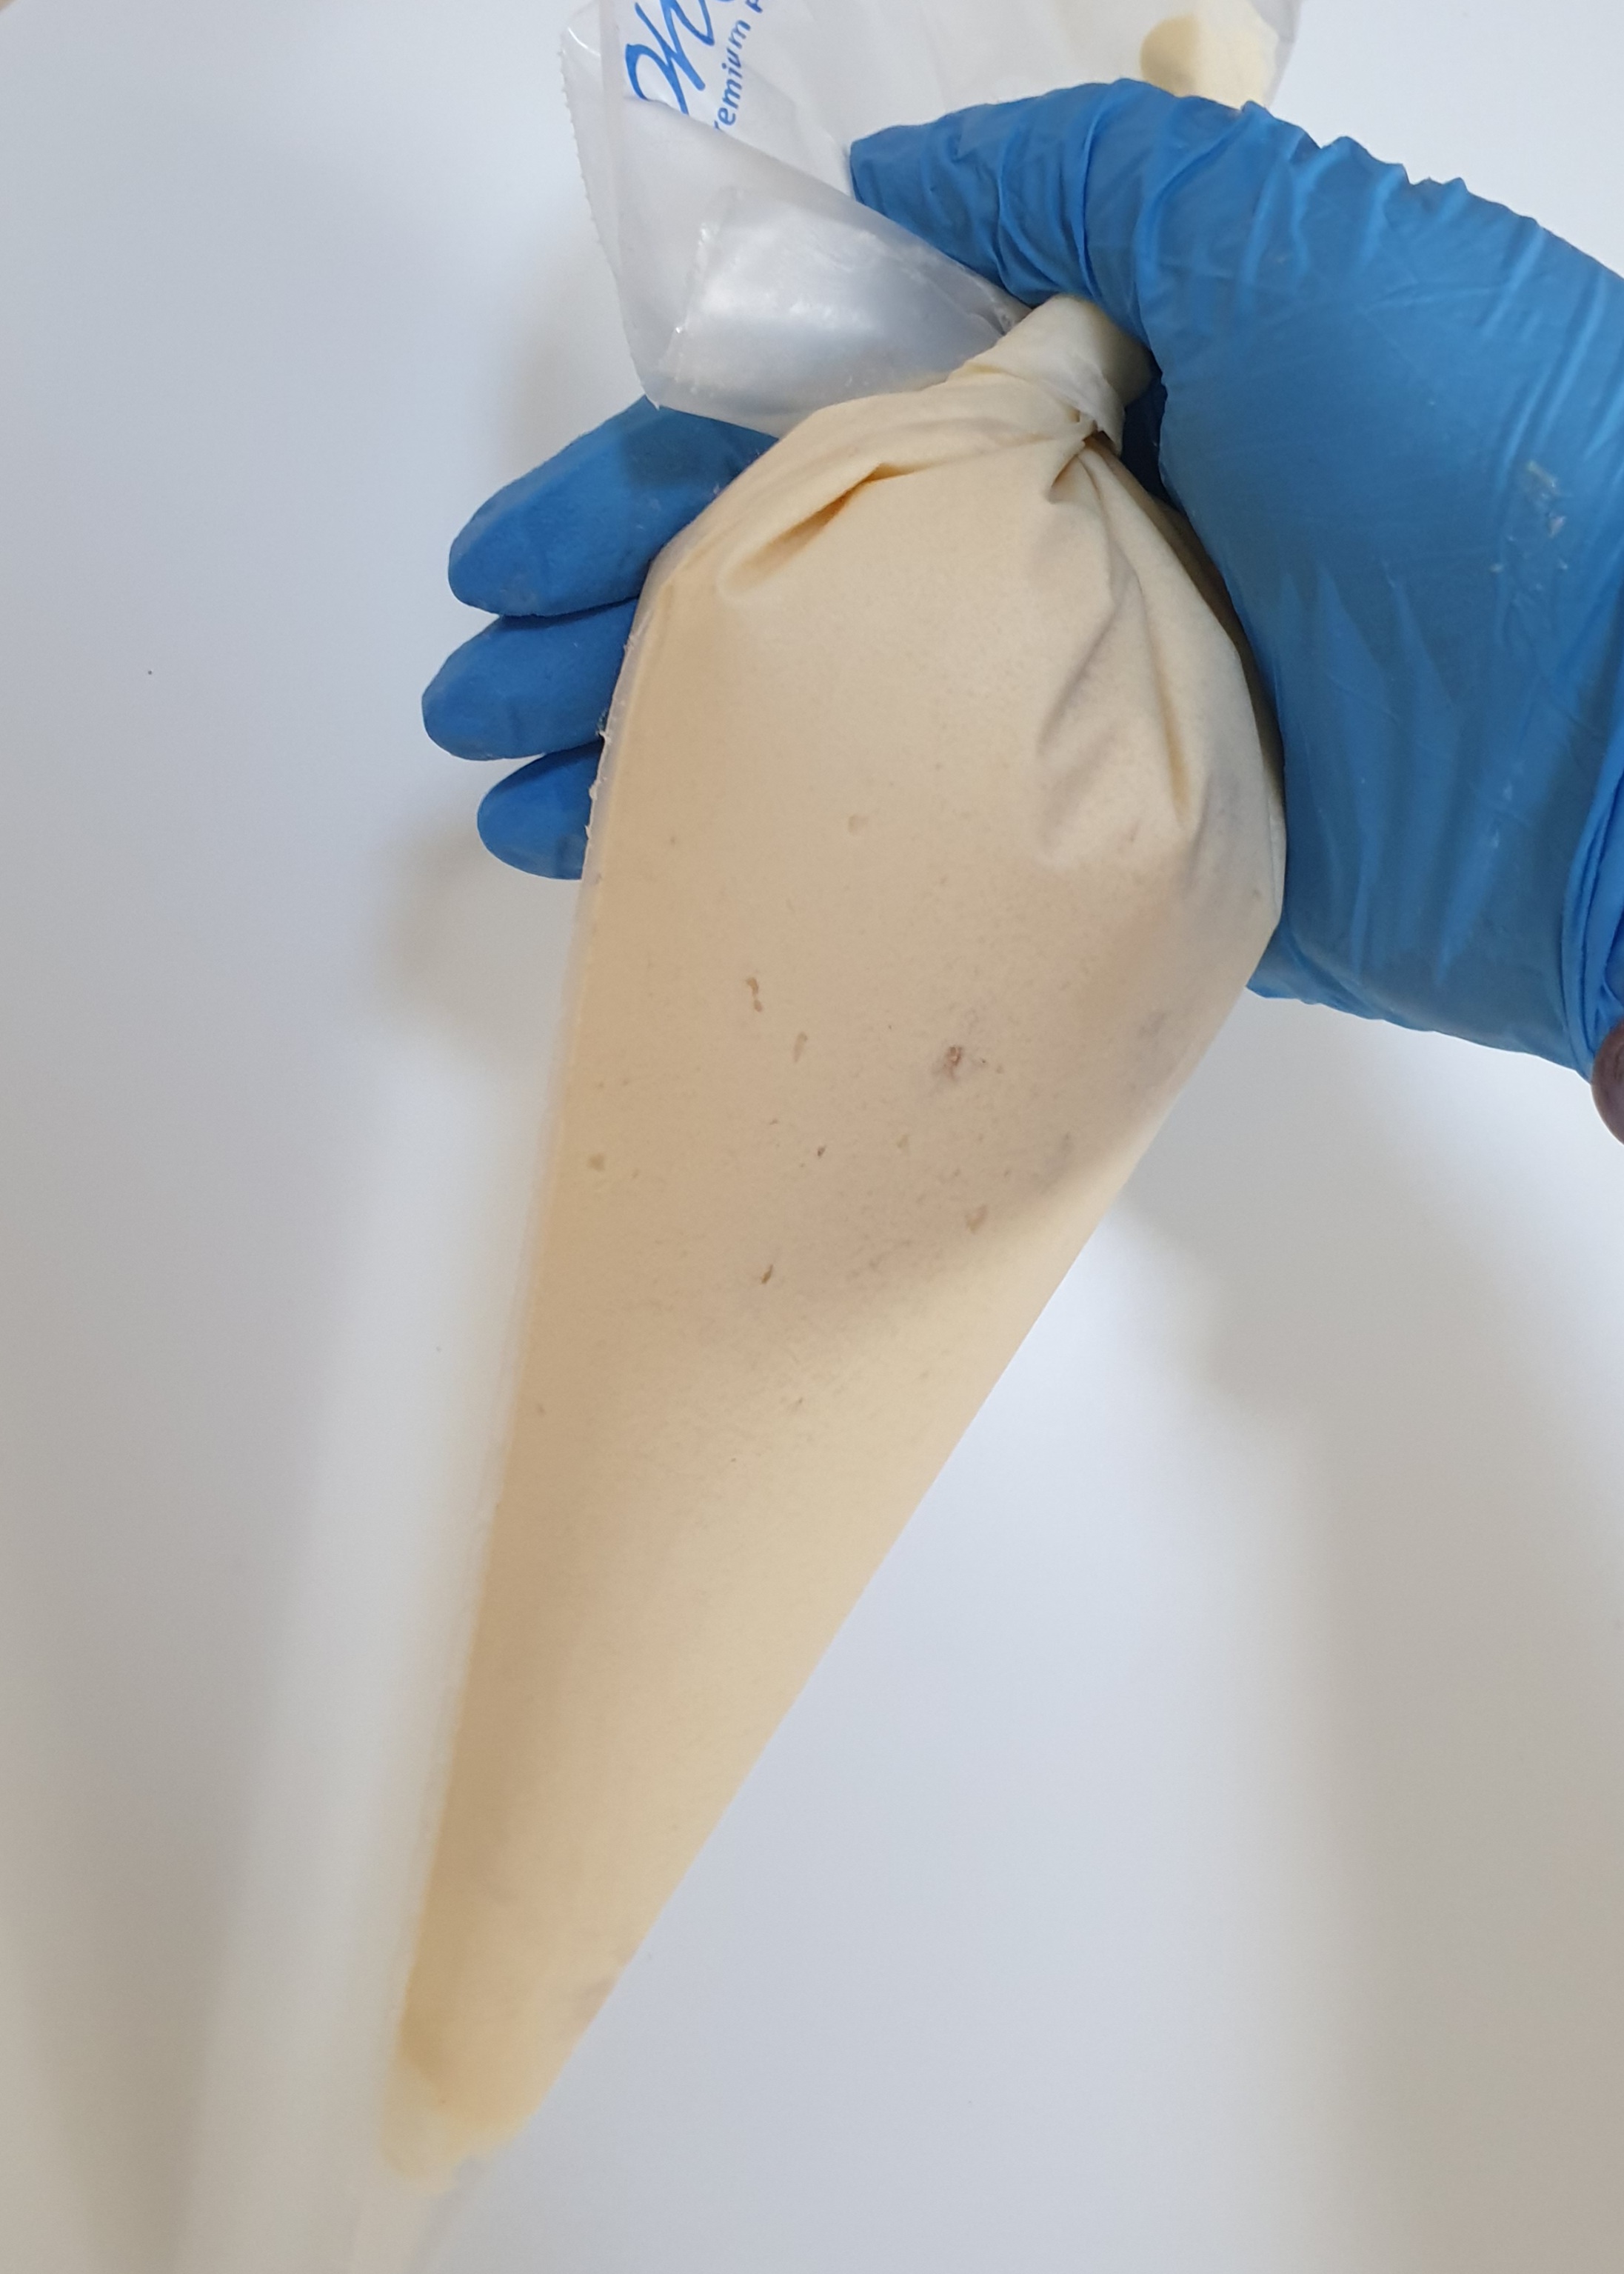
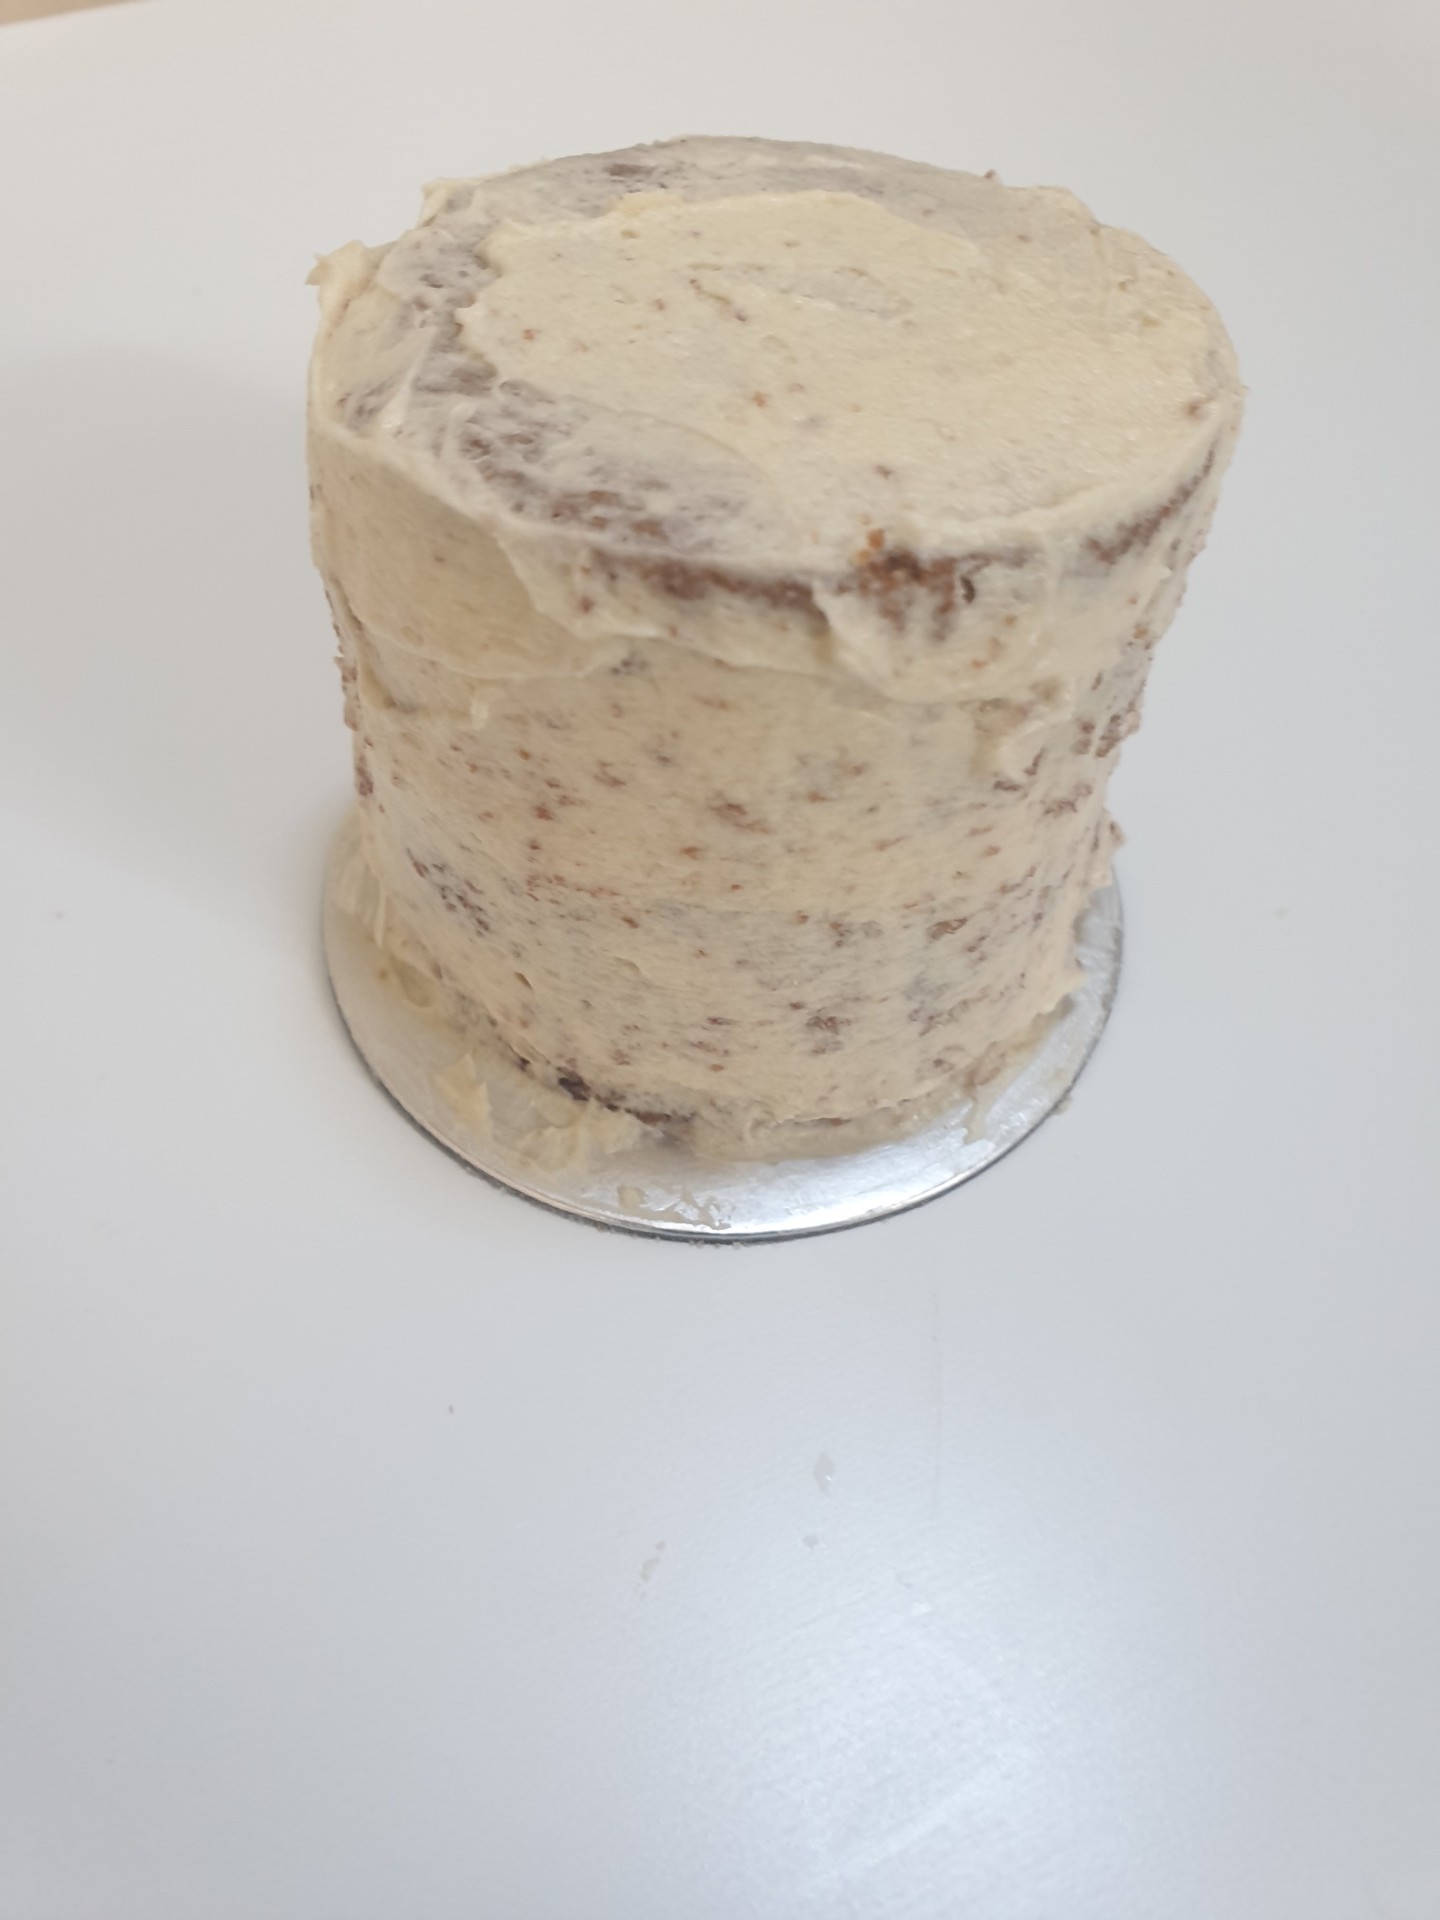
Step 5. Assembling your cakes ~
- Take your cake cuts out of the fridge and leave them to the side.
- Transfer the remaining buttercream into a piping bag and twist the bag to remove any air.
- Using a scissors, cut the end of the piping bag.
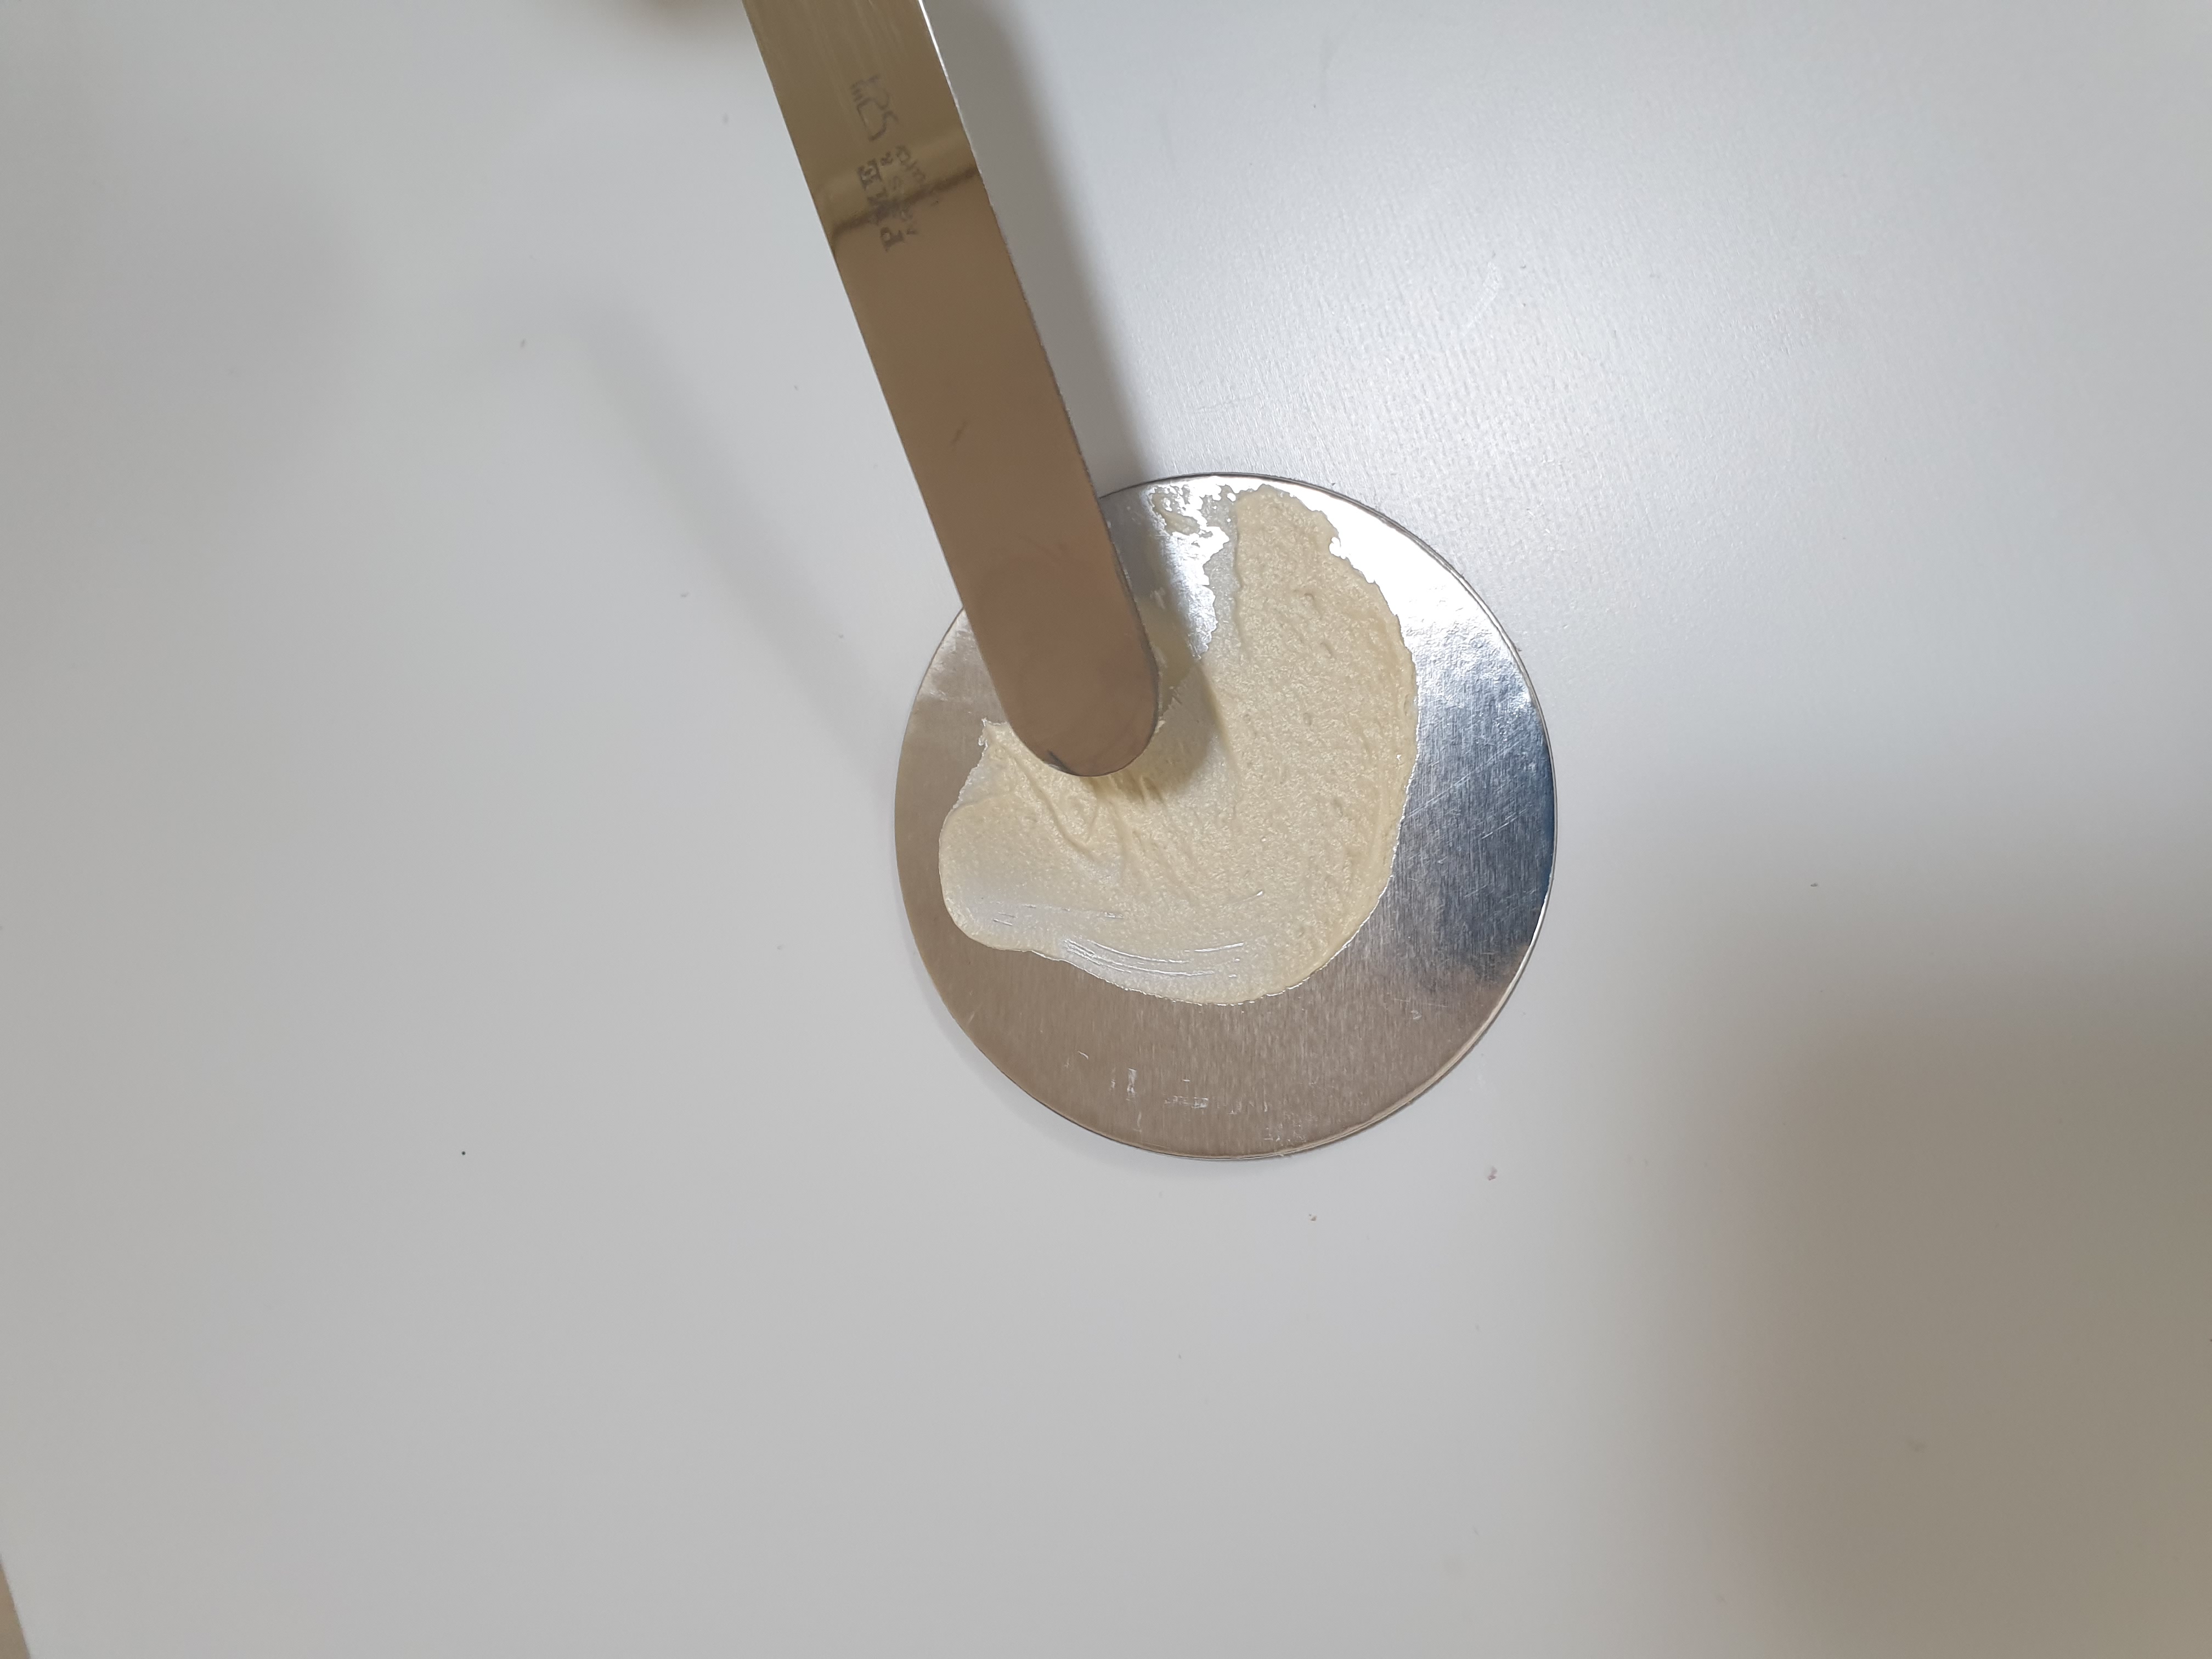
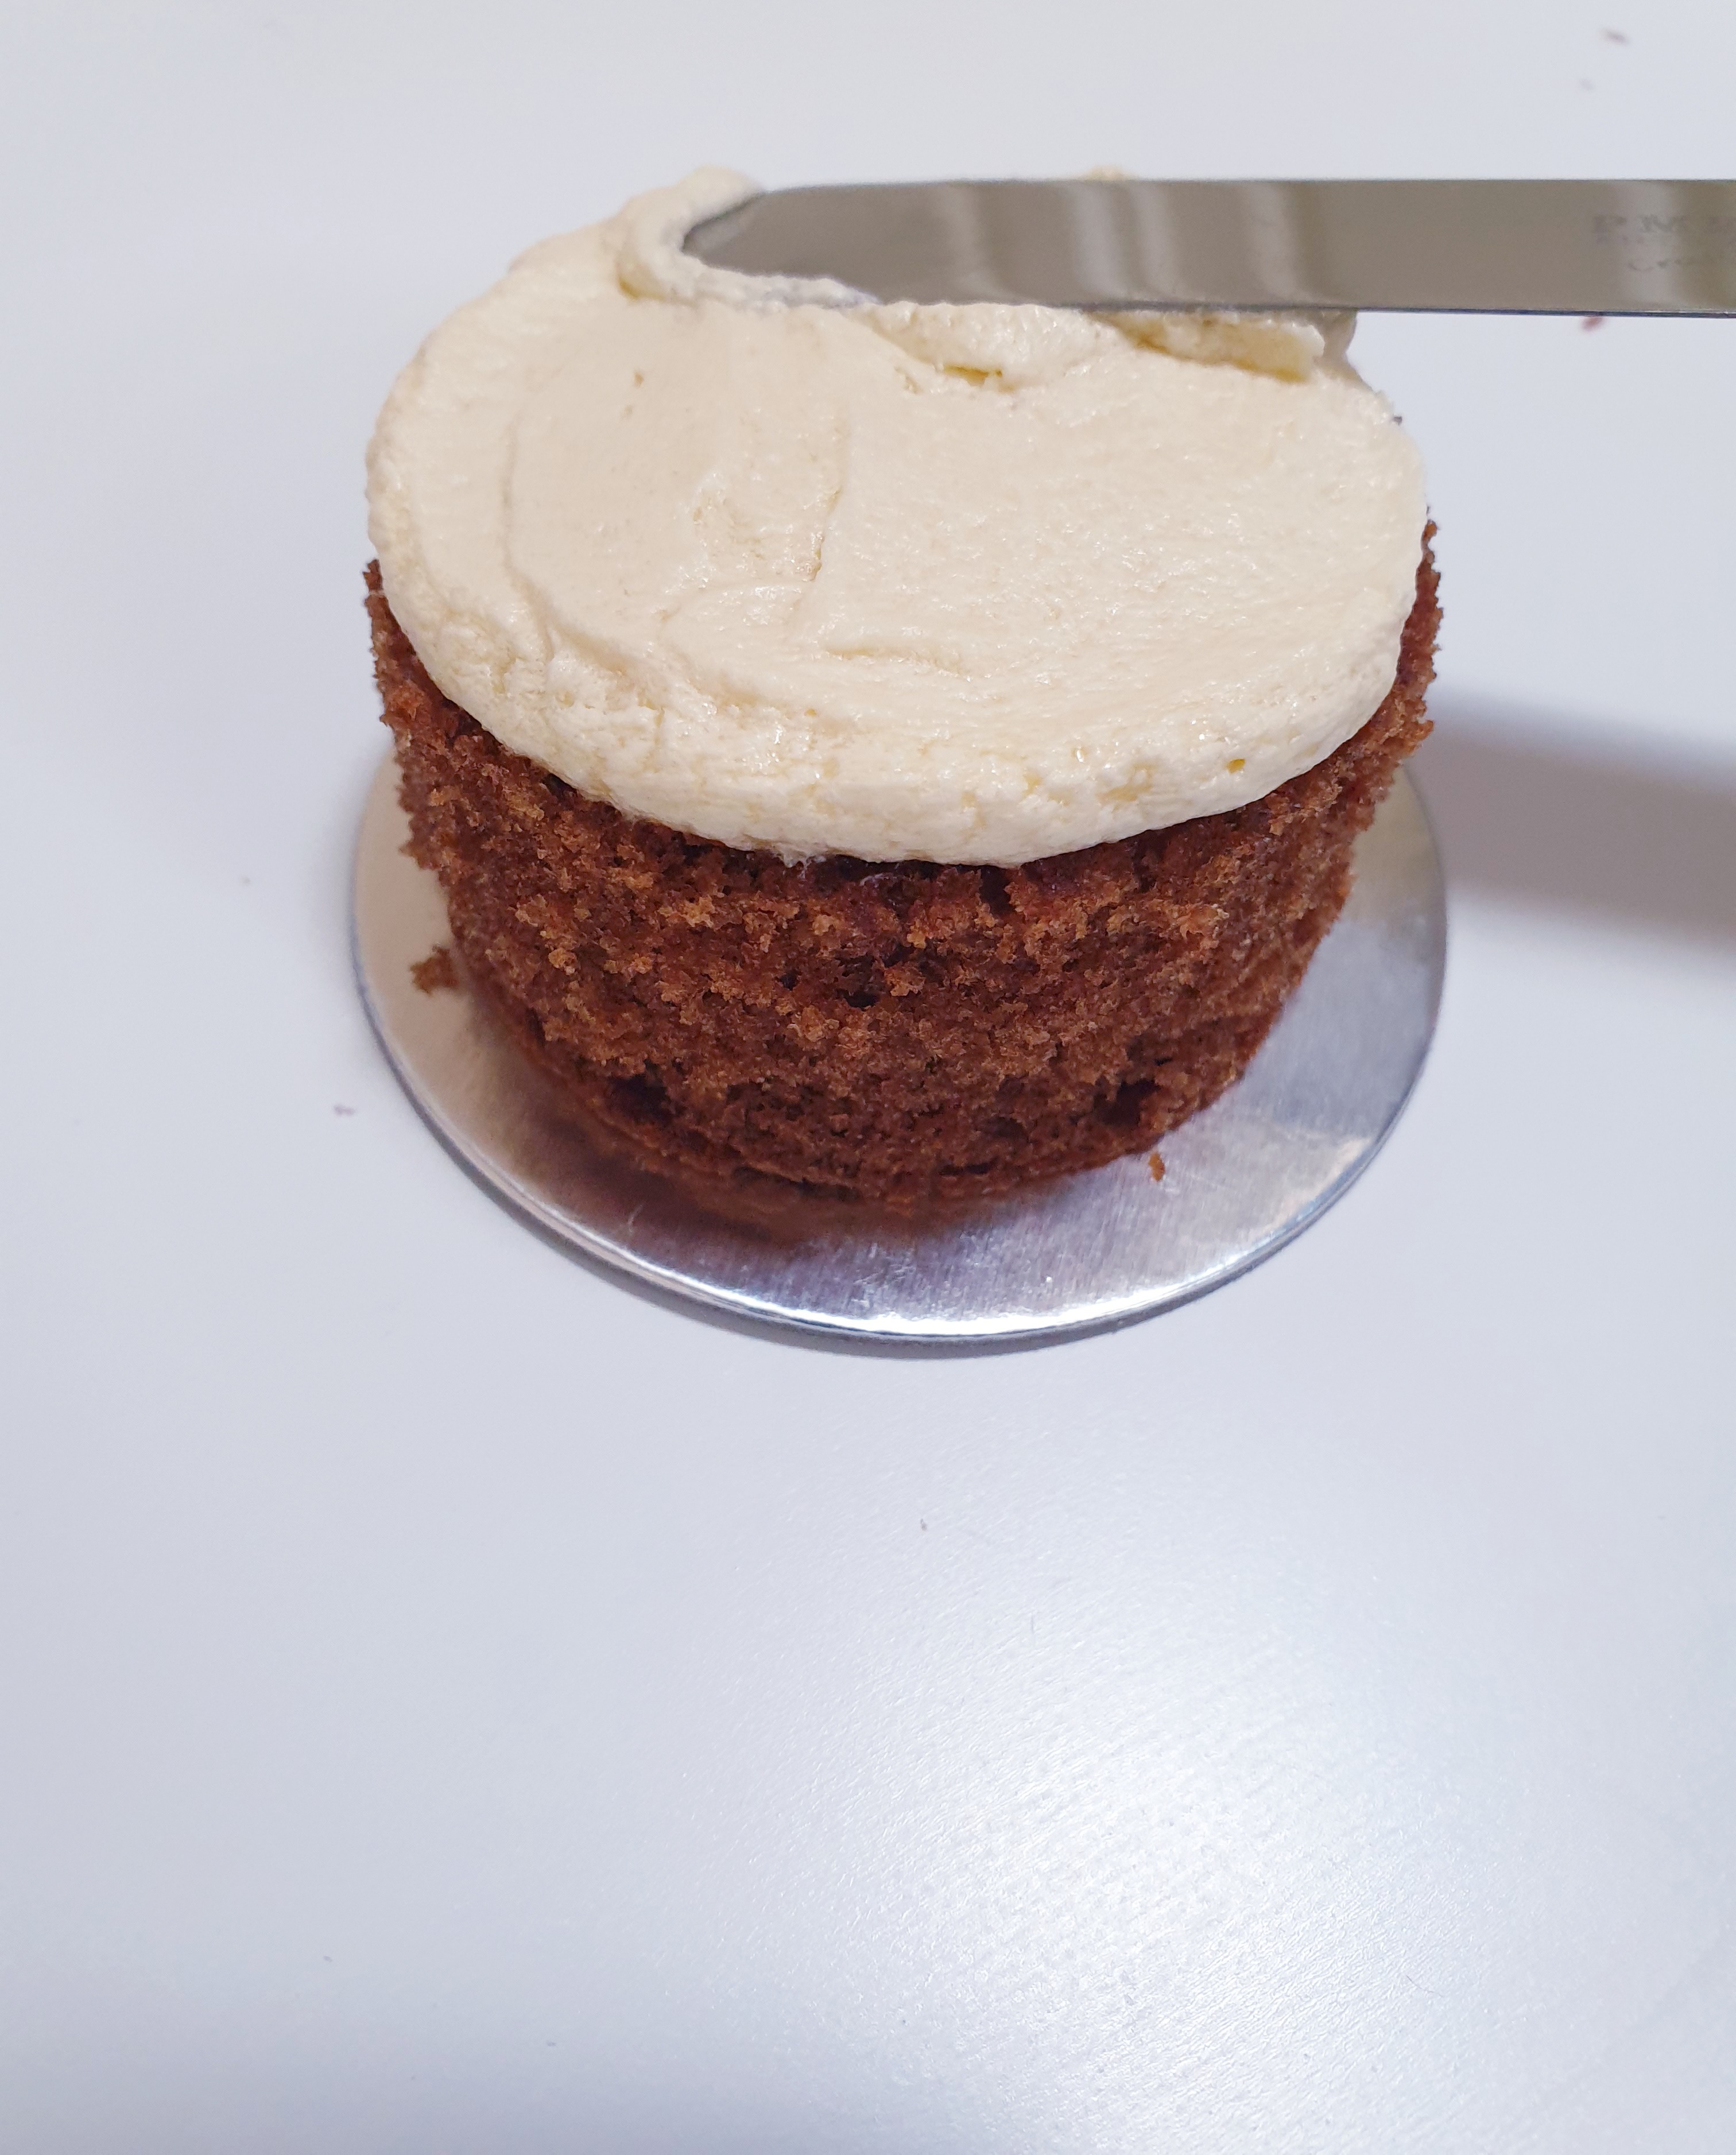
- Take a small cupcake board and pipe out a small amount of buttercream.
- Using your palette knife, smooth the buttercream on the board.
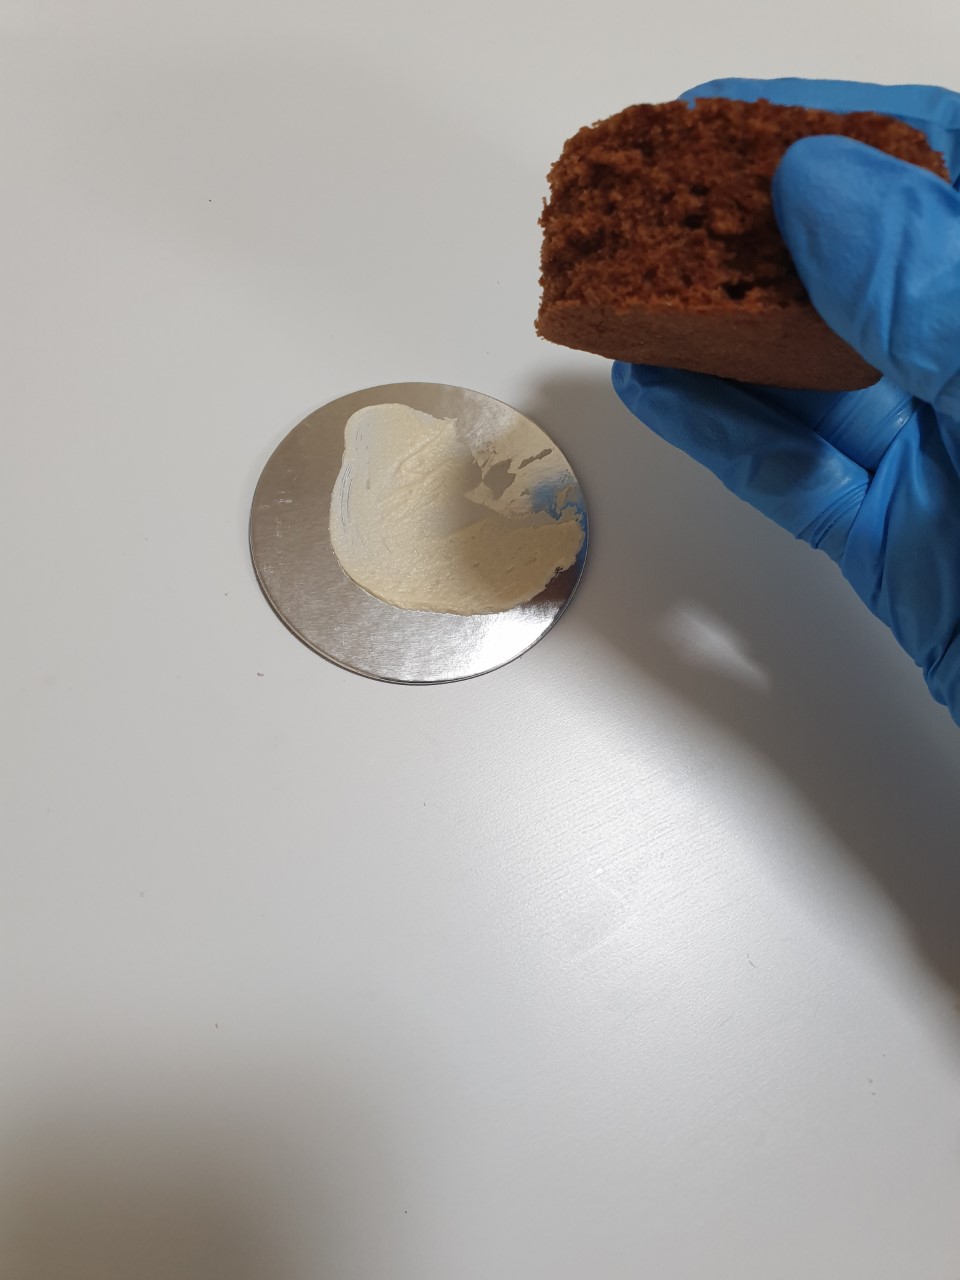
- Take a cut of cake, and place it flat side down onto your cake board. This will help to keep your cake level as you assemble it.
- Add more buttercream from your piping as your filling, and smooth it out using your palette knife.
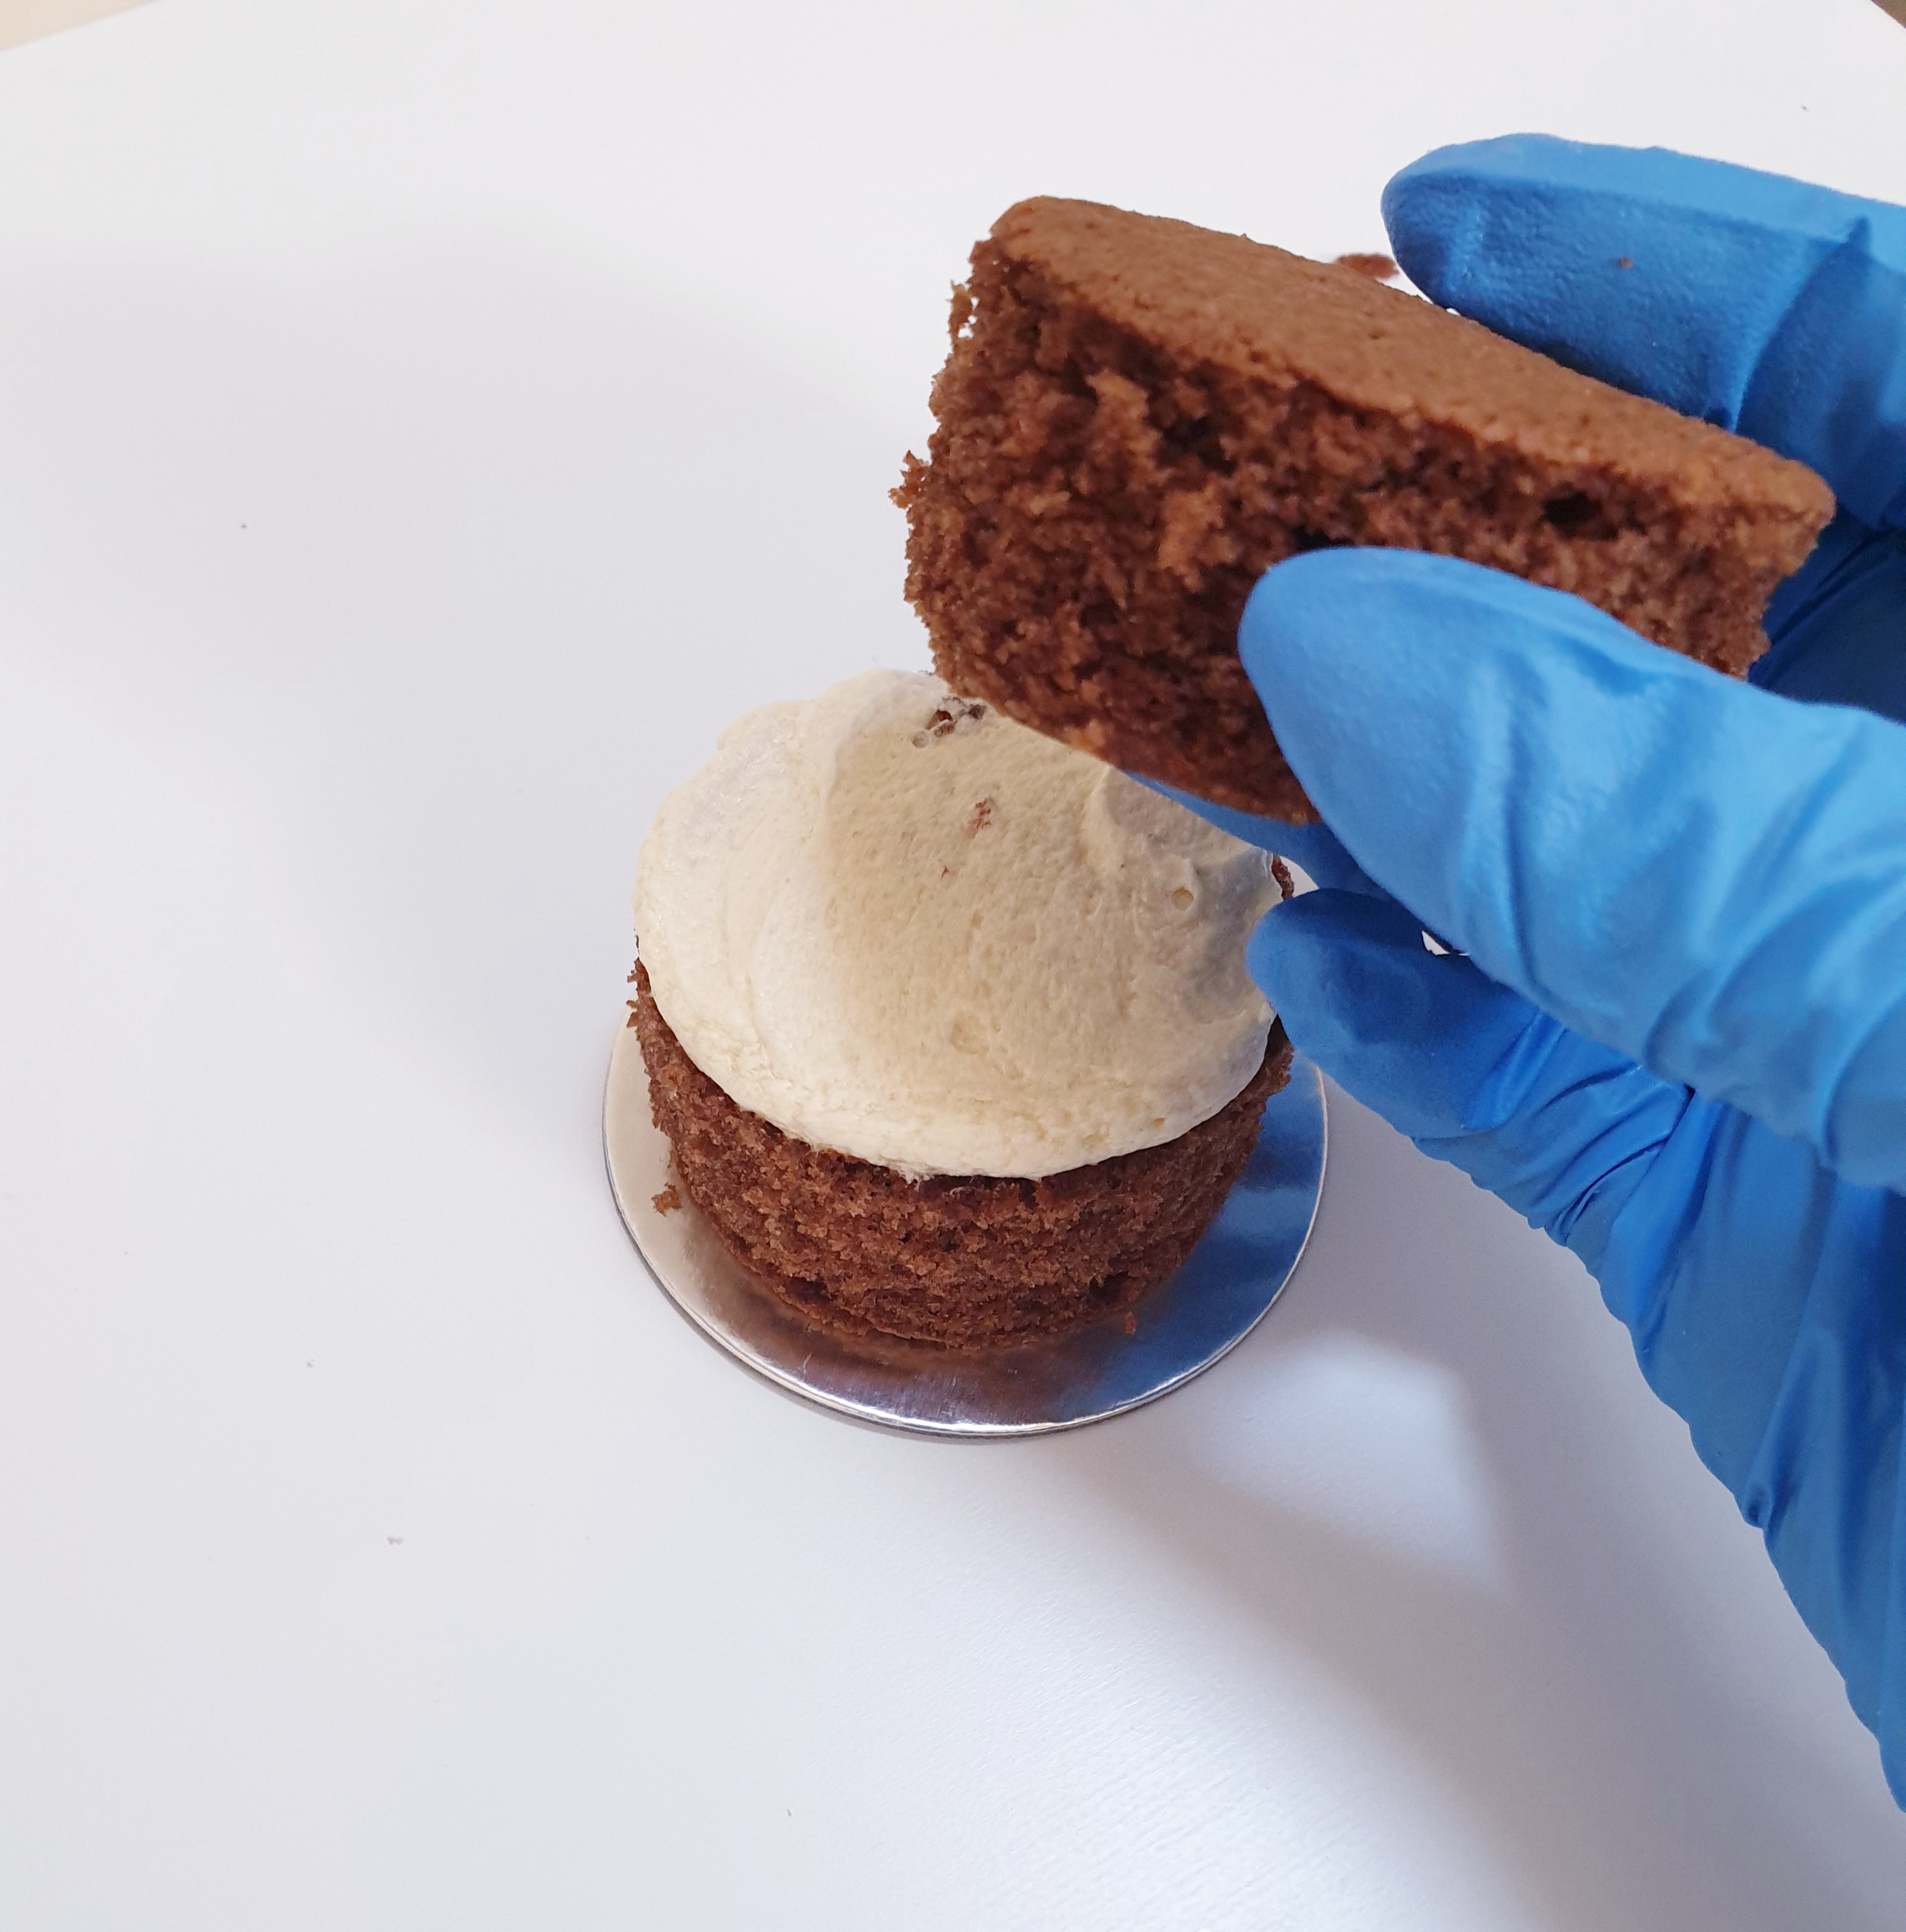
- Take another cut of cake (This time, soft side down), and place it onto the buttercream.
- Push down gently to make sure they are in place and are even.
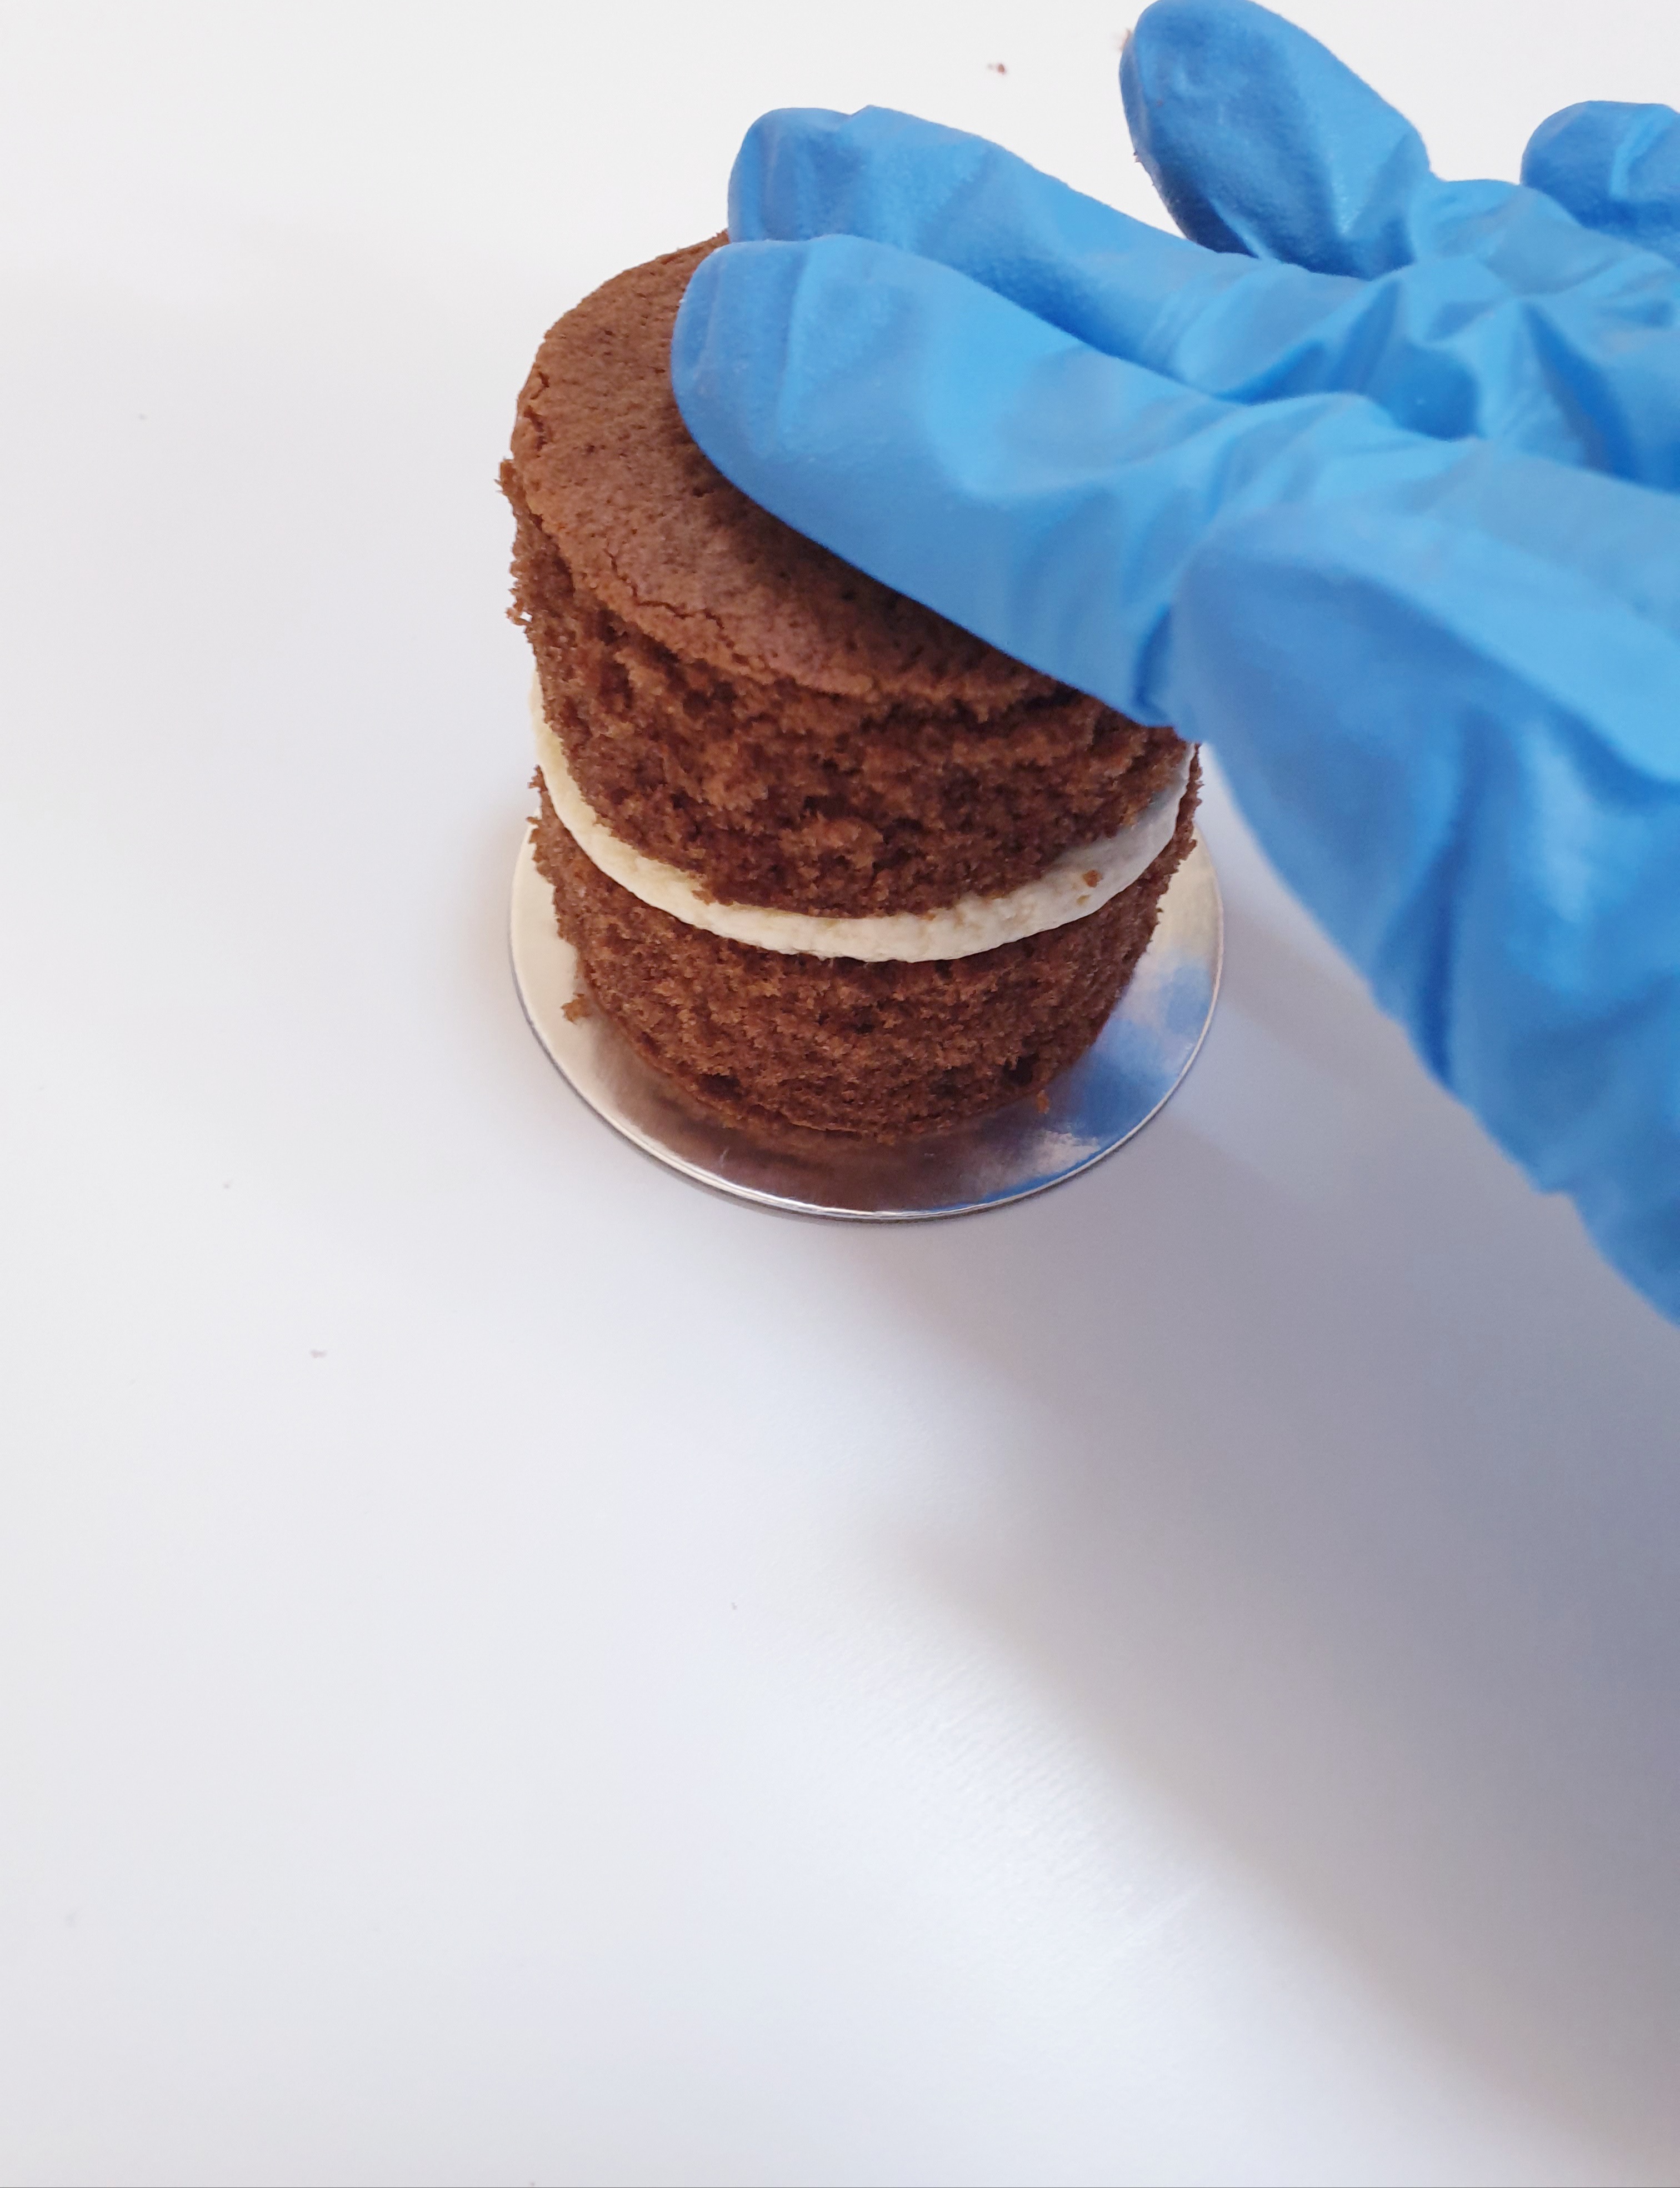
- Continue this process until you have used up all of your cake cuts.
- Place them back into the fridge to firm up before crumb coating.
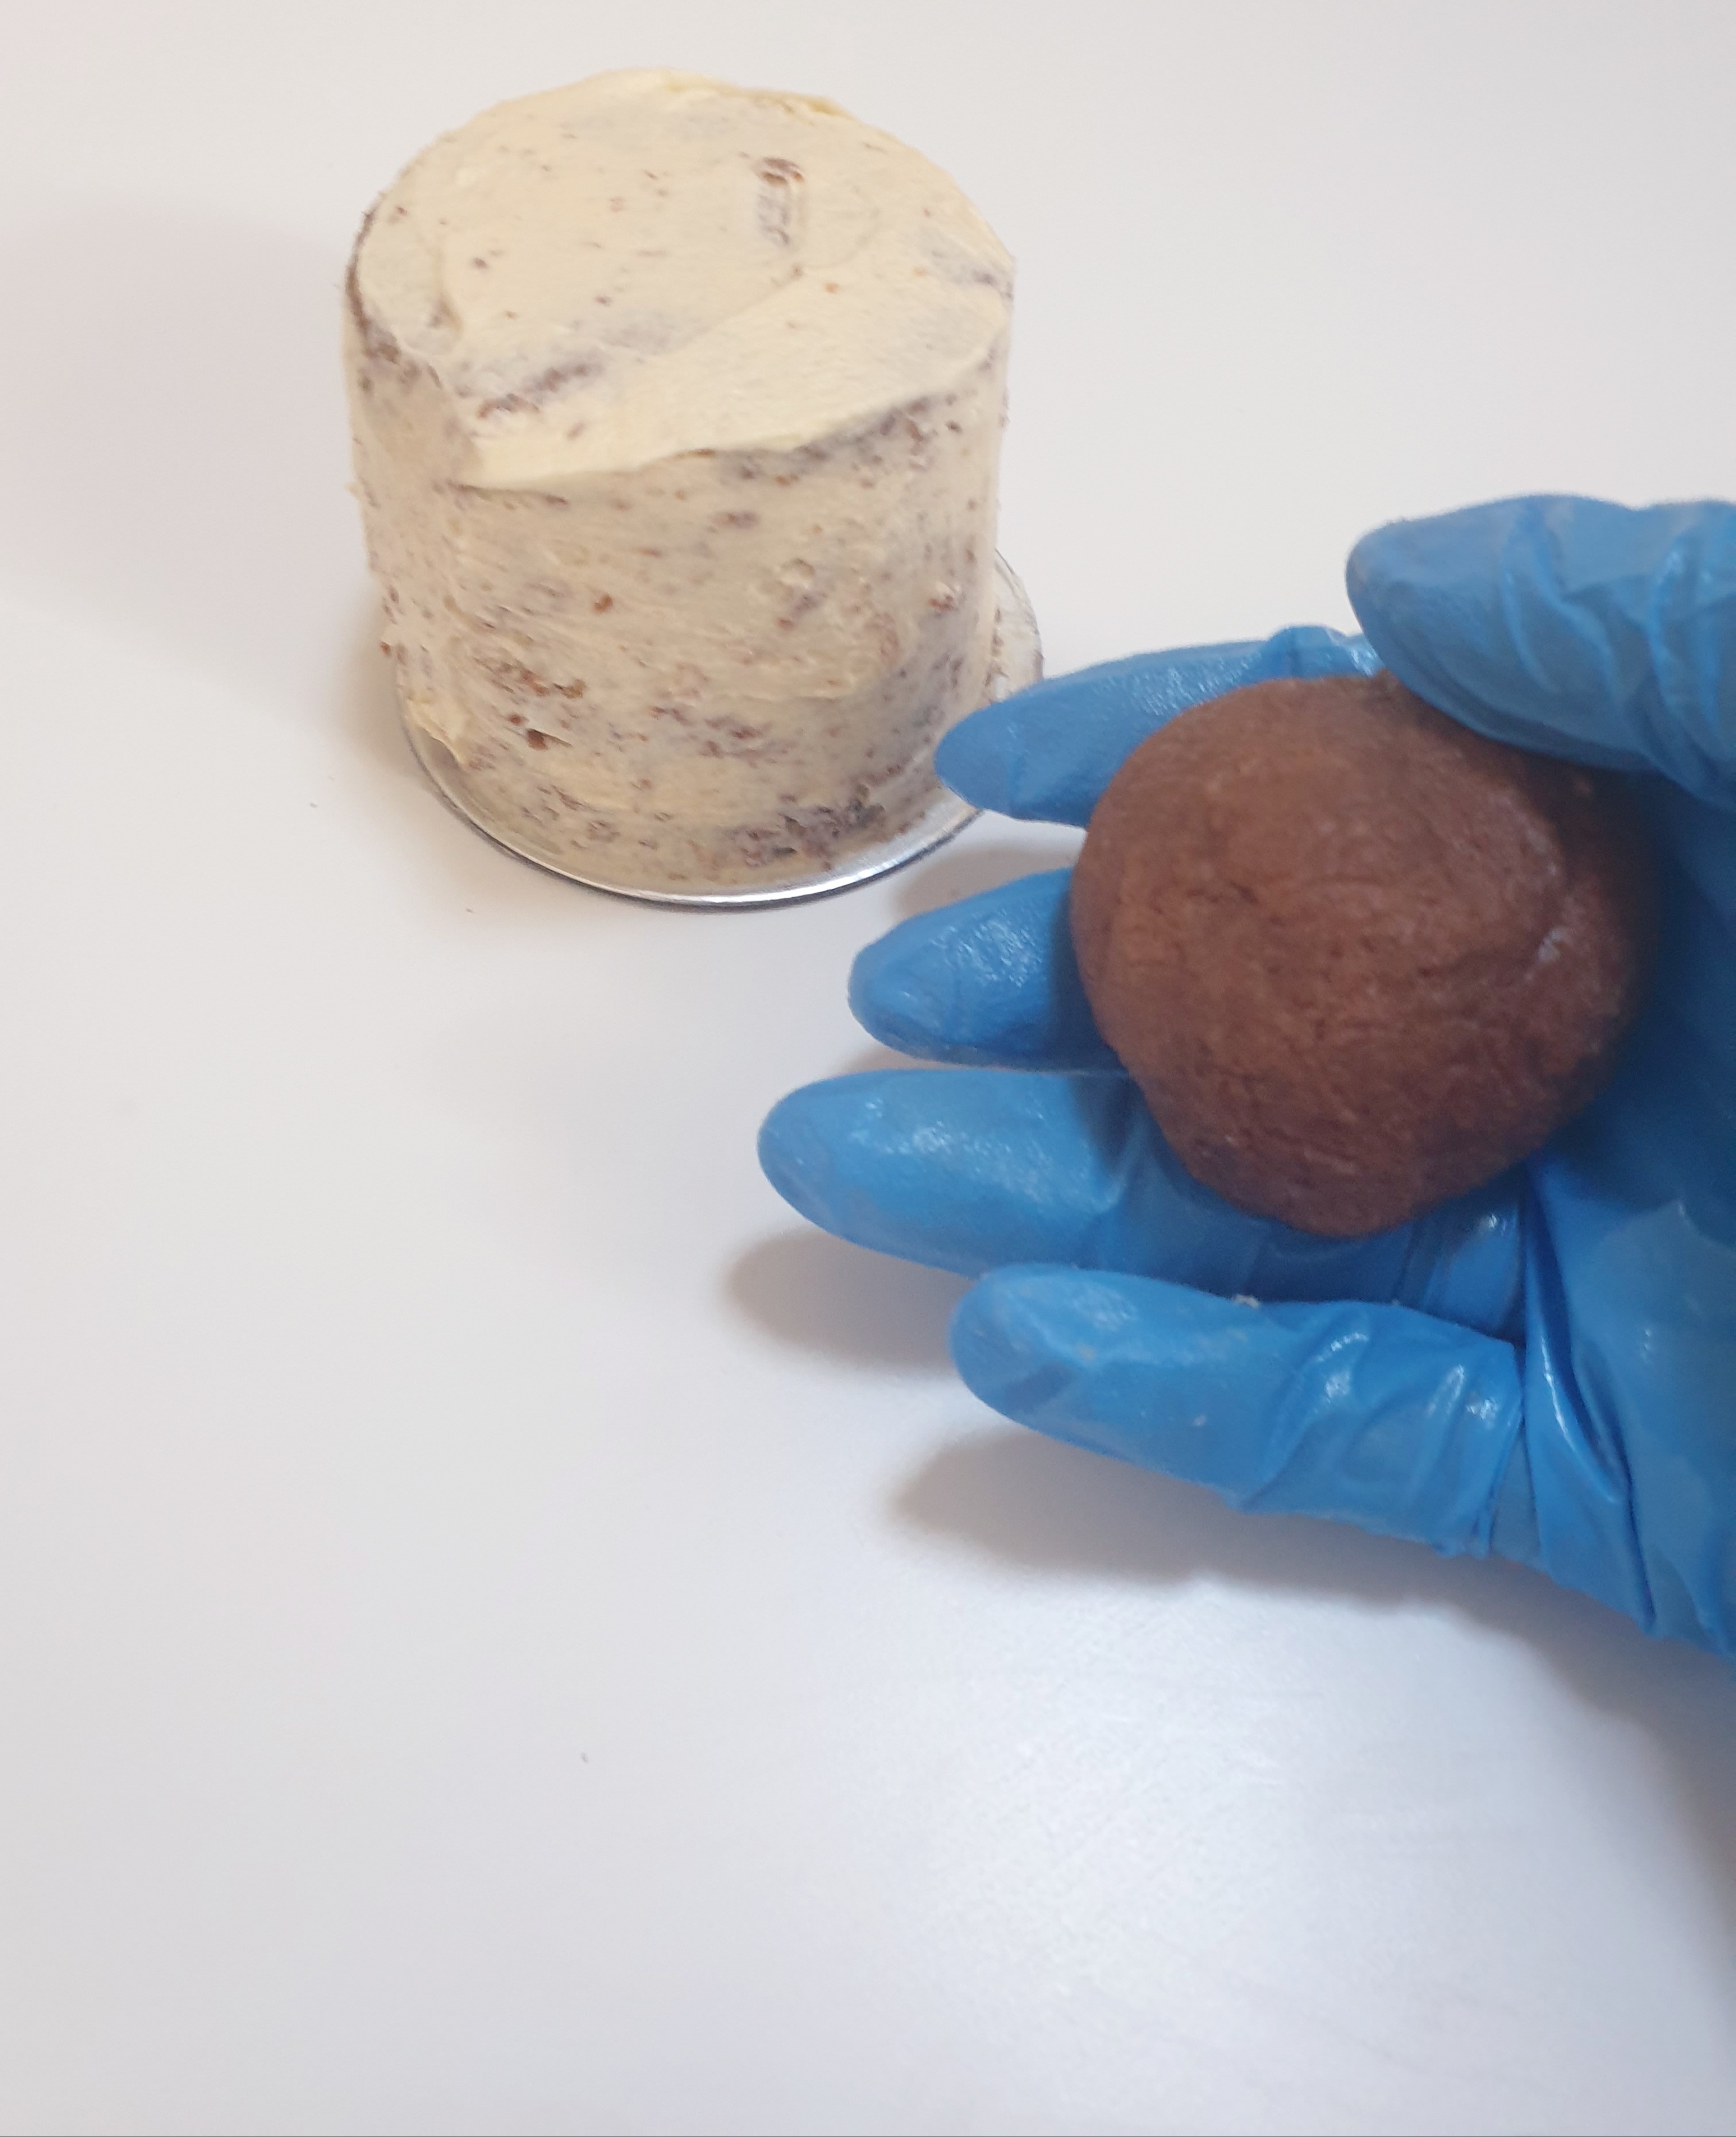
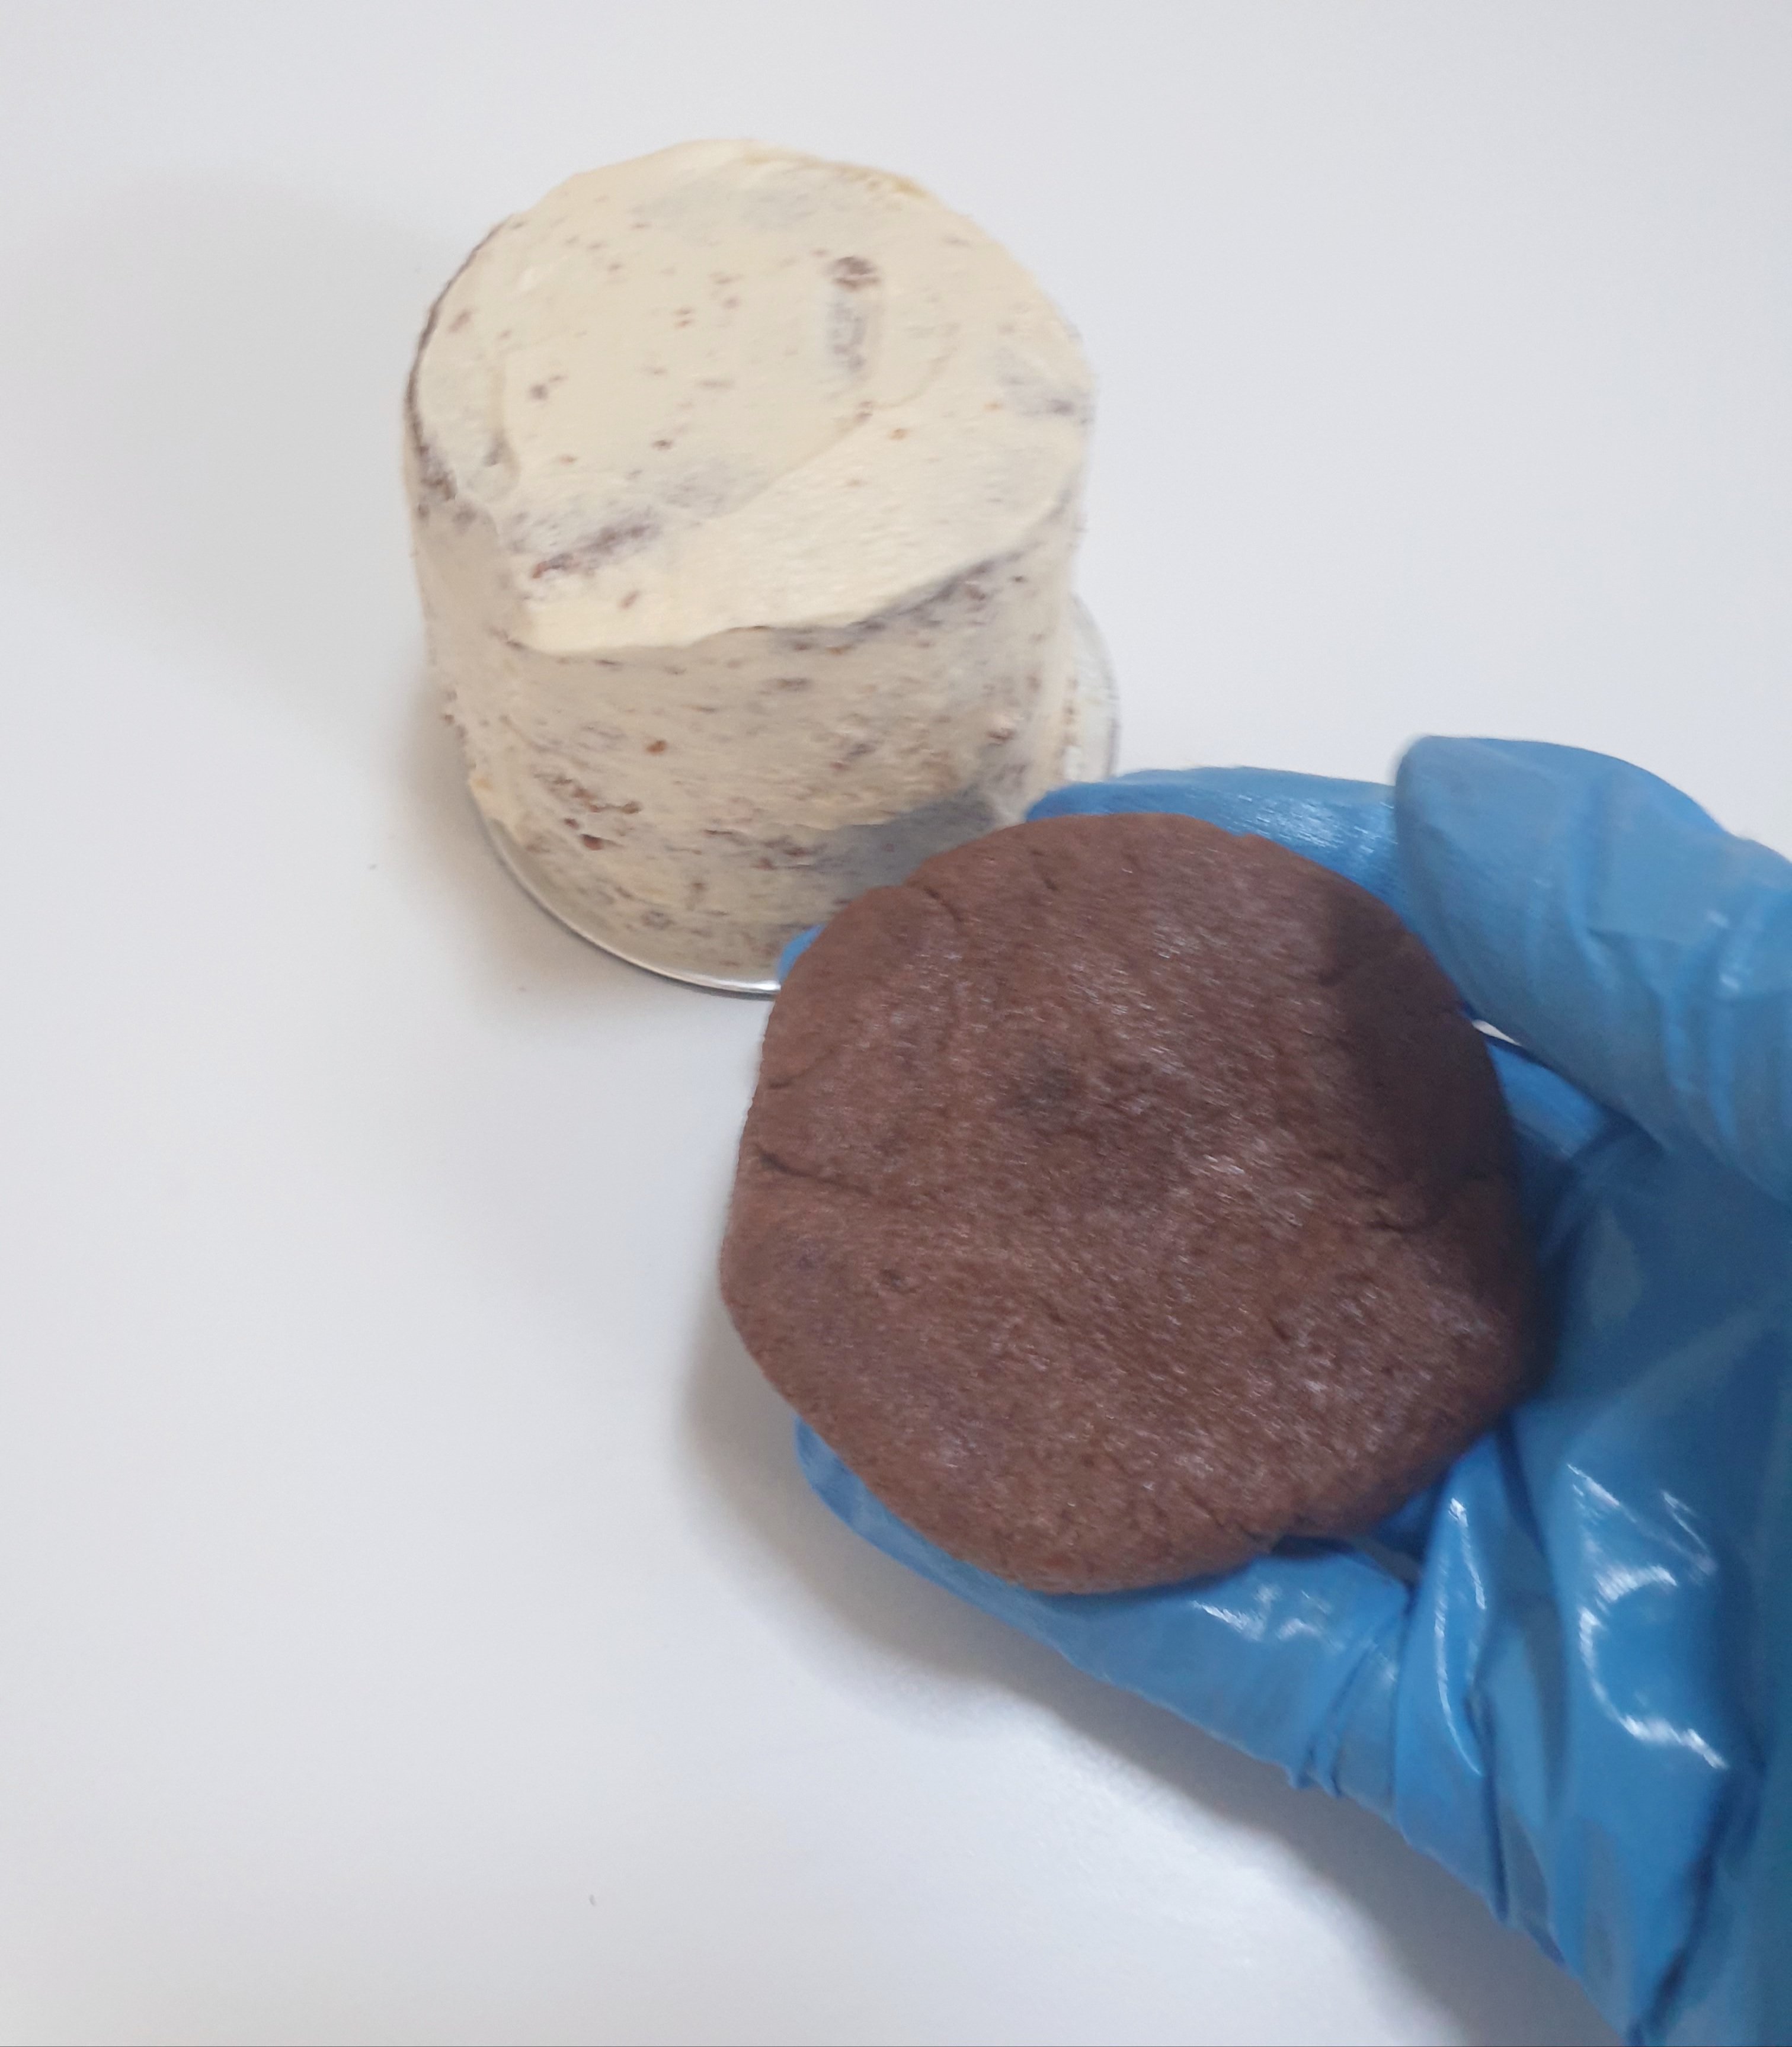
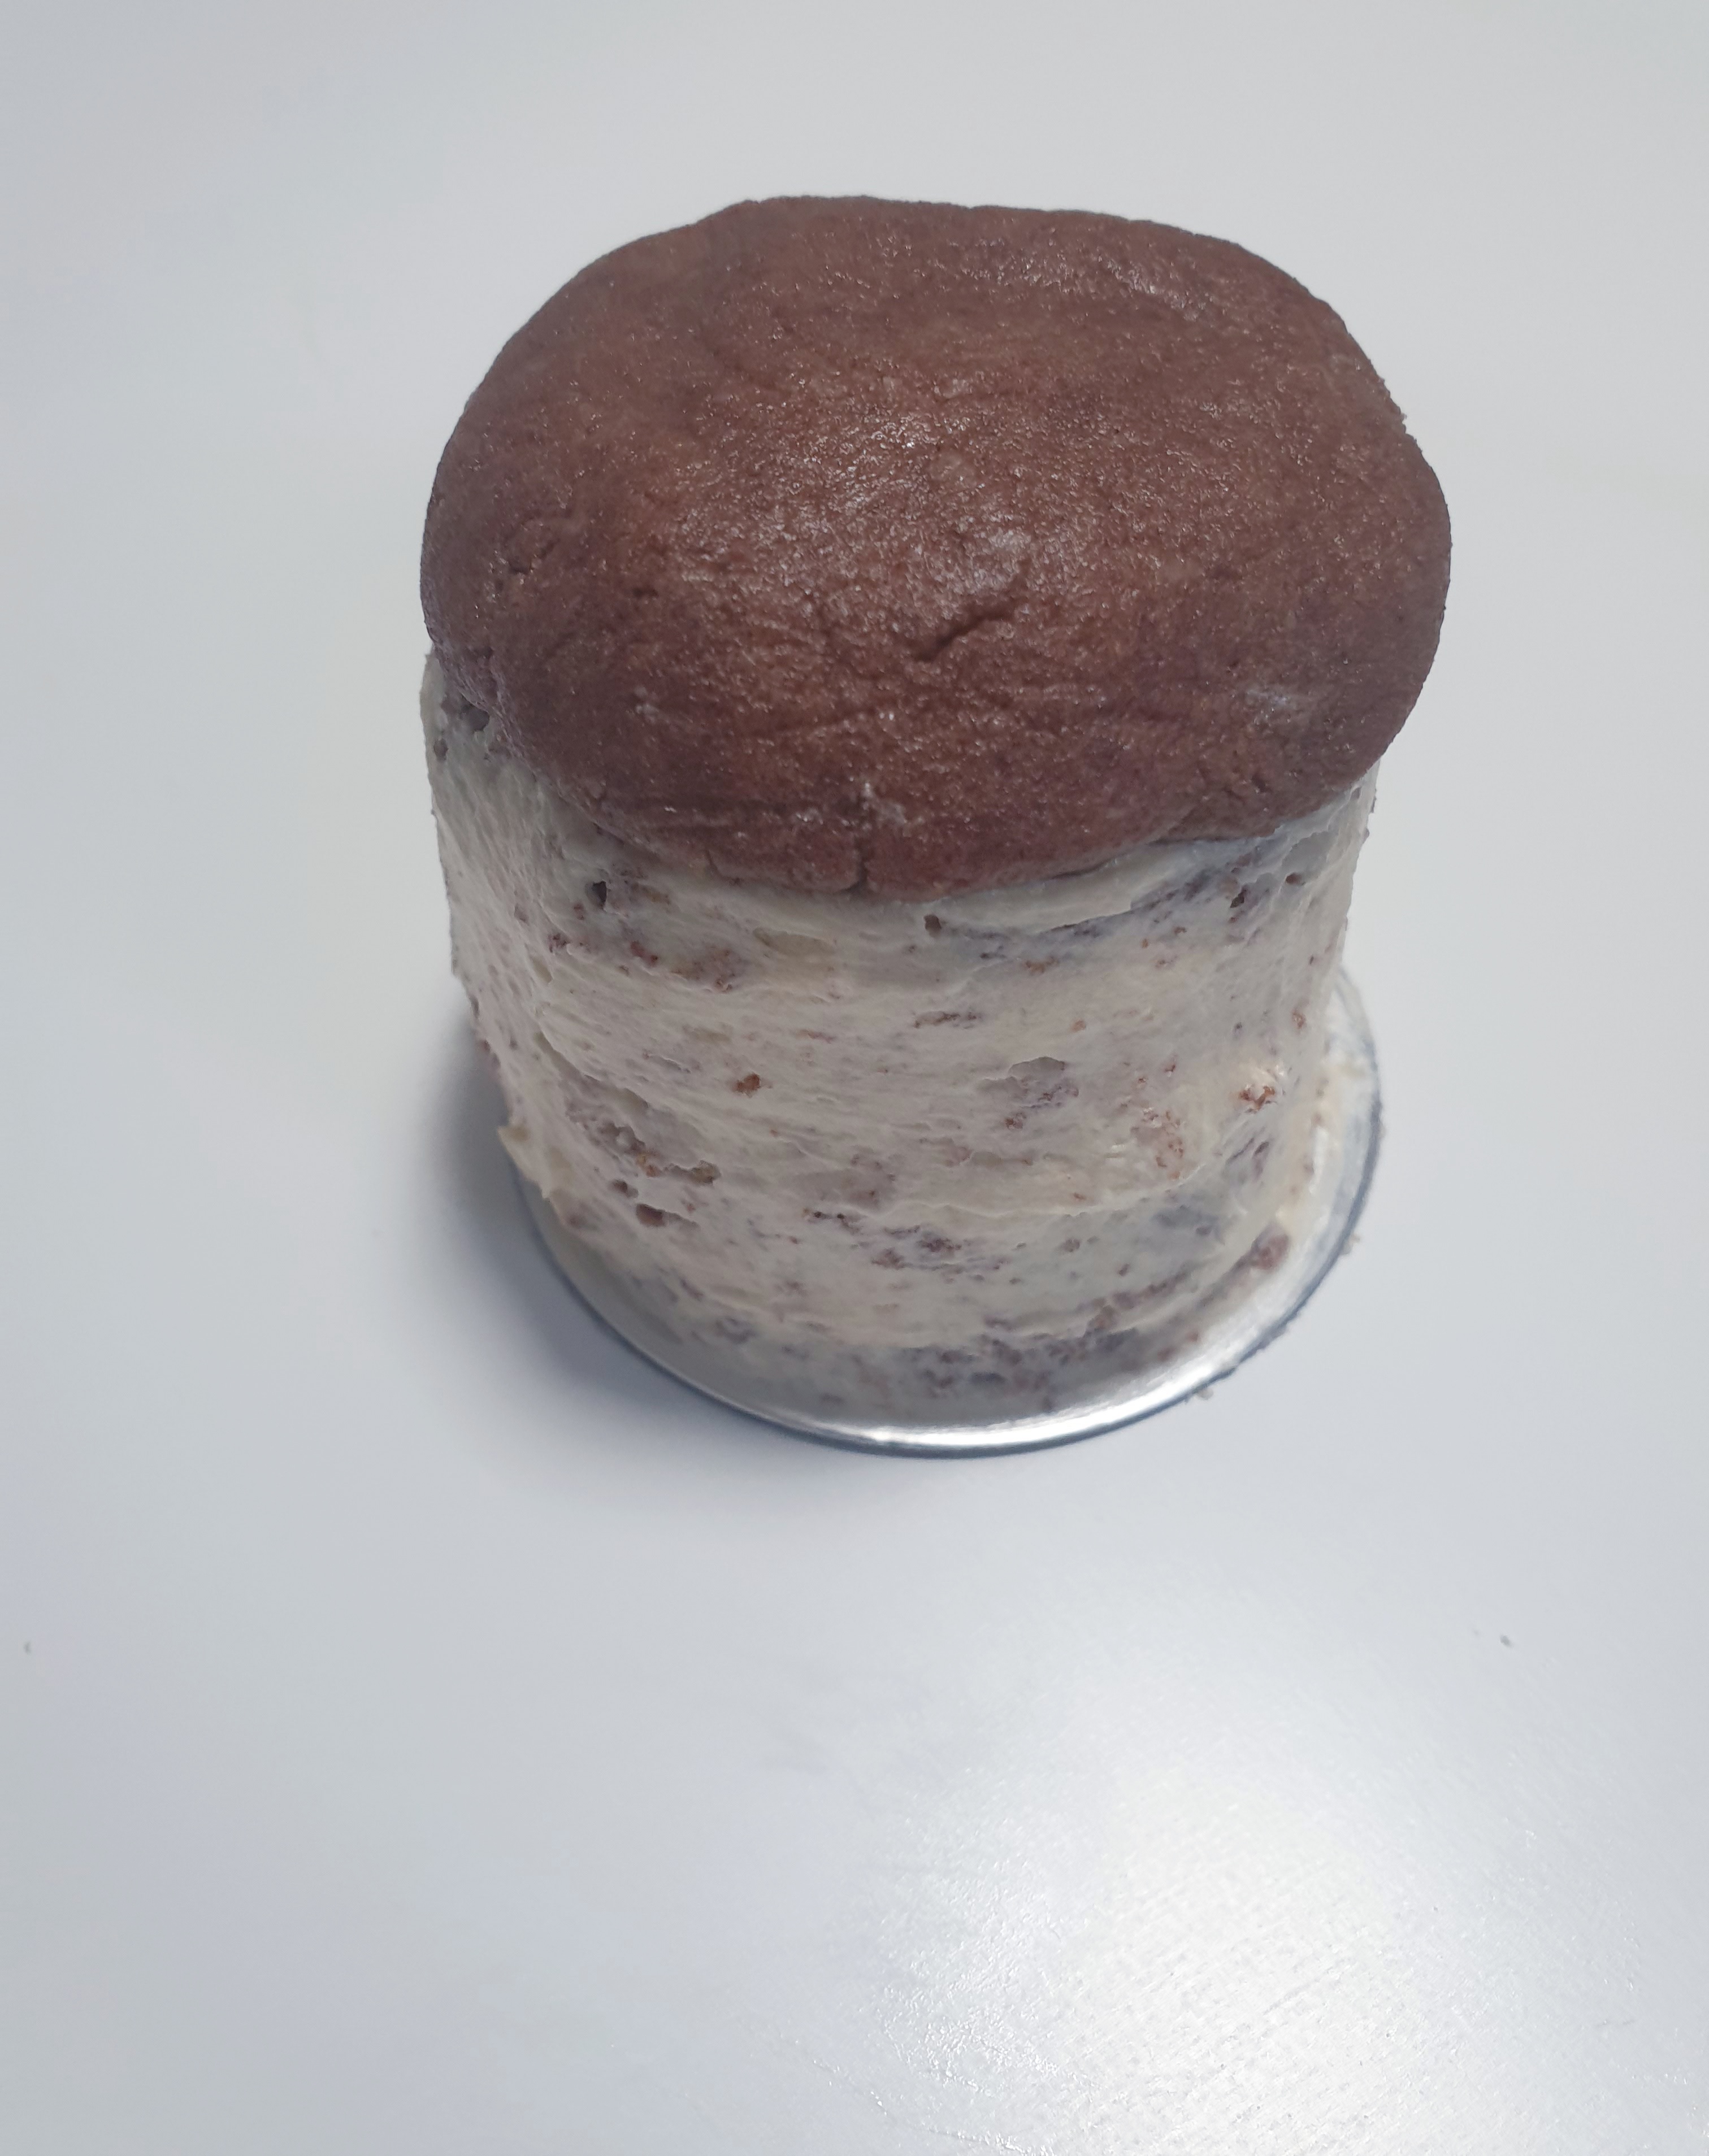
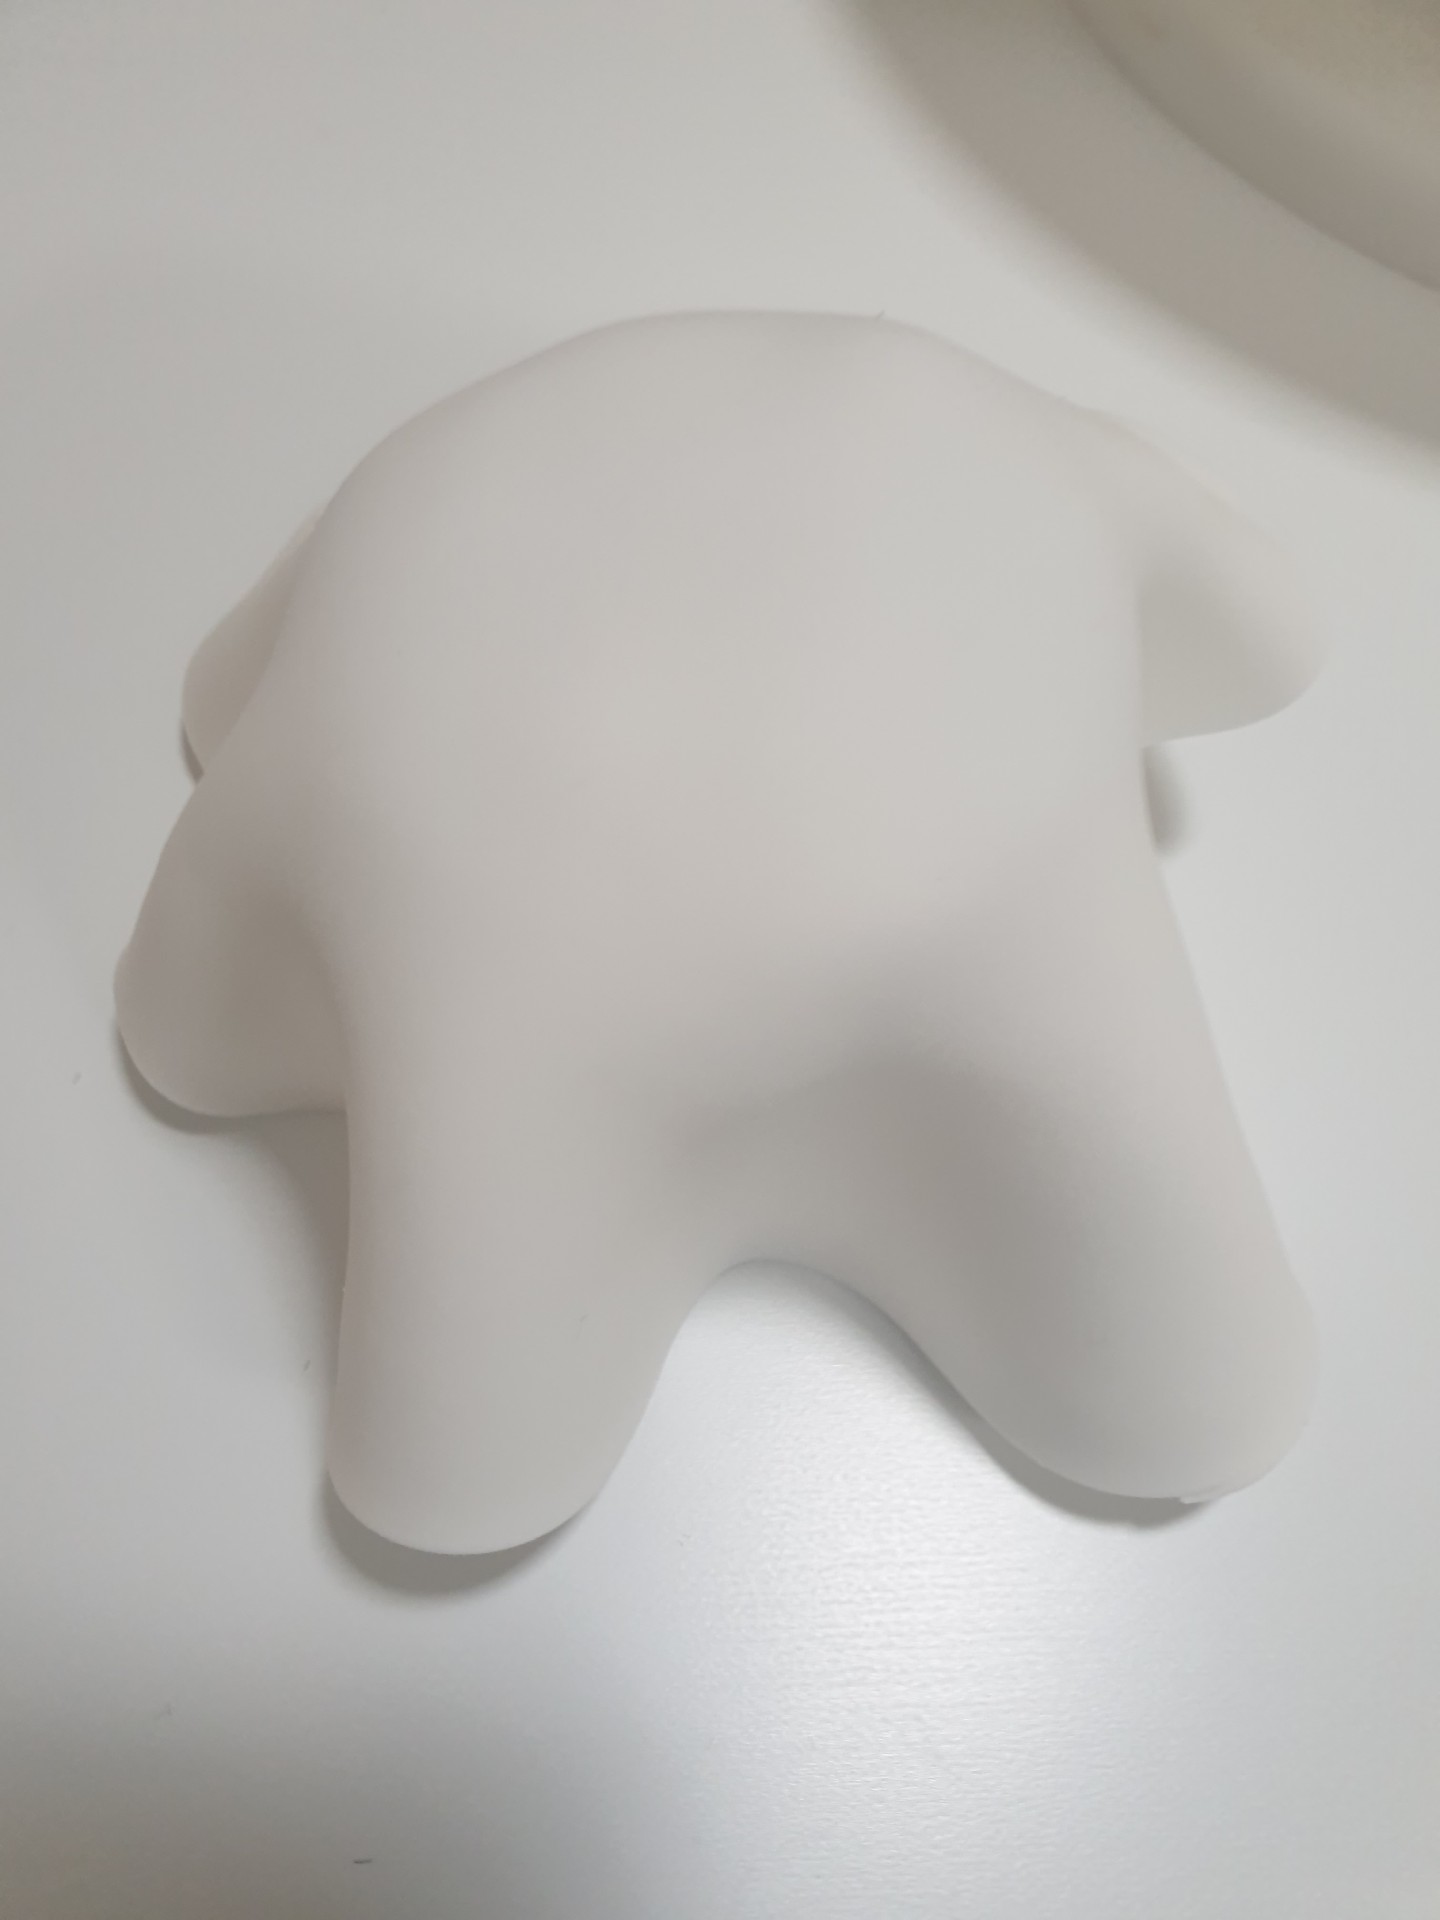
Step 6. Crumb coating & shaping your cakes ~
- Crumb coat your cakes using the remaining butter cream. Try and make them as smooth as possible with your scraper and palette knife.
- Take the cake dough from the fridge and cut itinto the required amount of pieces (you will need a piece for the top of each cake in order to give it a more rounded shape.
- Take a piece of cake dough and roll it into a small ball.
- Gently flatten the ball in your hand
- Place on top of your cake and mould it into an oval shape using your hands.
- Continue this process until all cakes have been topped with the cake dough.
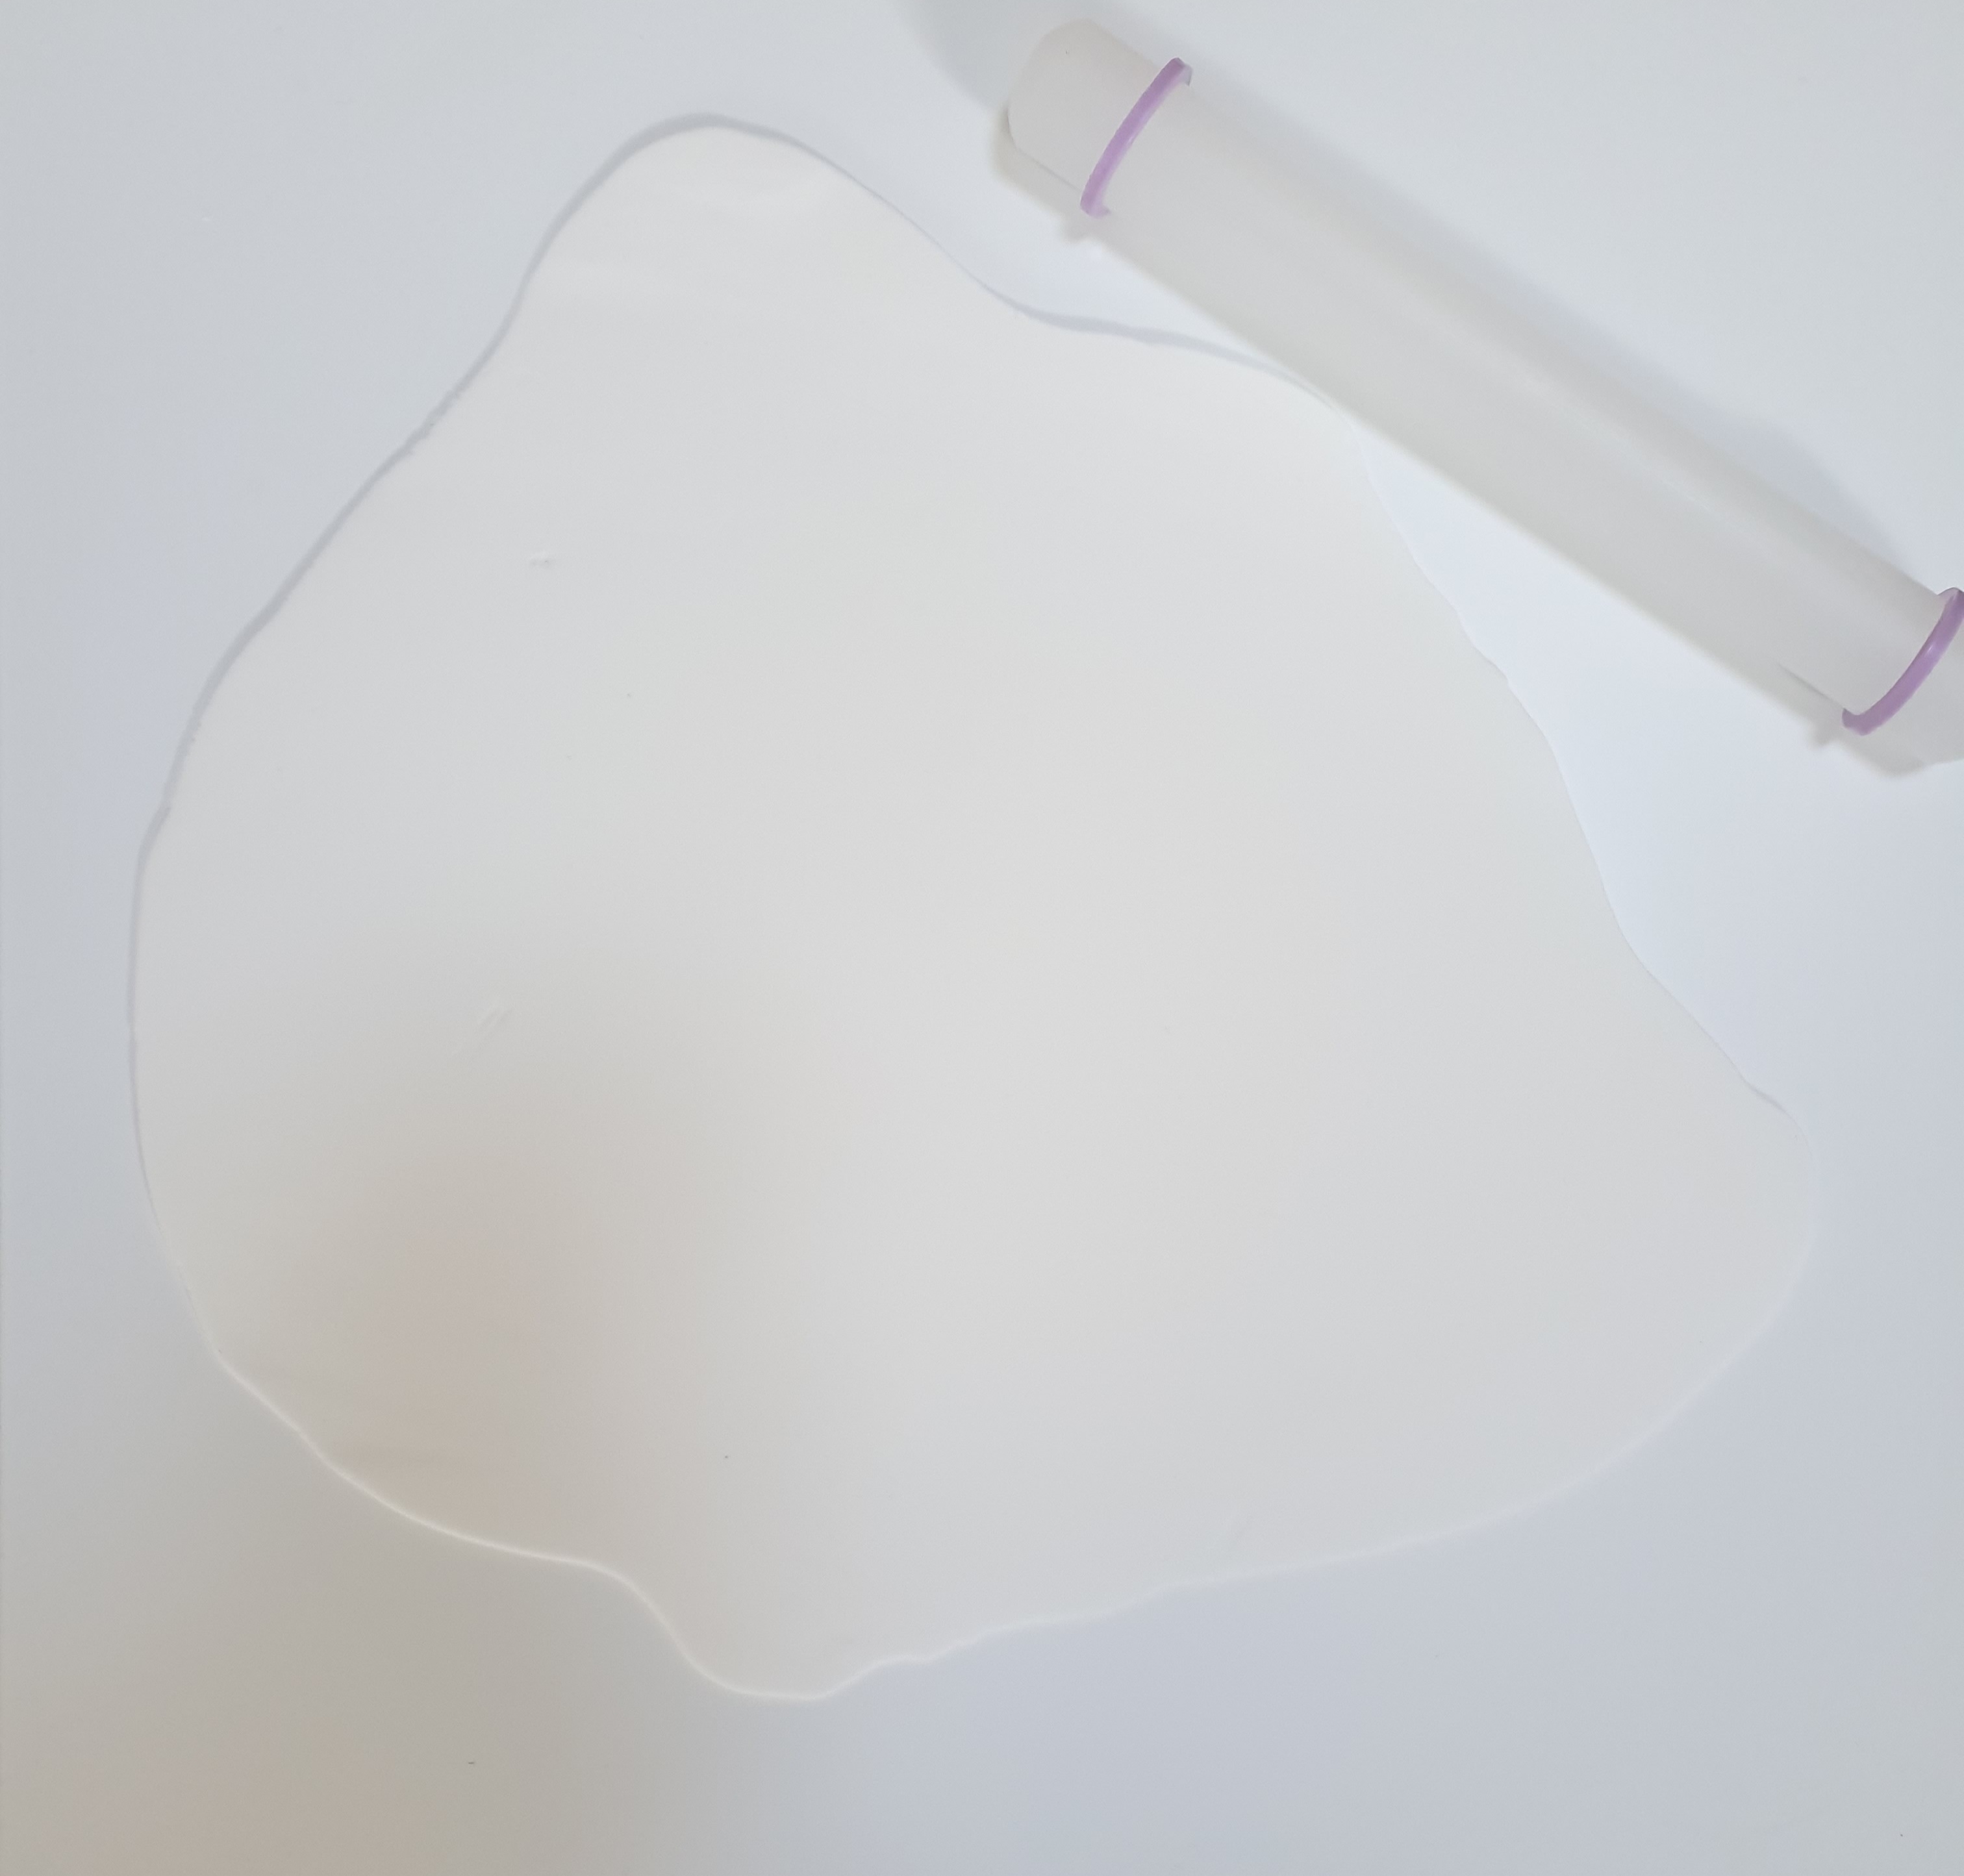
Step 7. Covering your cakes with fondant ~
- Using your white fondant, roll it out as evenly as possible.
- Using your knife, cut a large circular piece of fondant.
- Place this on top of a cake and begin to smooth it down by using your cake smoothers.
- Trim off any excess with your knife.
- Continue this process until all of your cakes are covered.
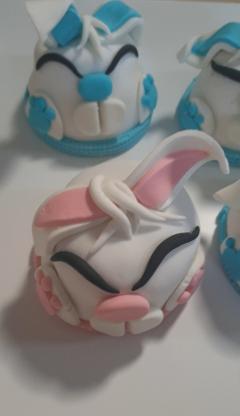
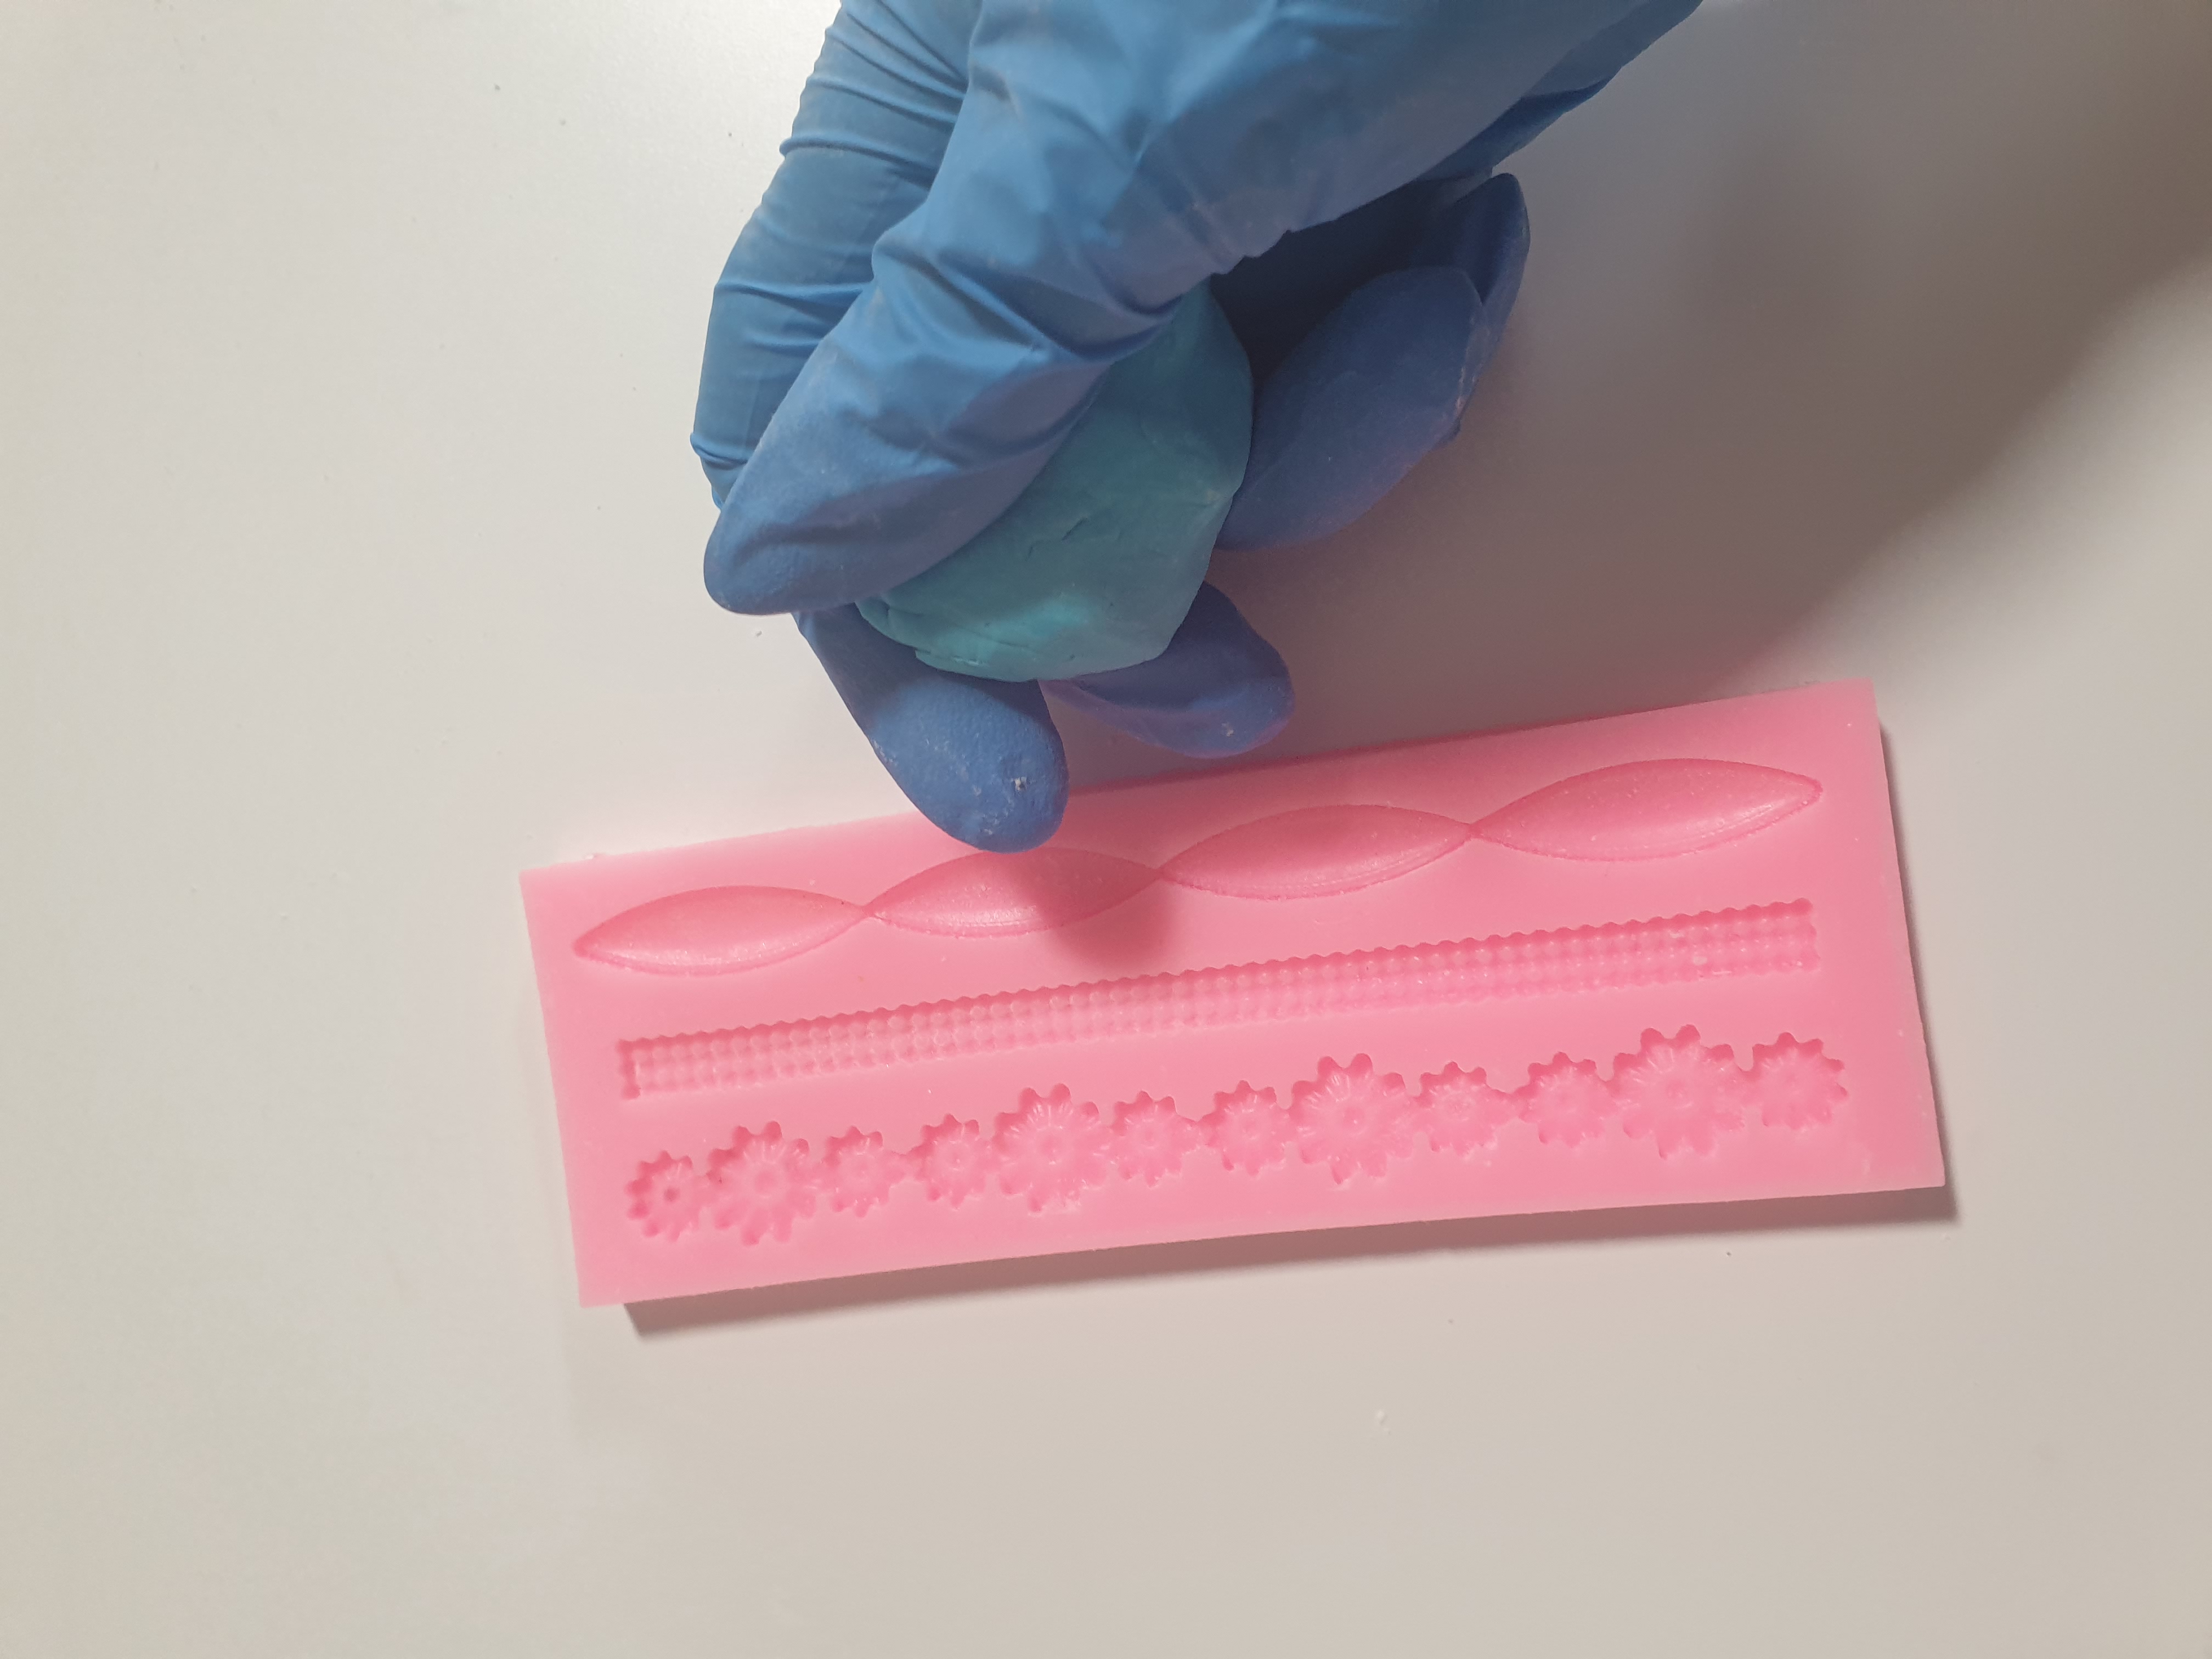
Step 8. Decorating your cakes ~
A: Border
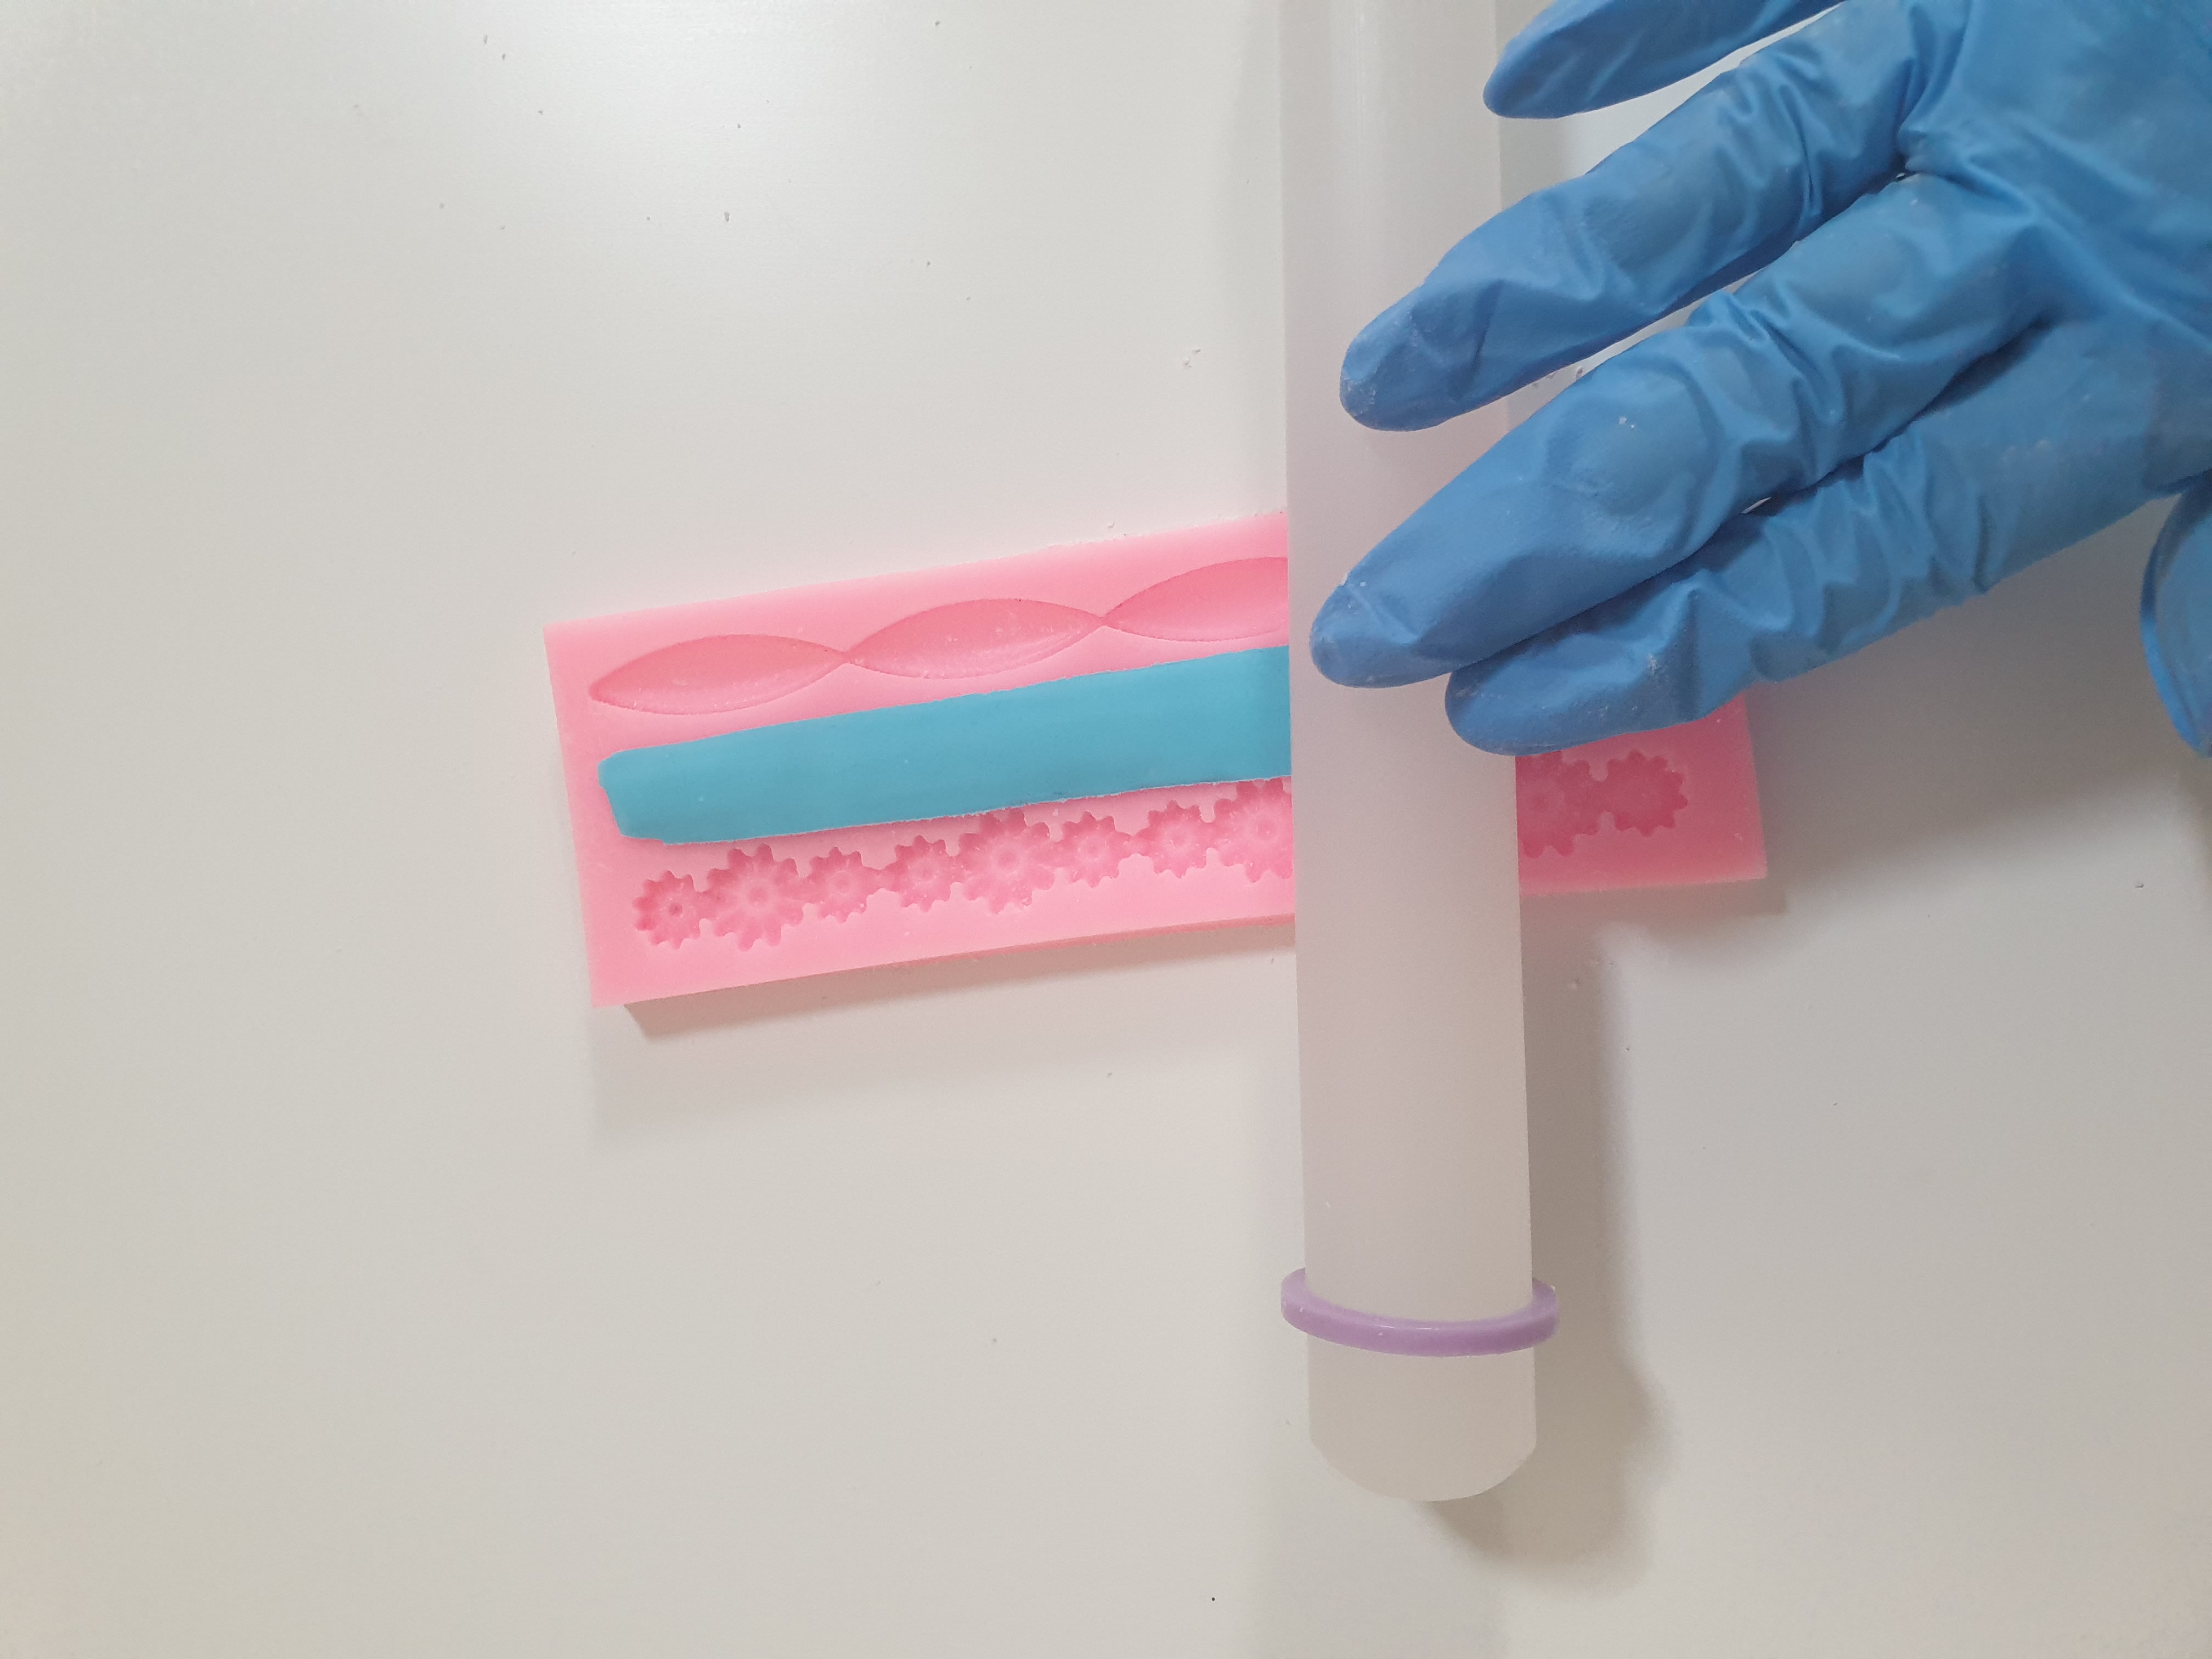
- Take your mould and some blue or pink fondant.
- Roll some fondant into a thin sausage shape.
- Use a small cake brush and brush the inside of the mould with cornflour to prevent the fondant from sticking.
- Place the piece of fondant on the mould.
- Gently roll over the fondant using your rolling pin.
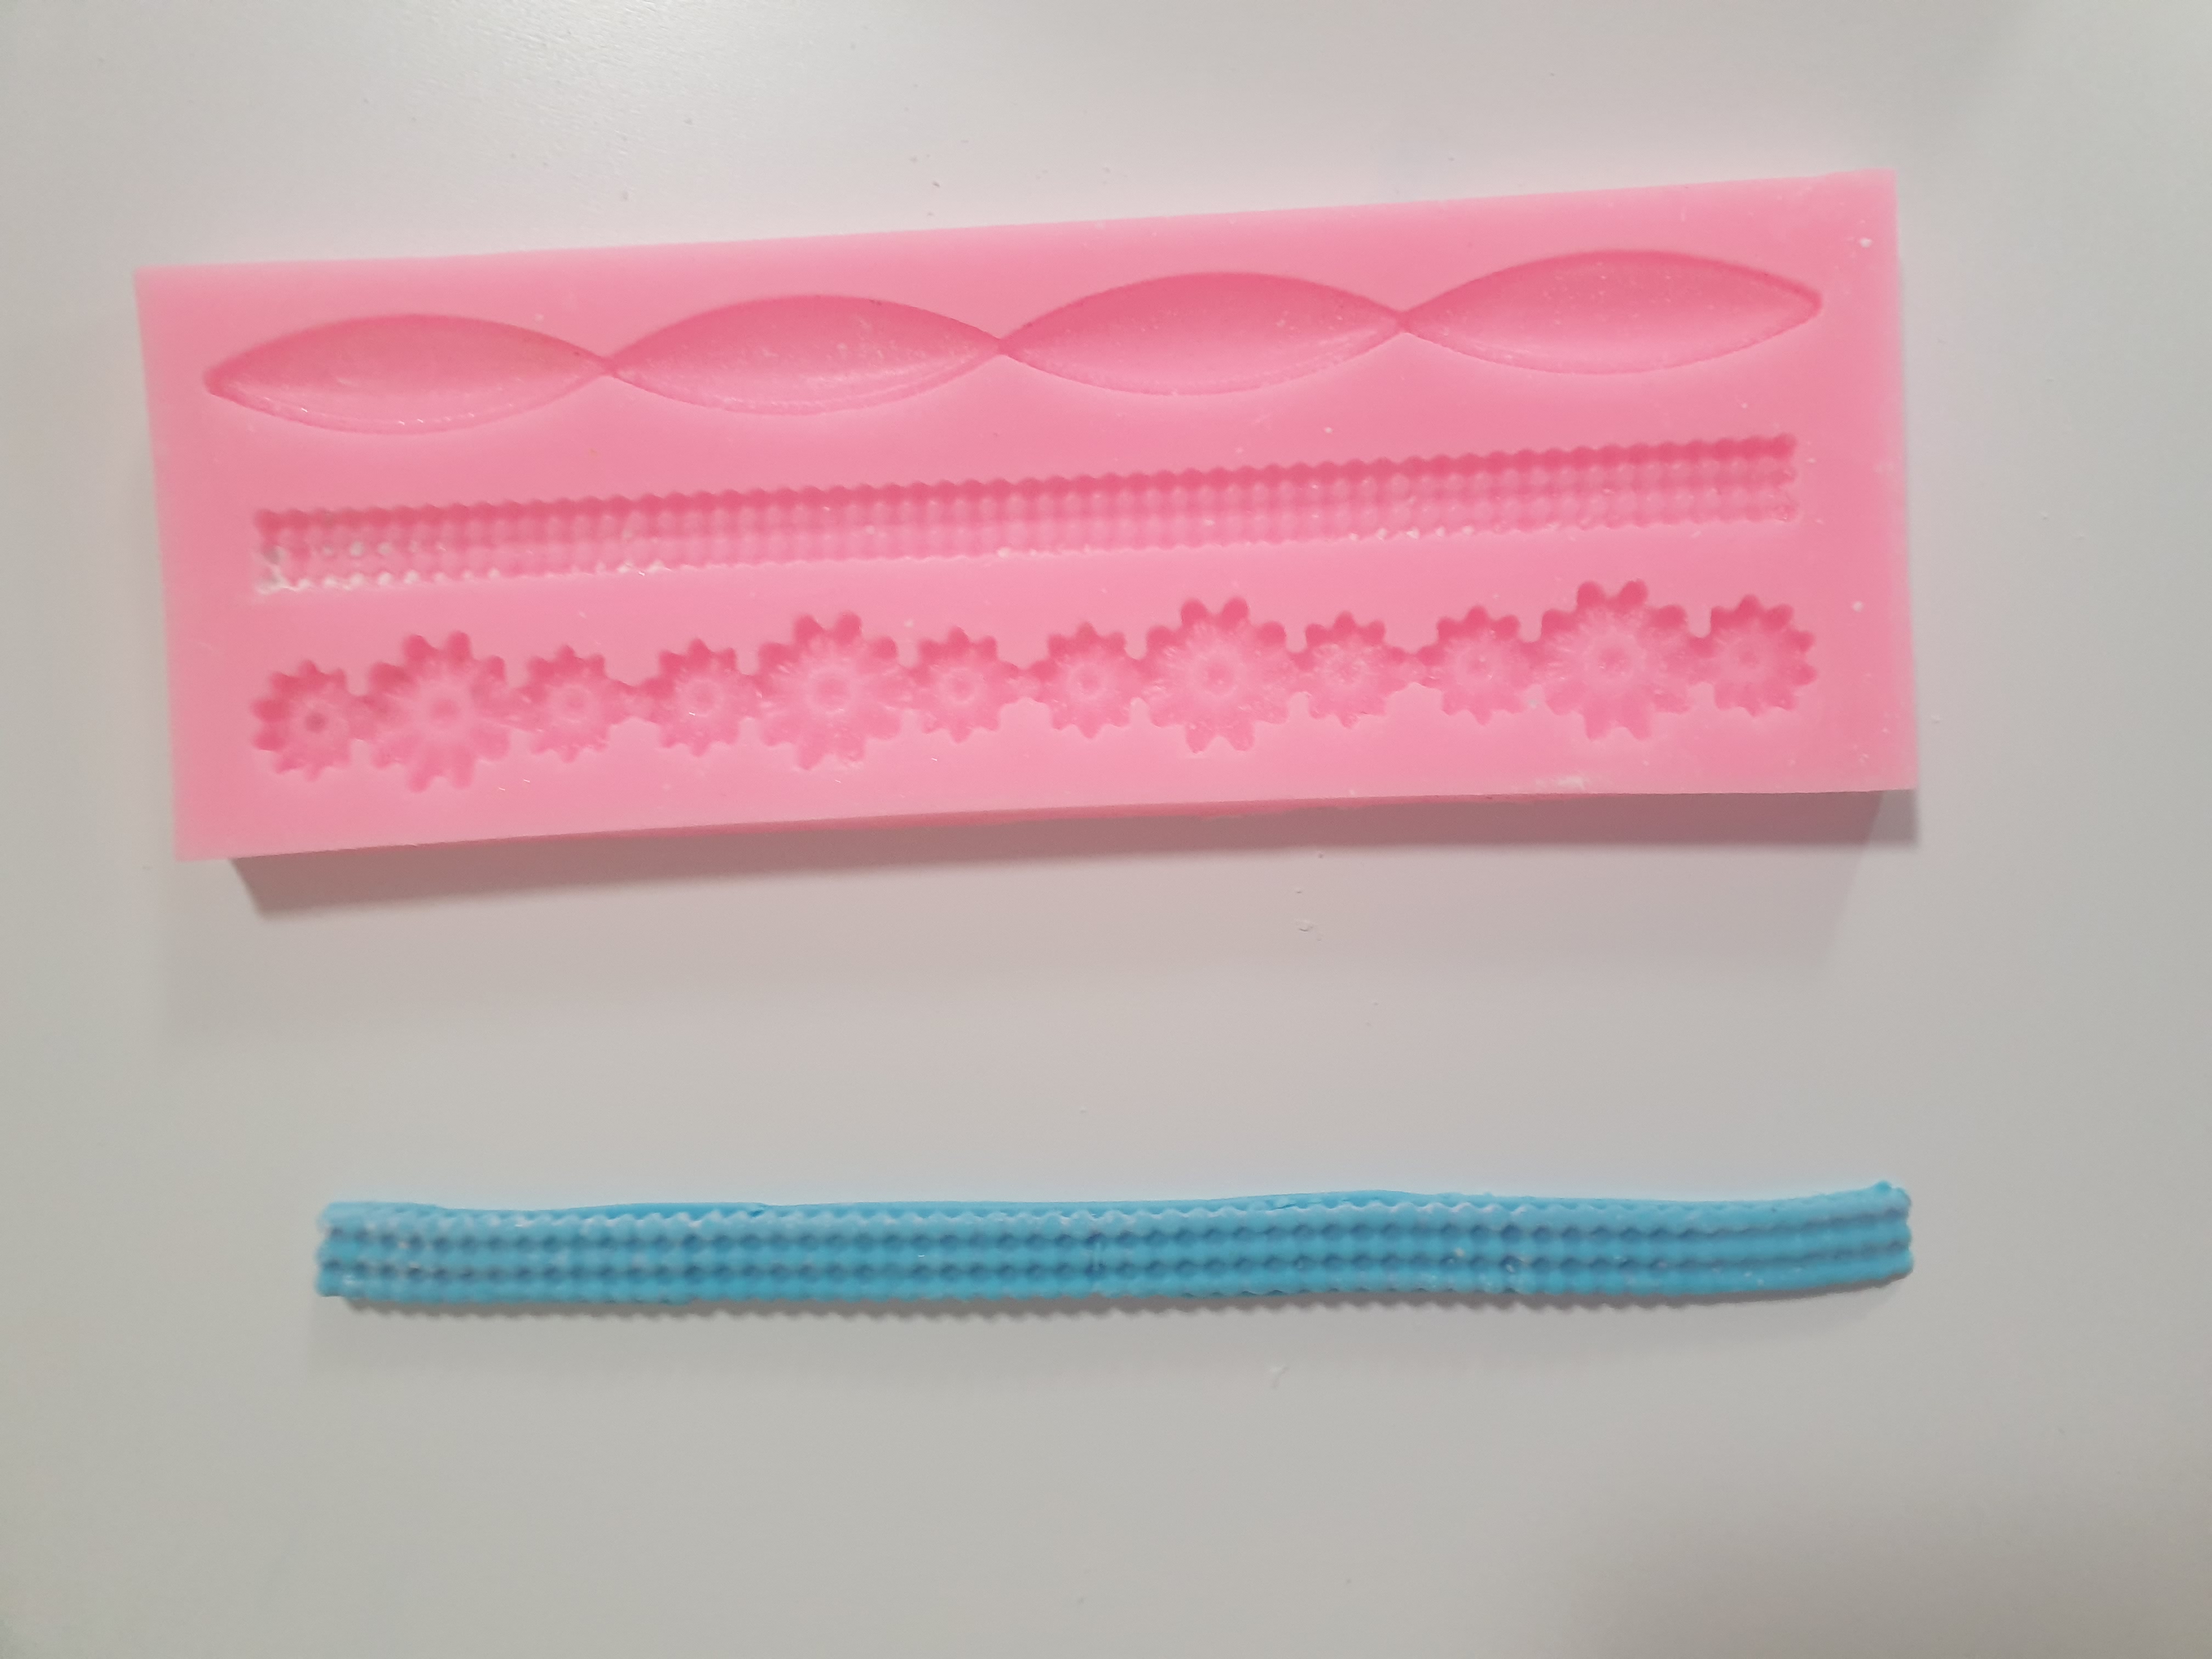
- Turn the mould gently upside down to remove the fondant in one piece.
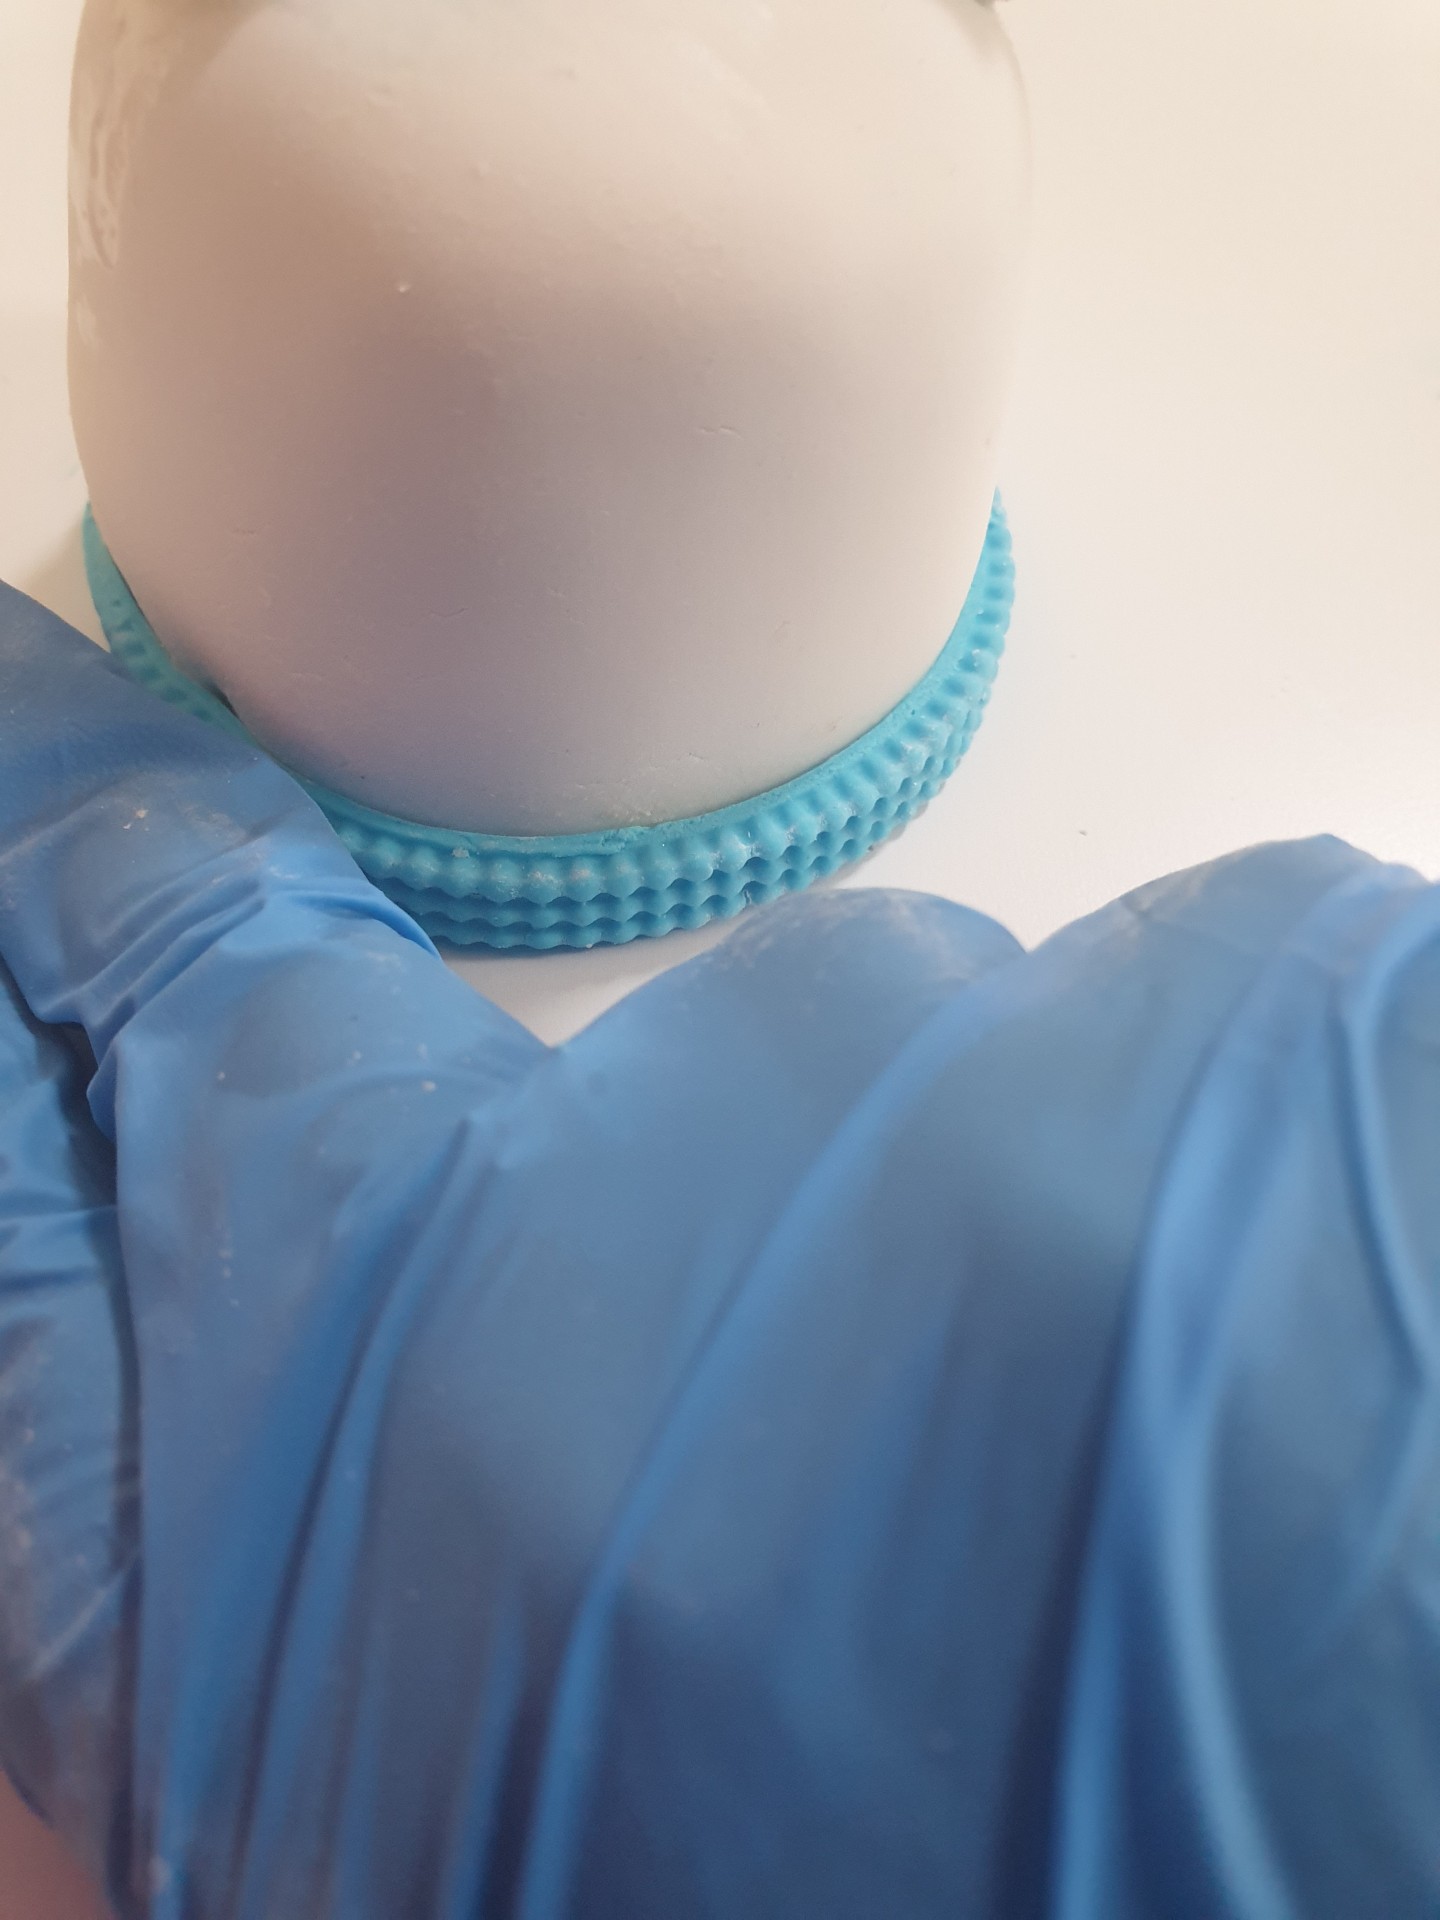
- Wet the bottom edge of the cake with a separate cake brush.
- Place the fondant border firmly around the bottom of the cake.
- Hold in place for a couple of seconds until it is secure.
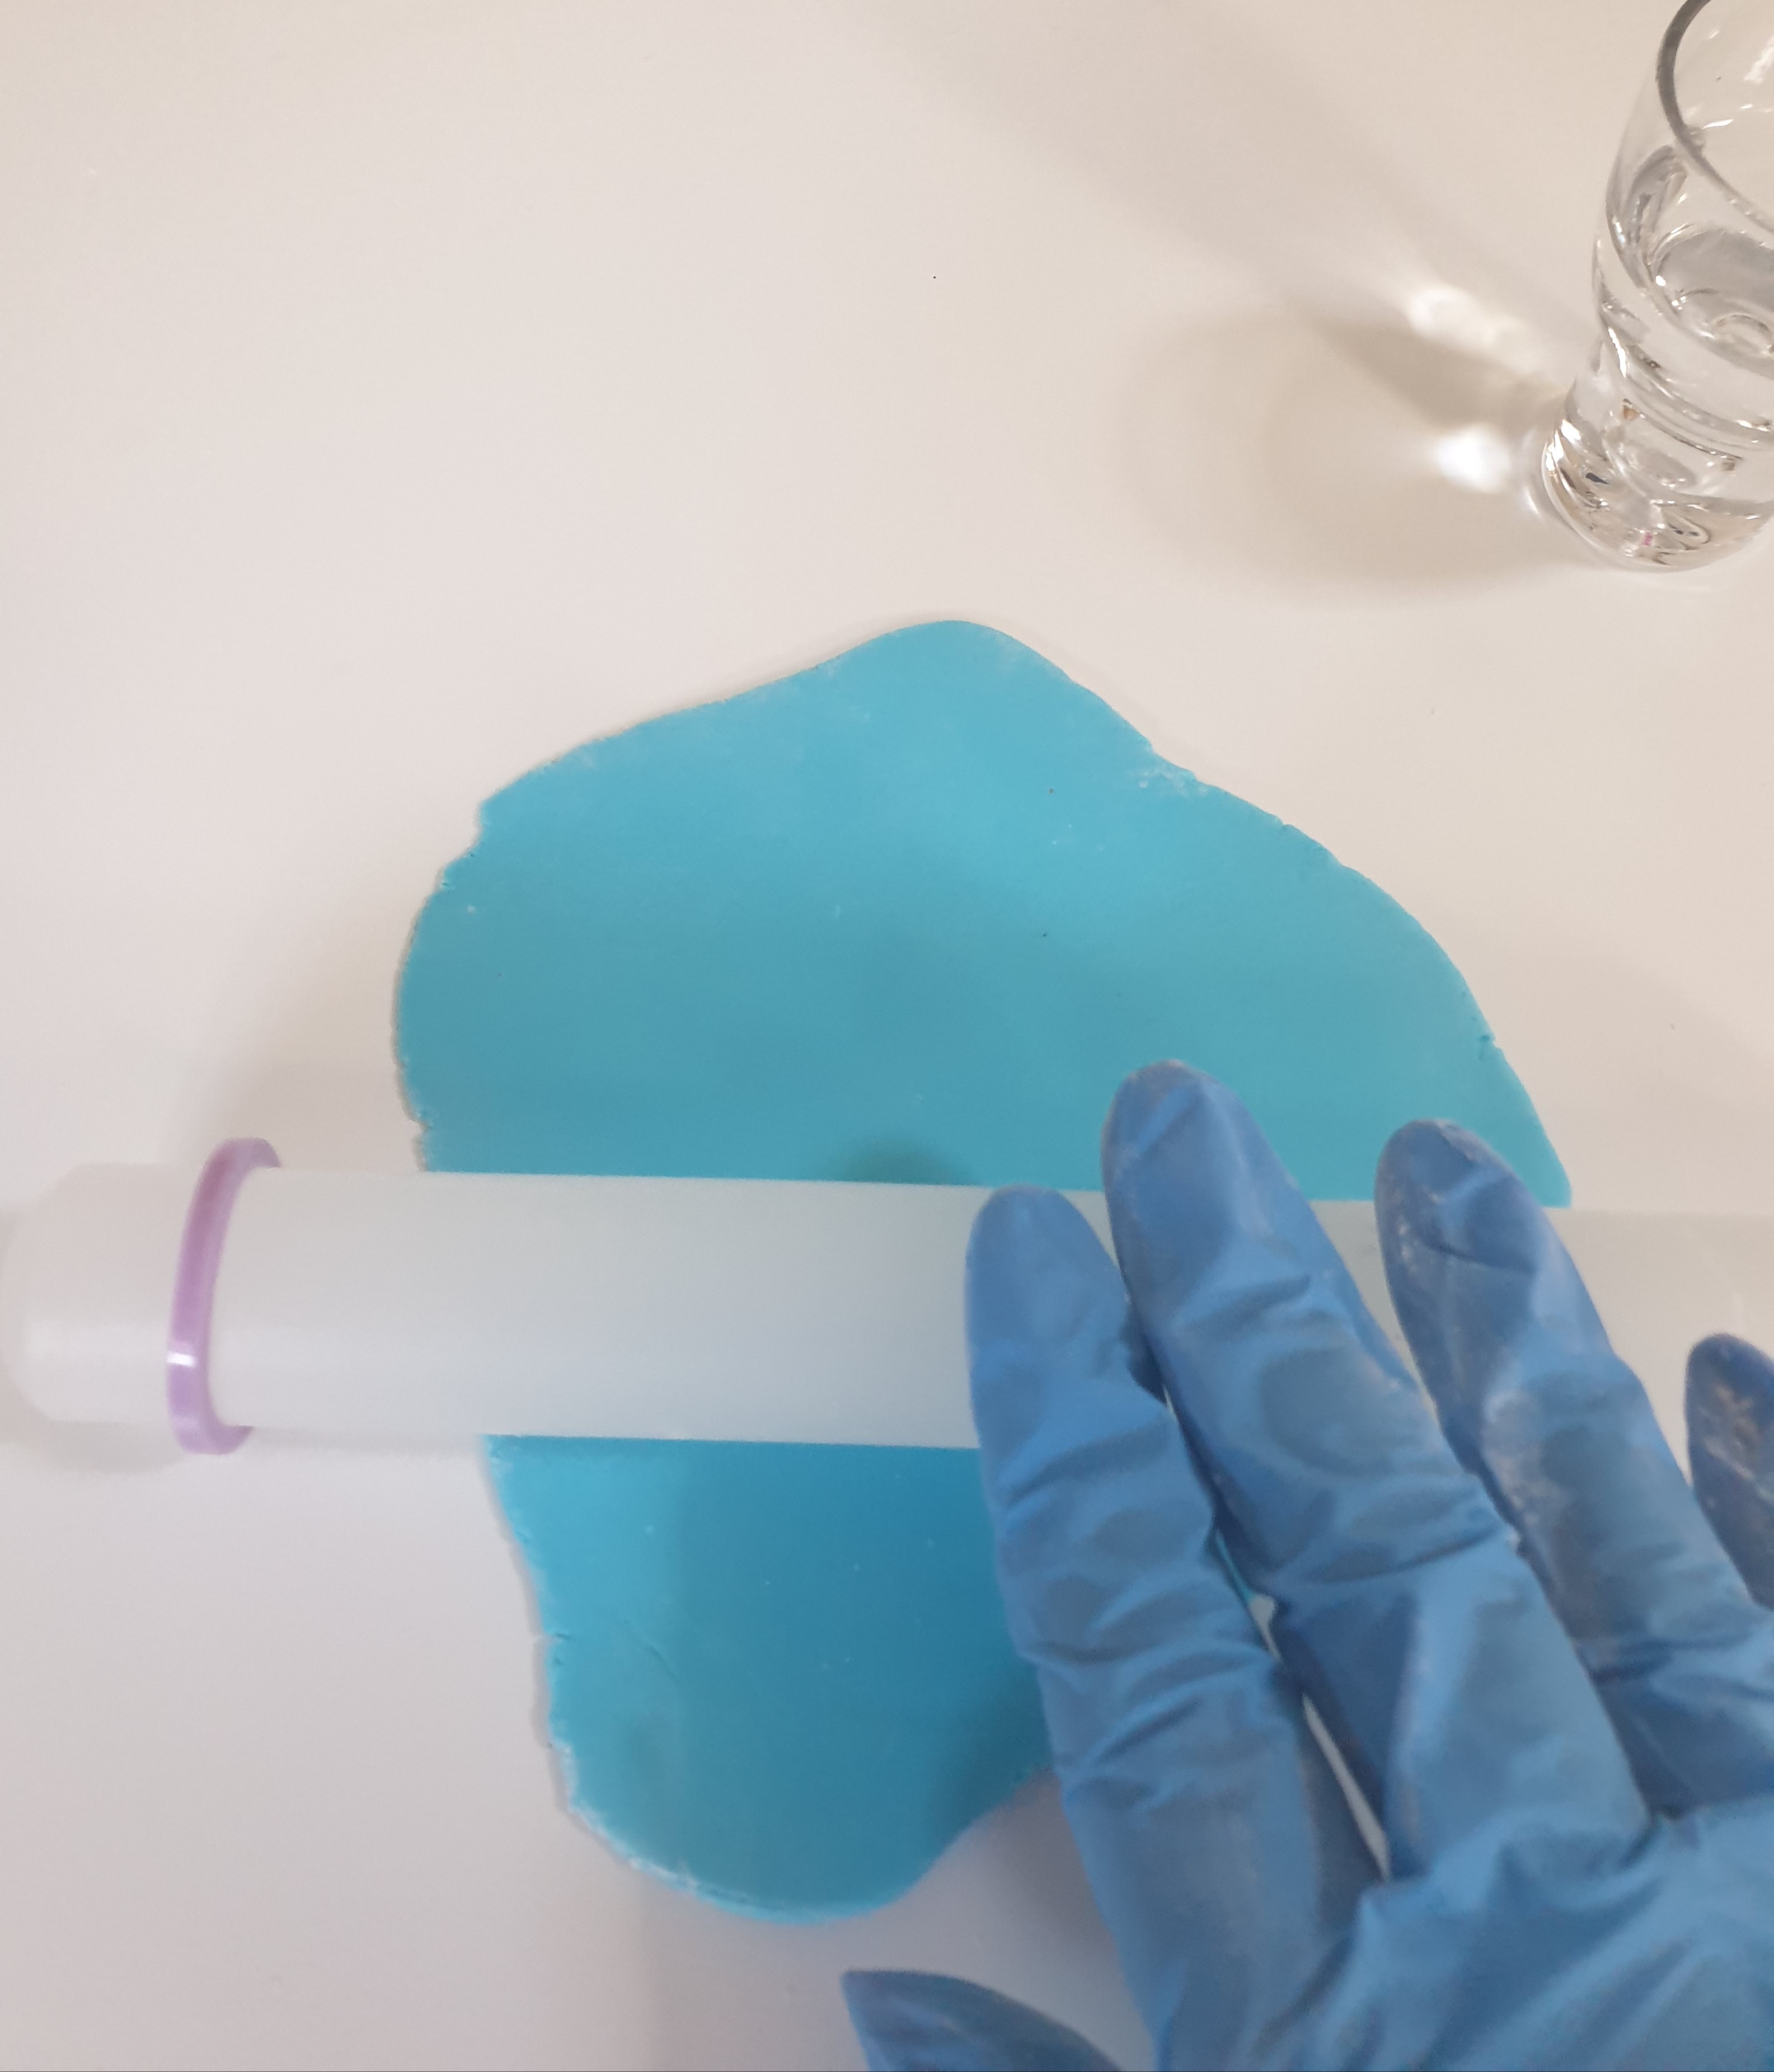
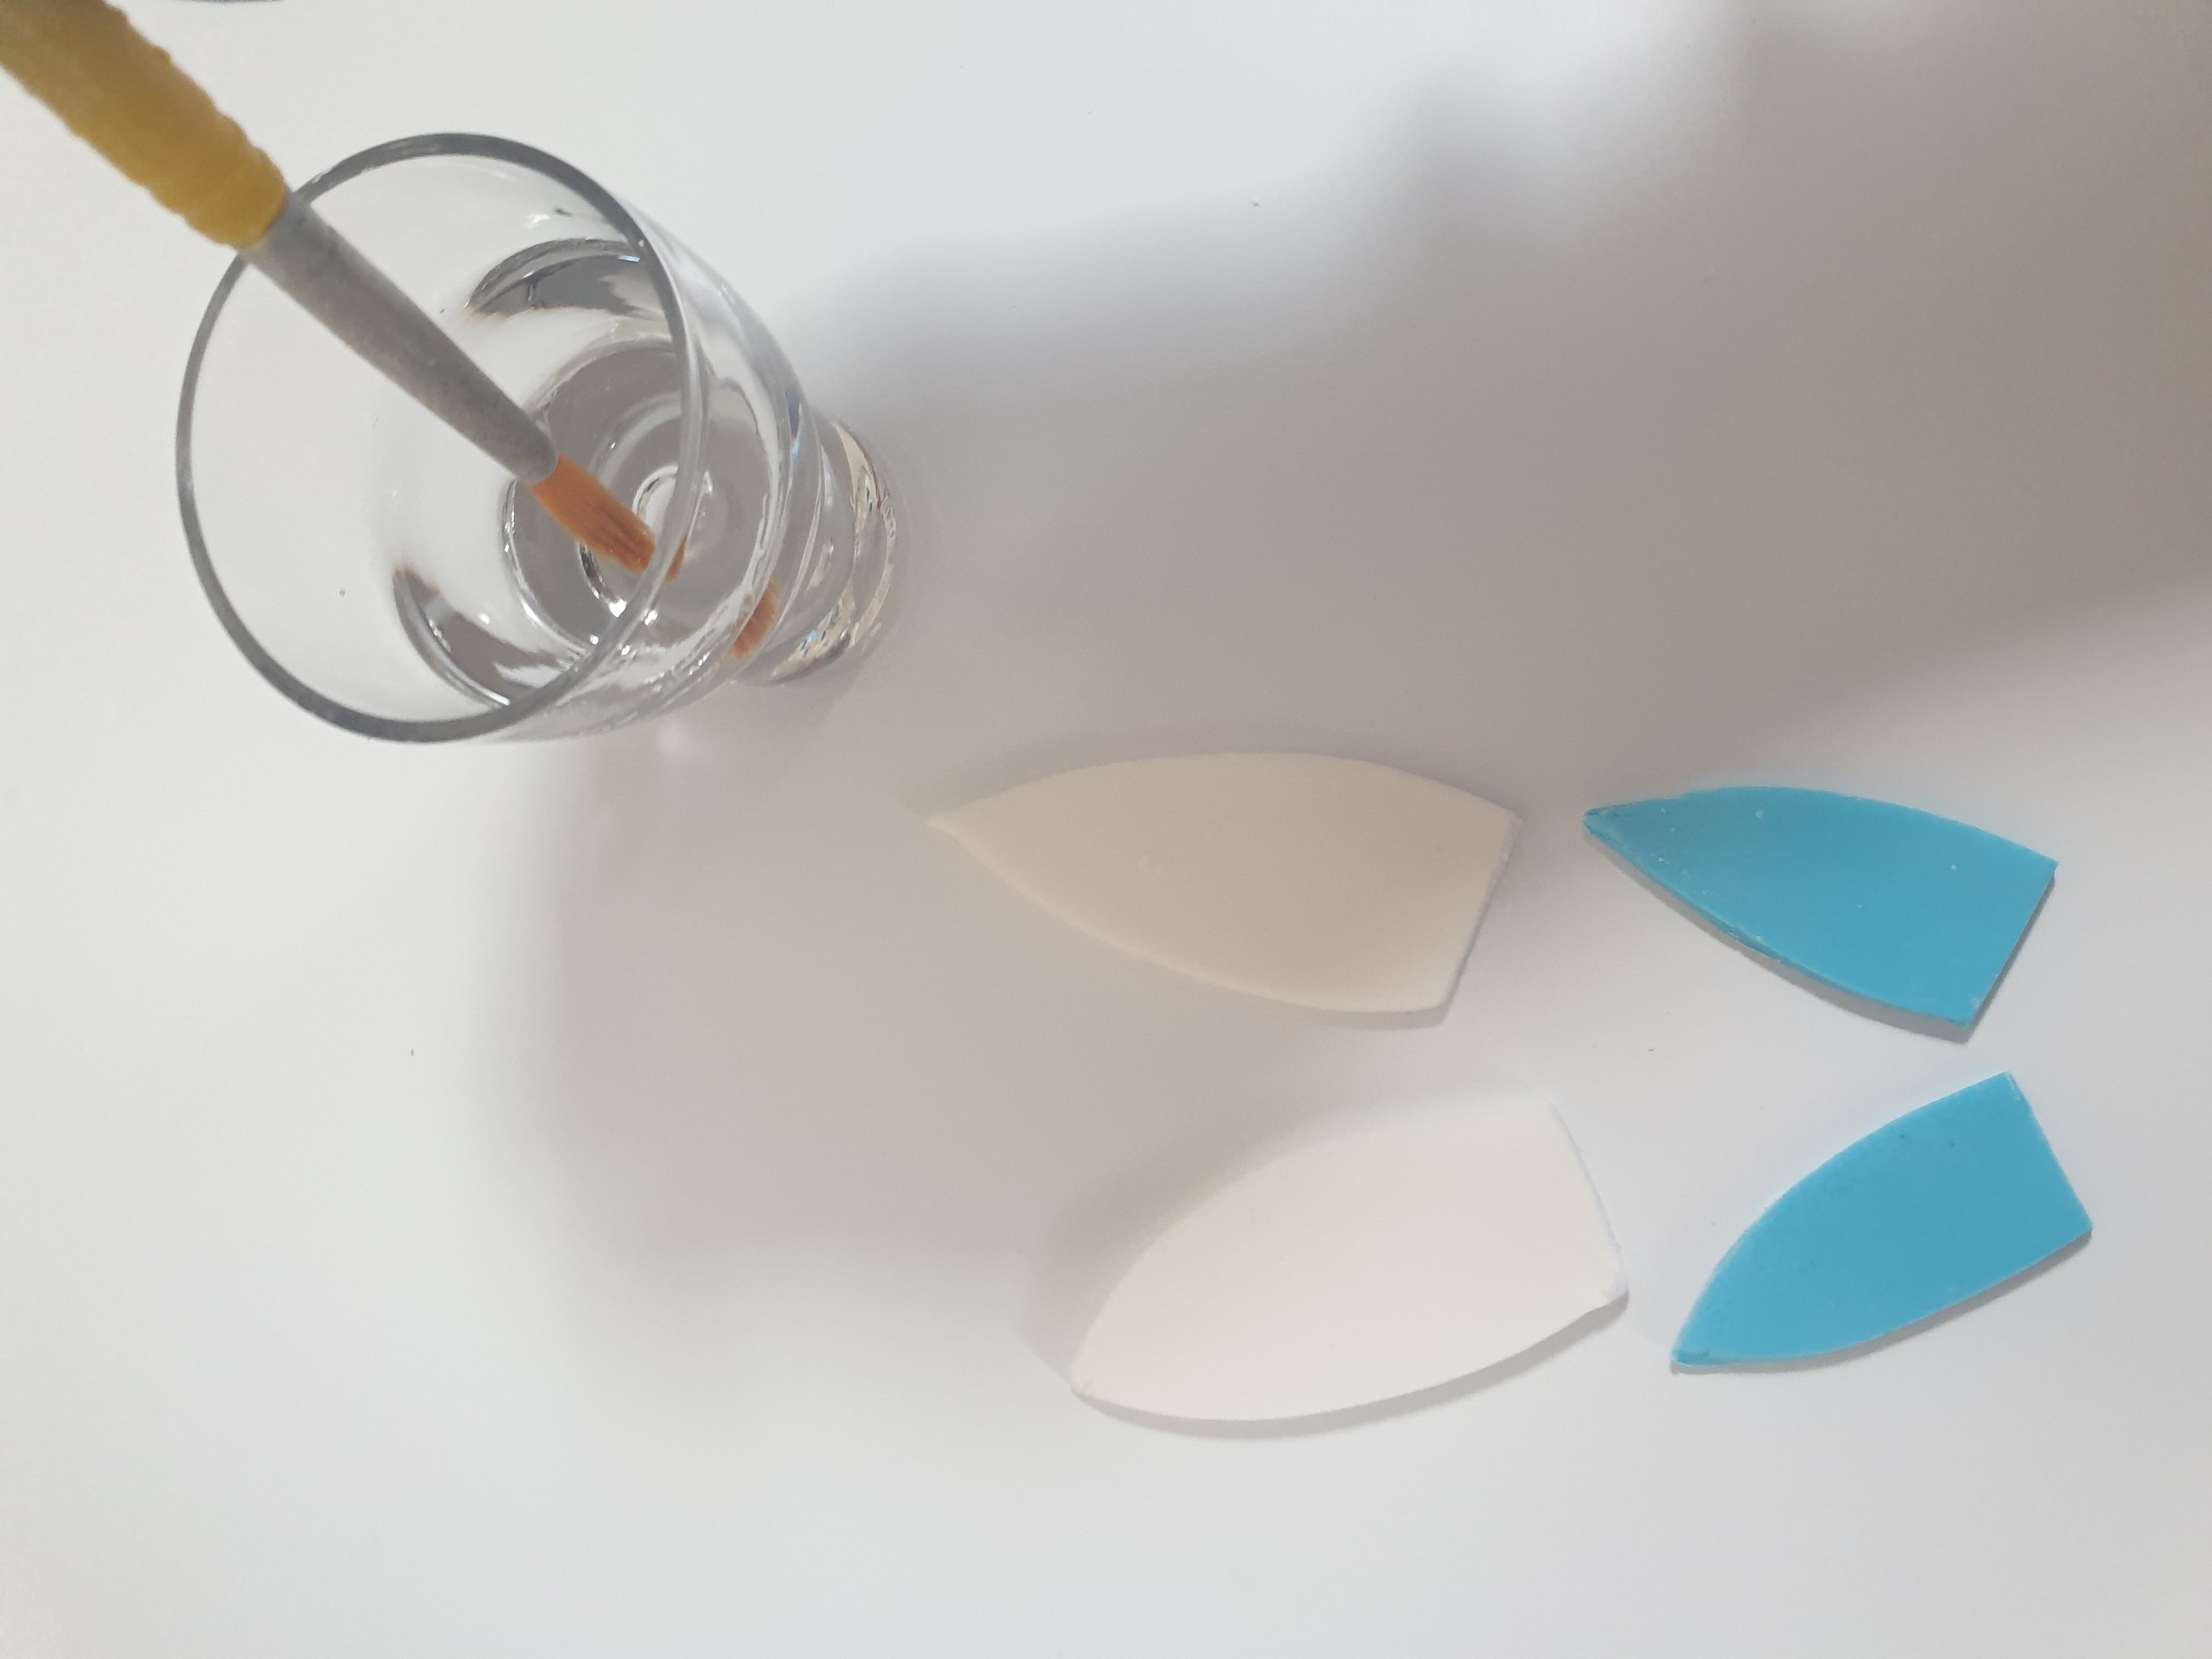
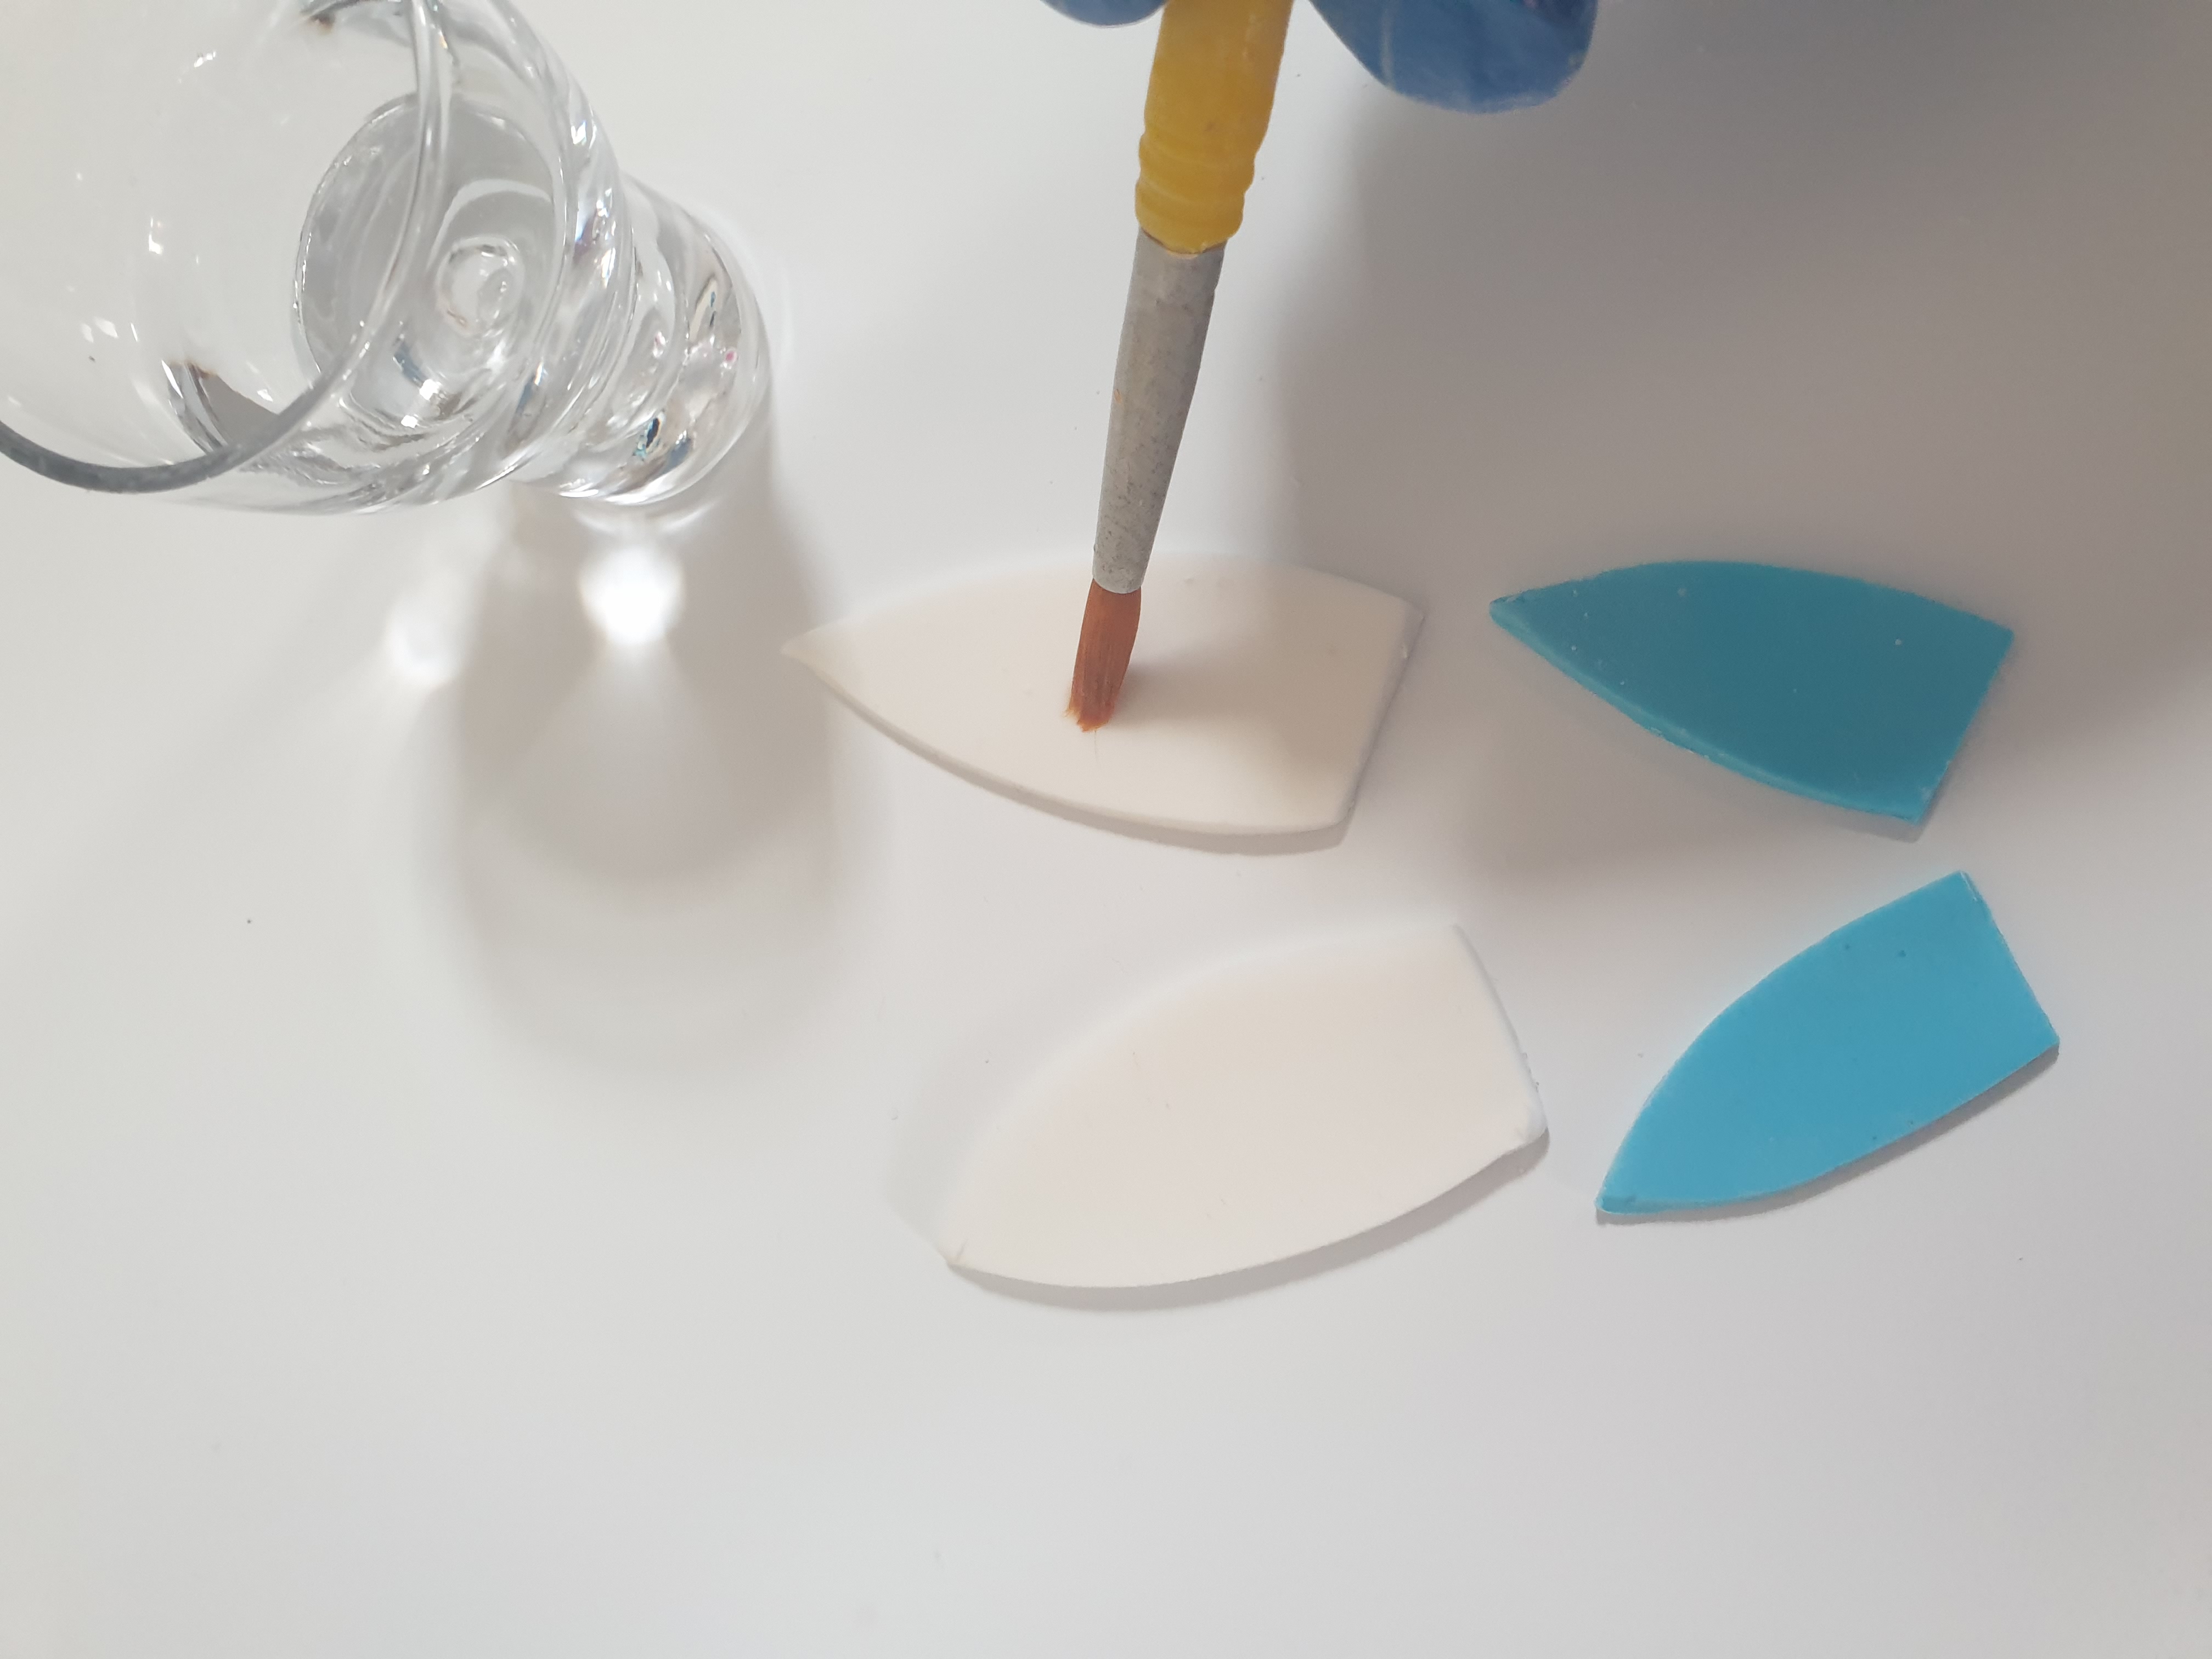
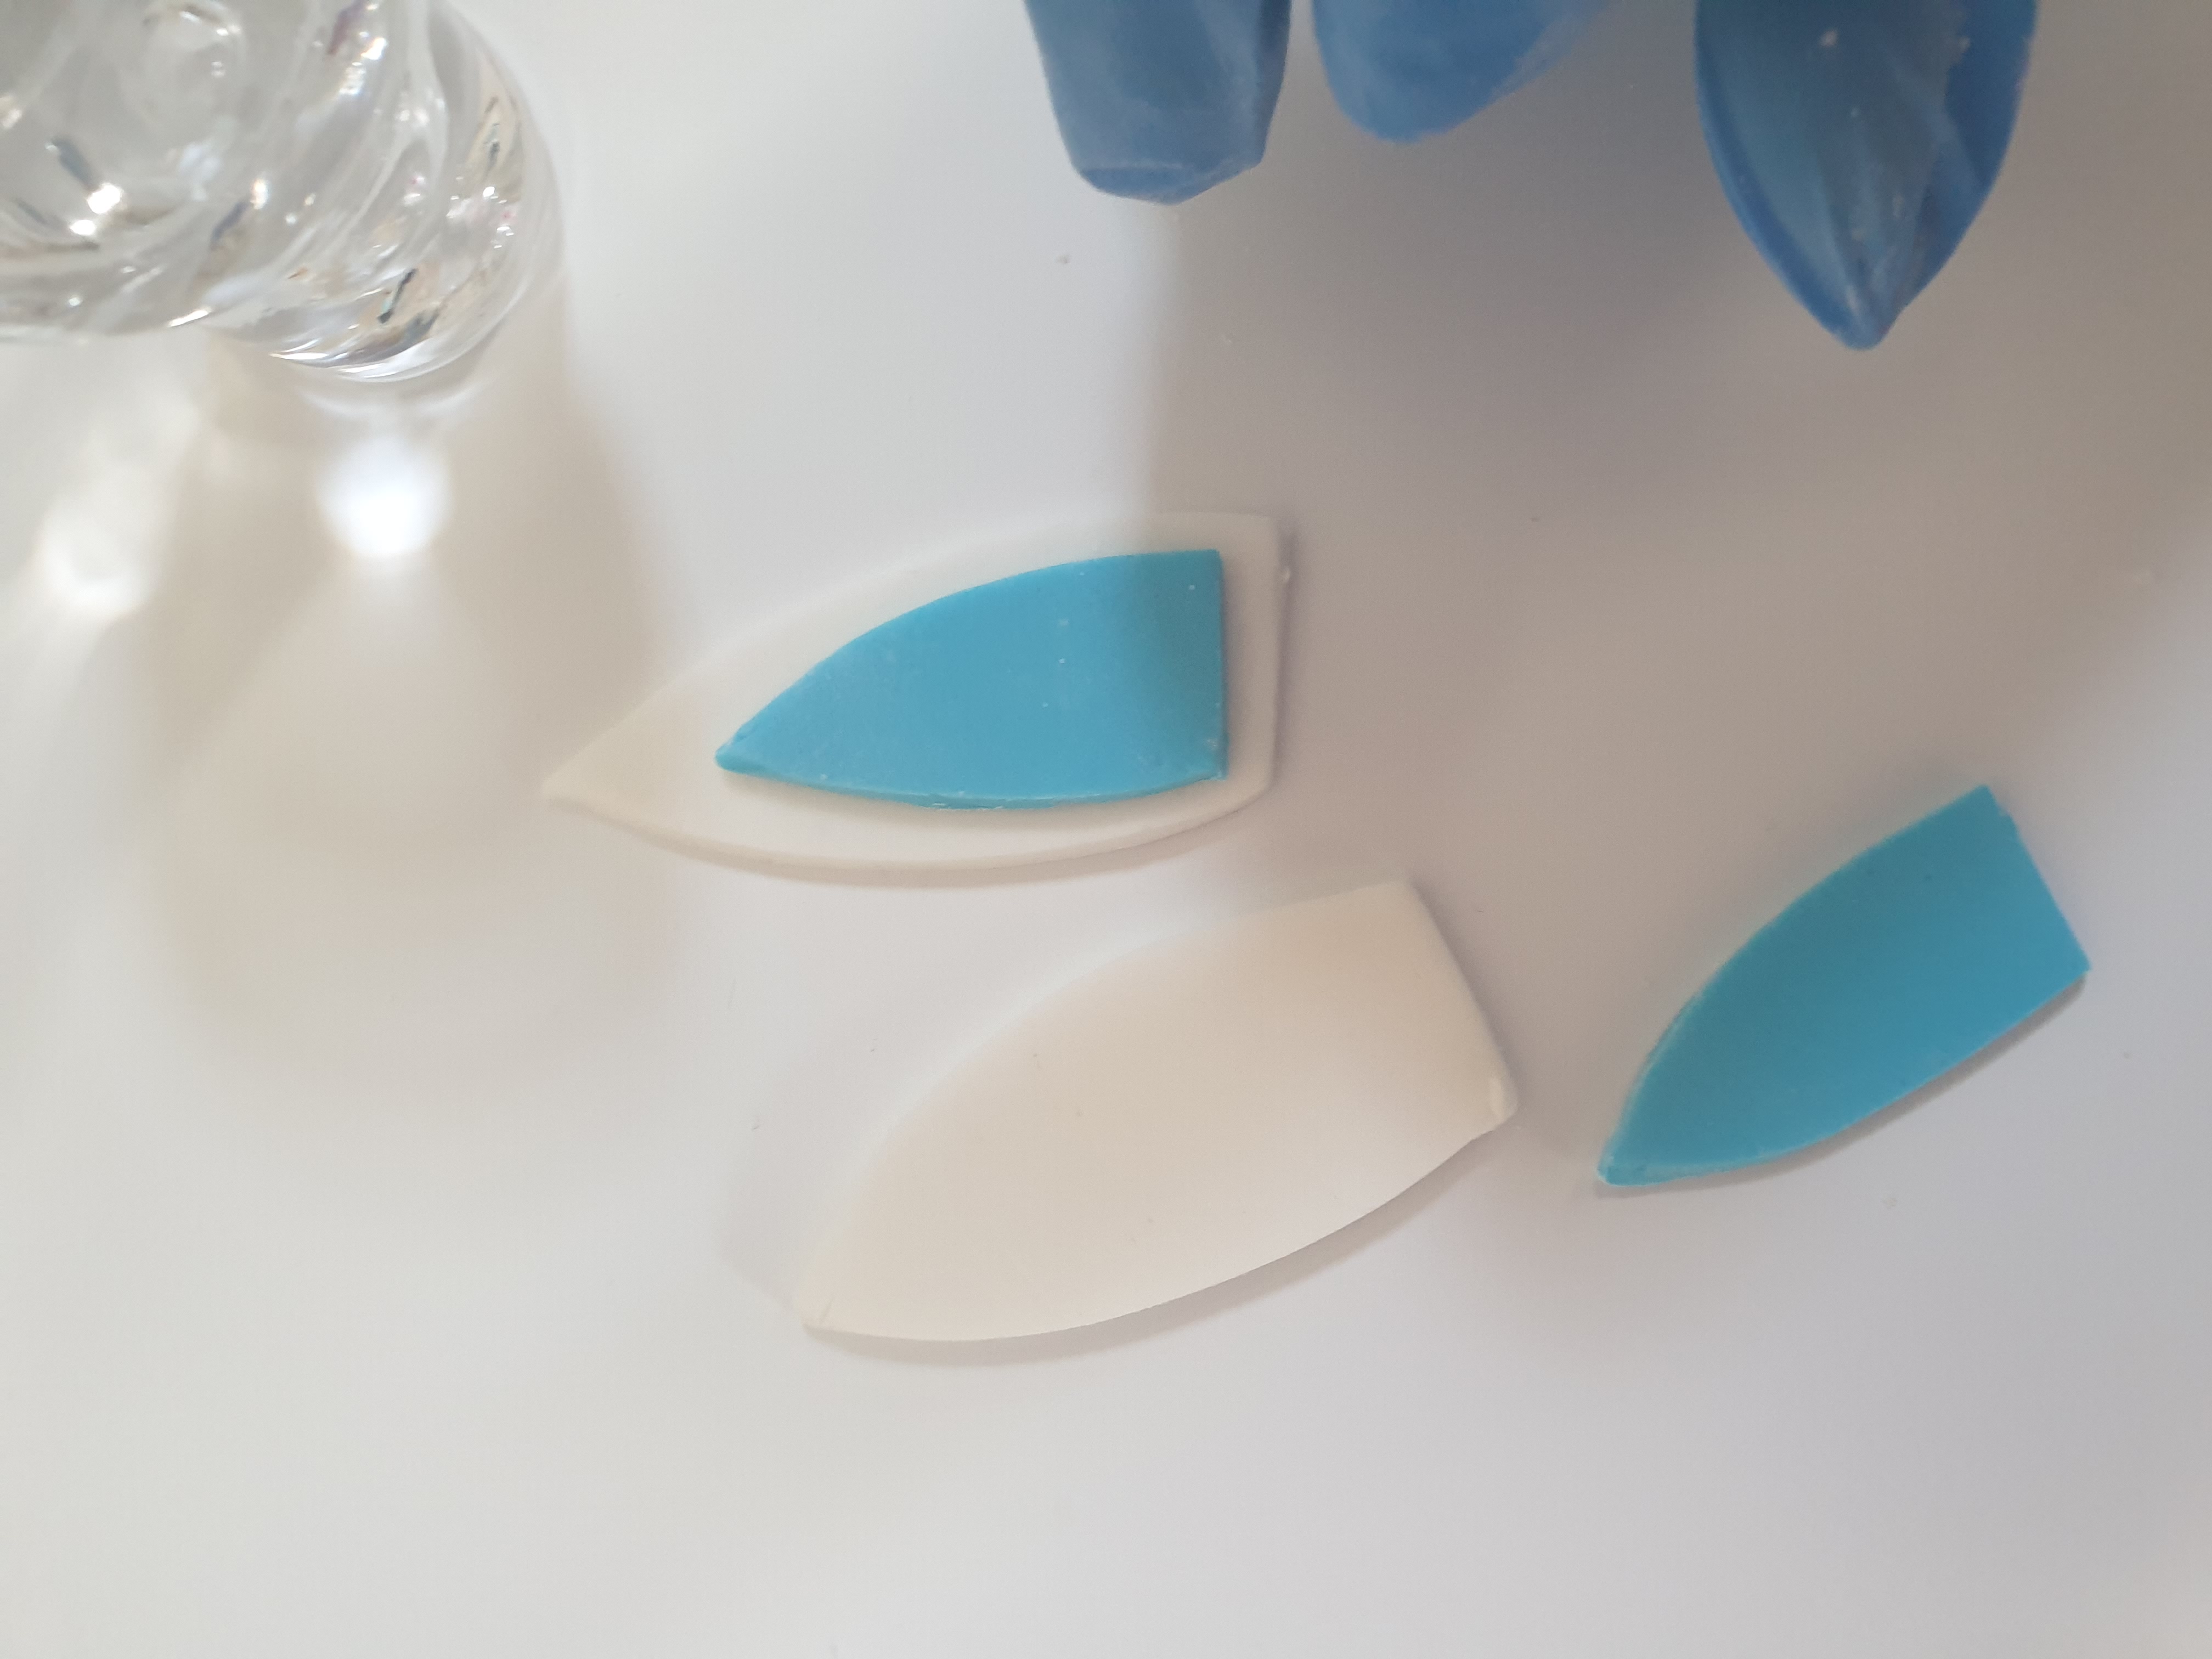
B: Bunny ears
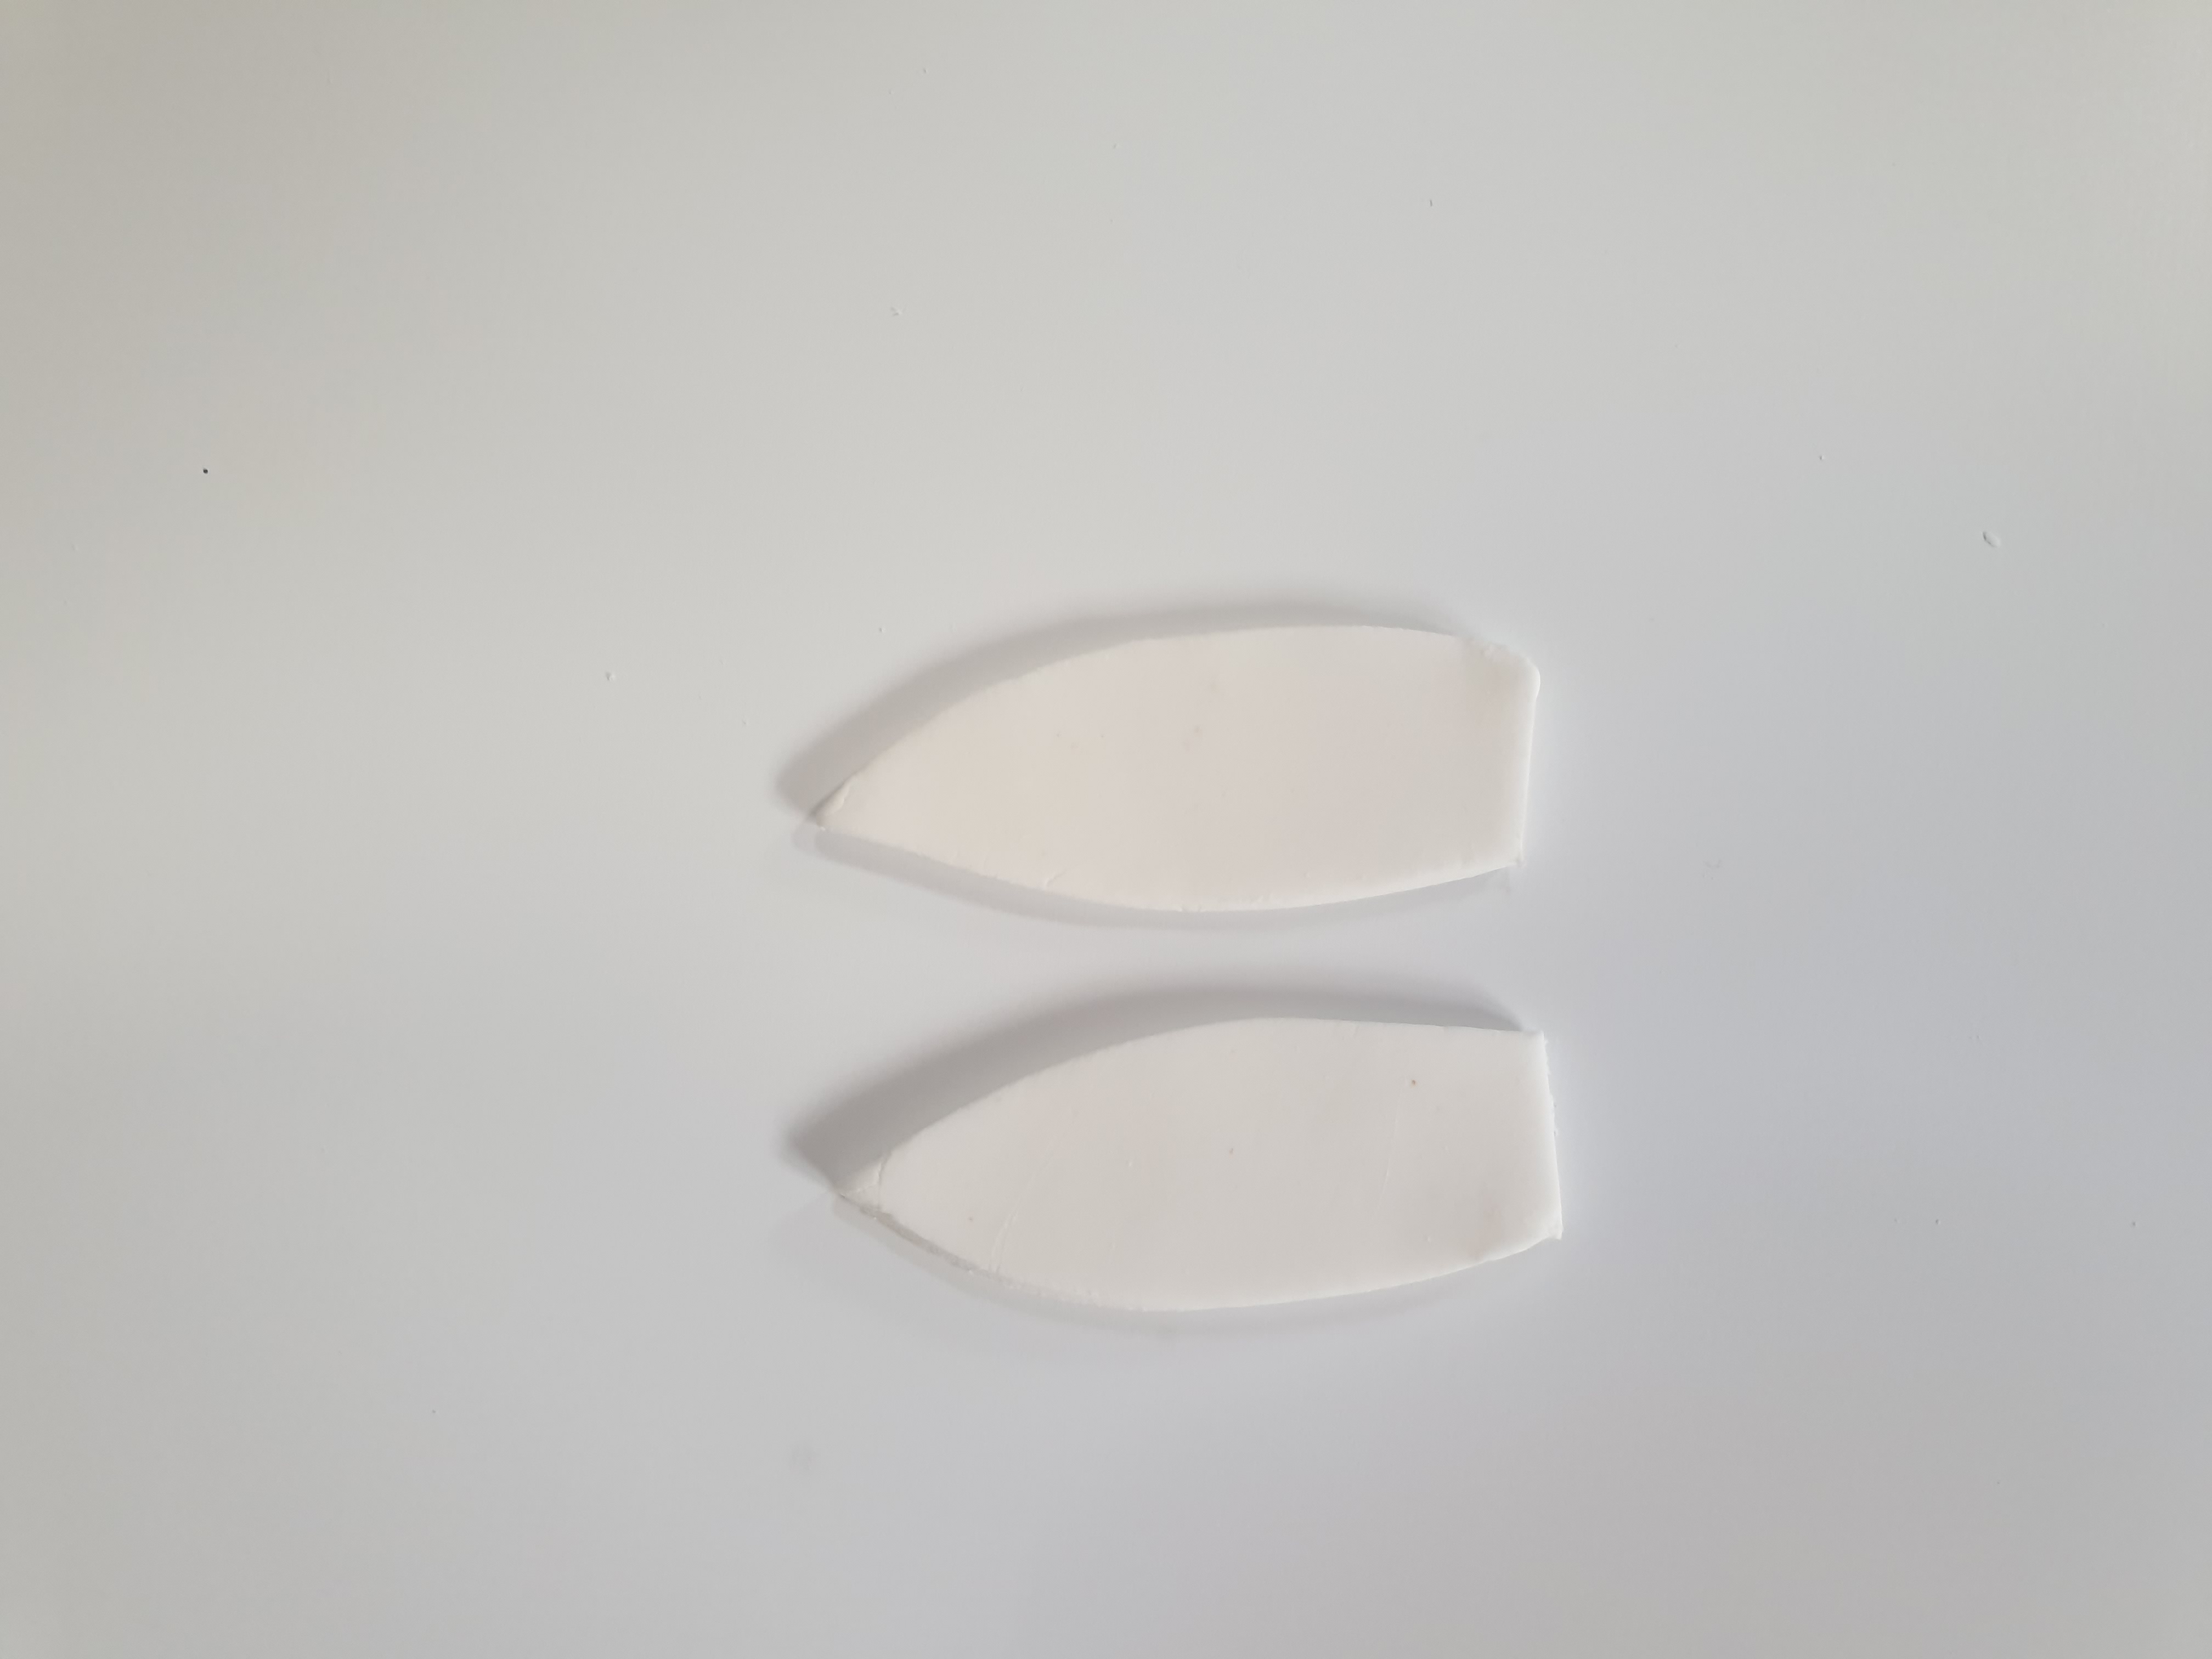
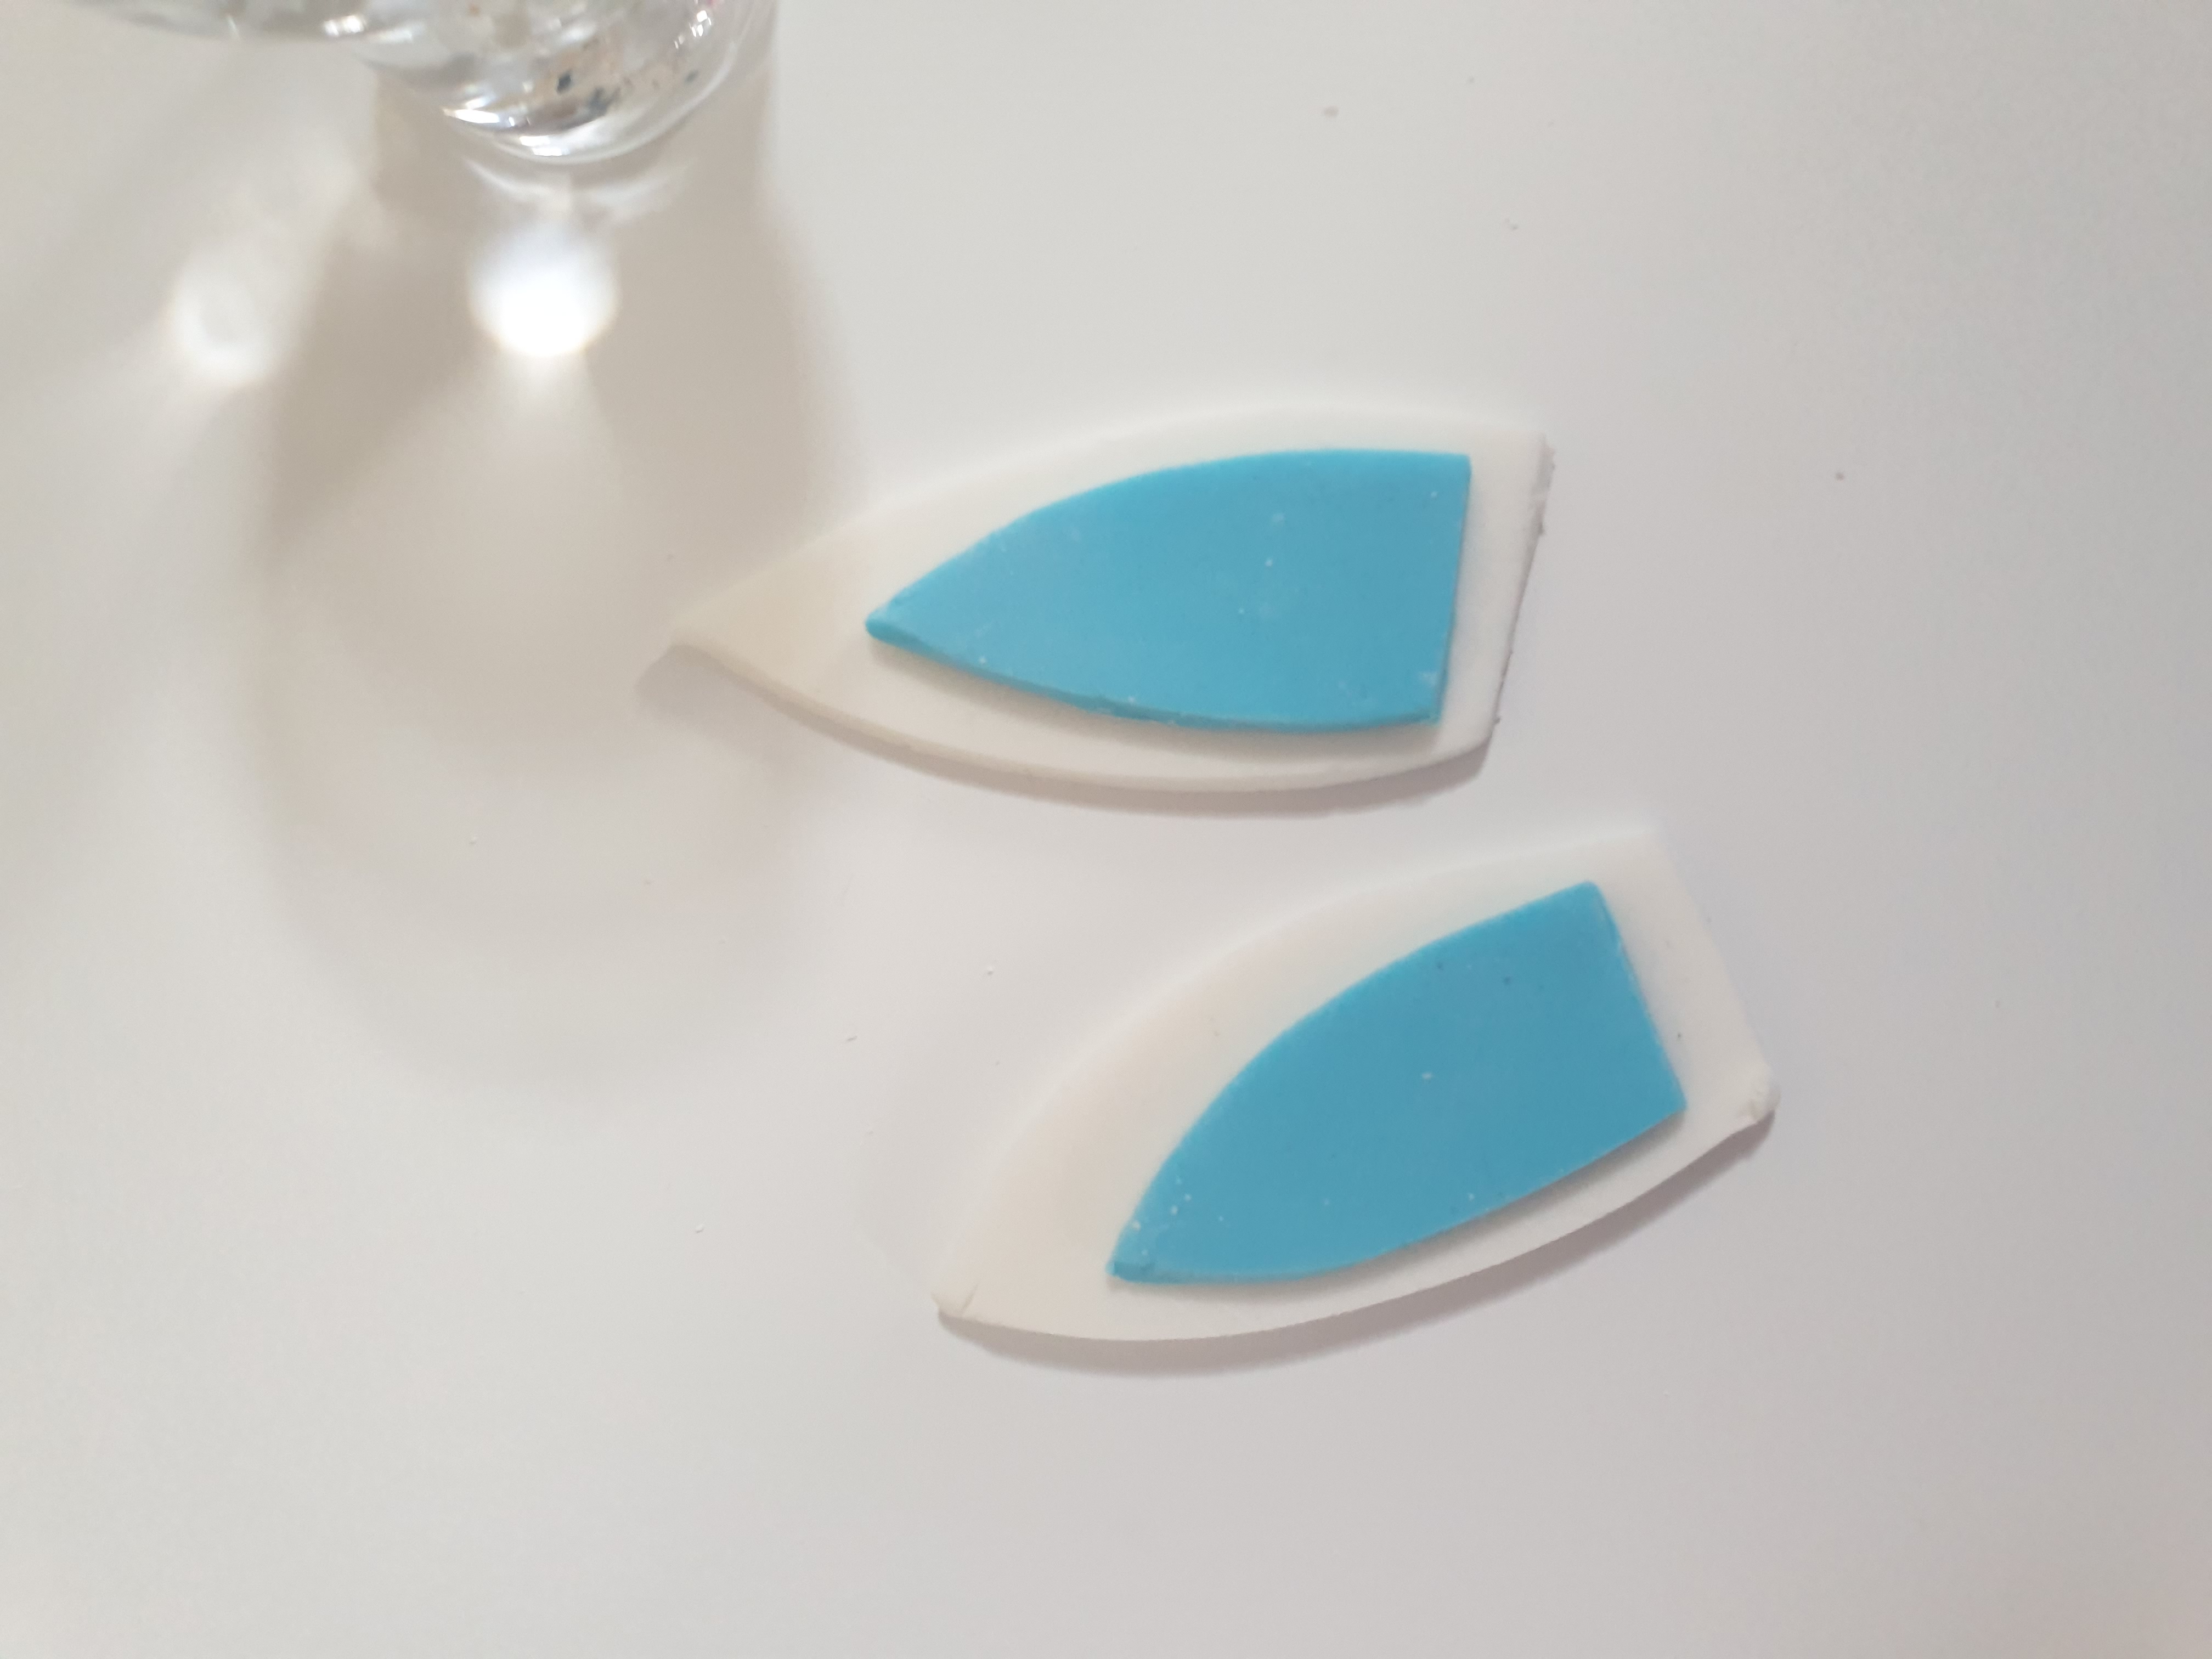
- Again, roll out some more white fondant
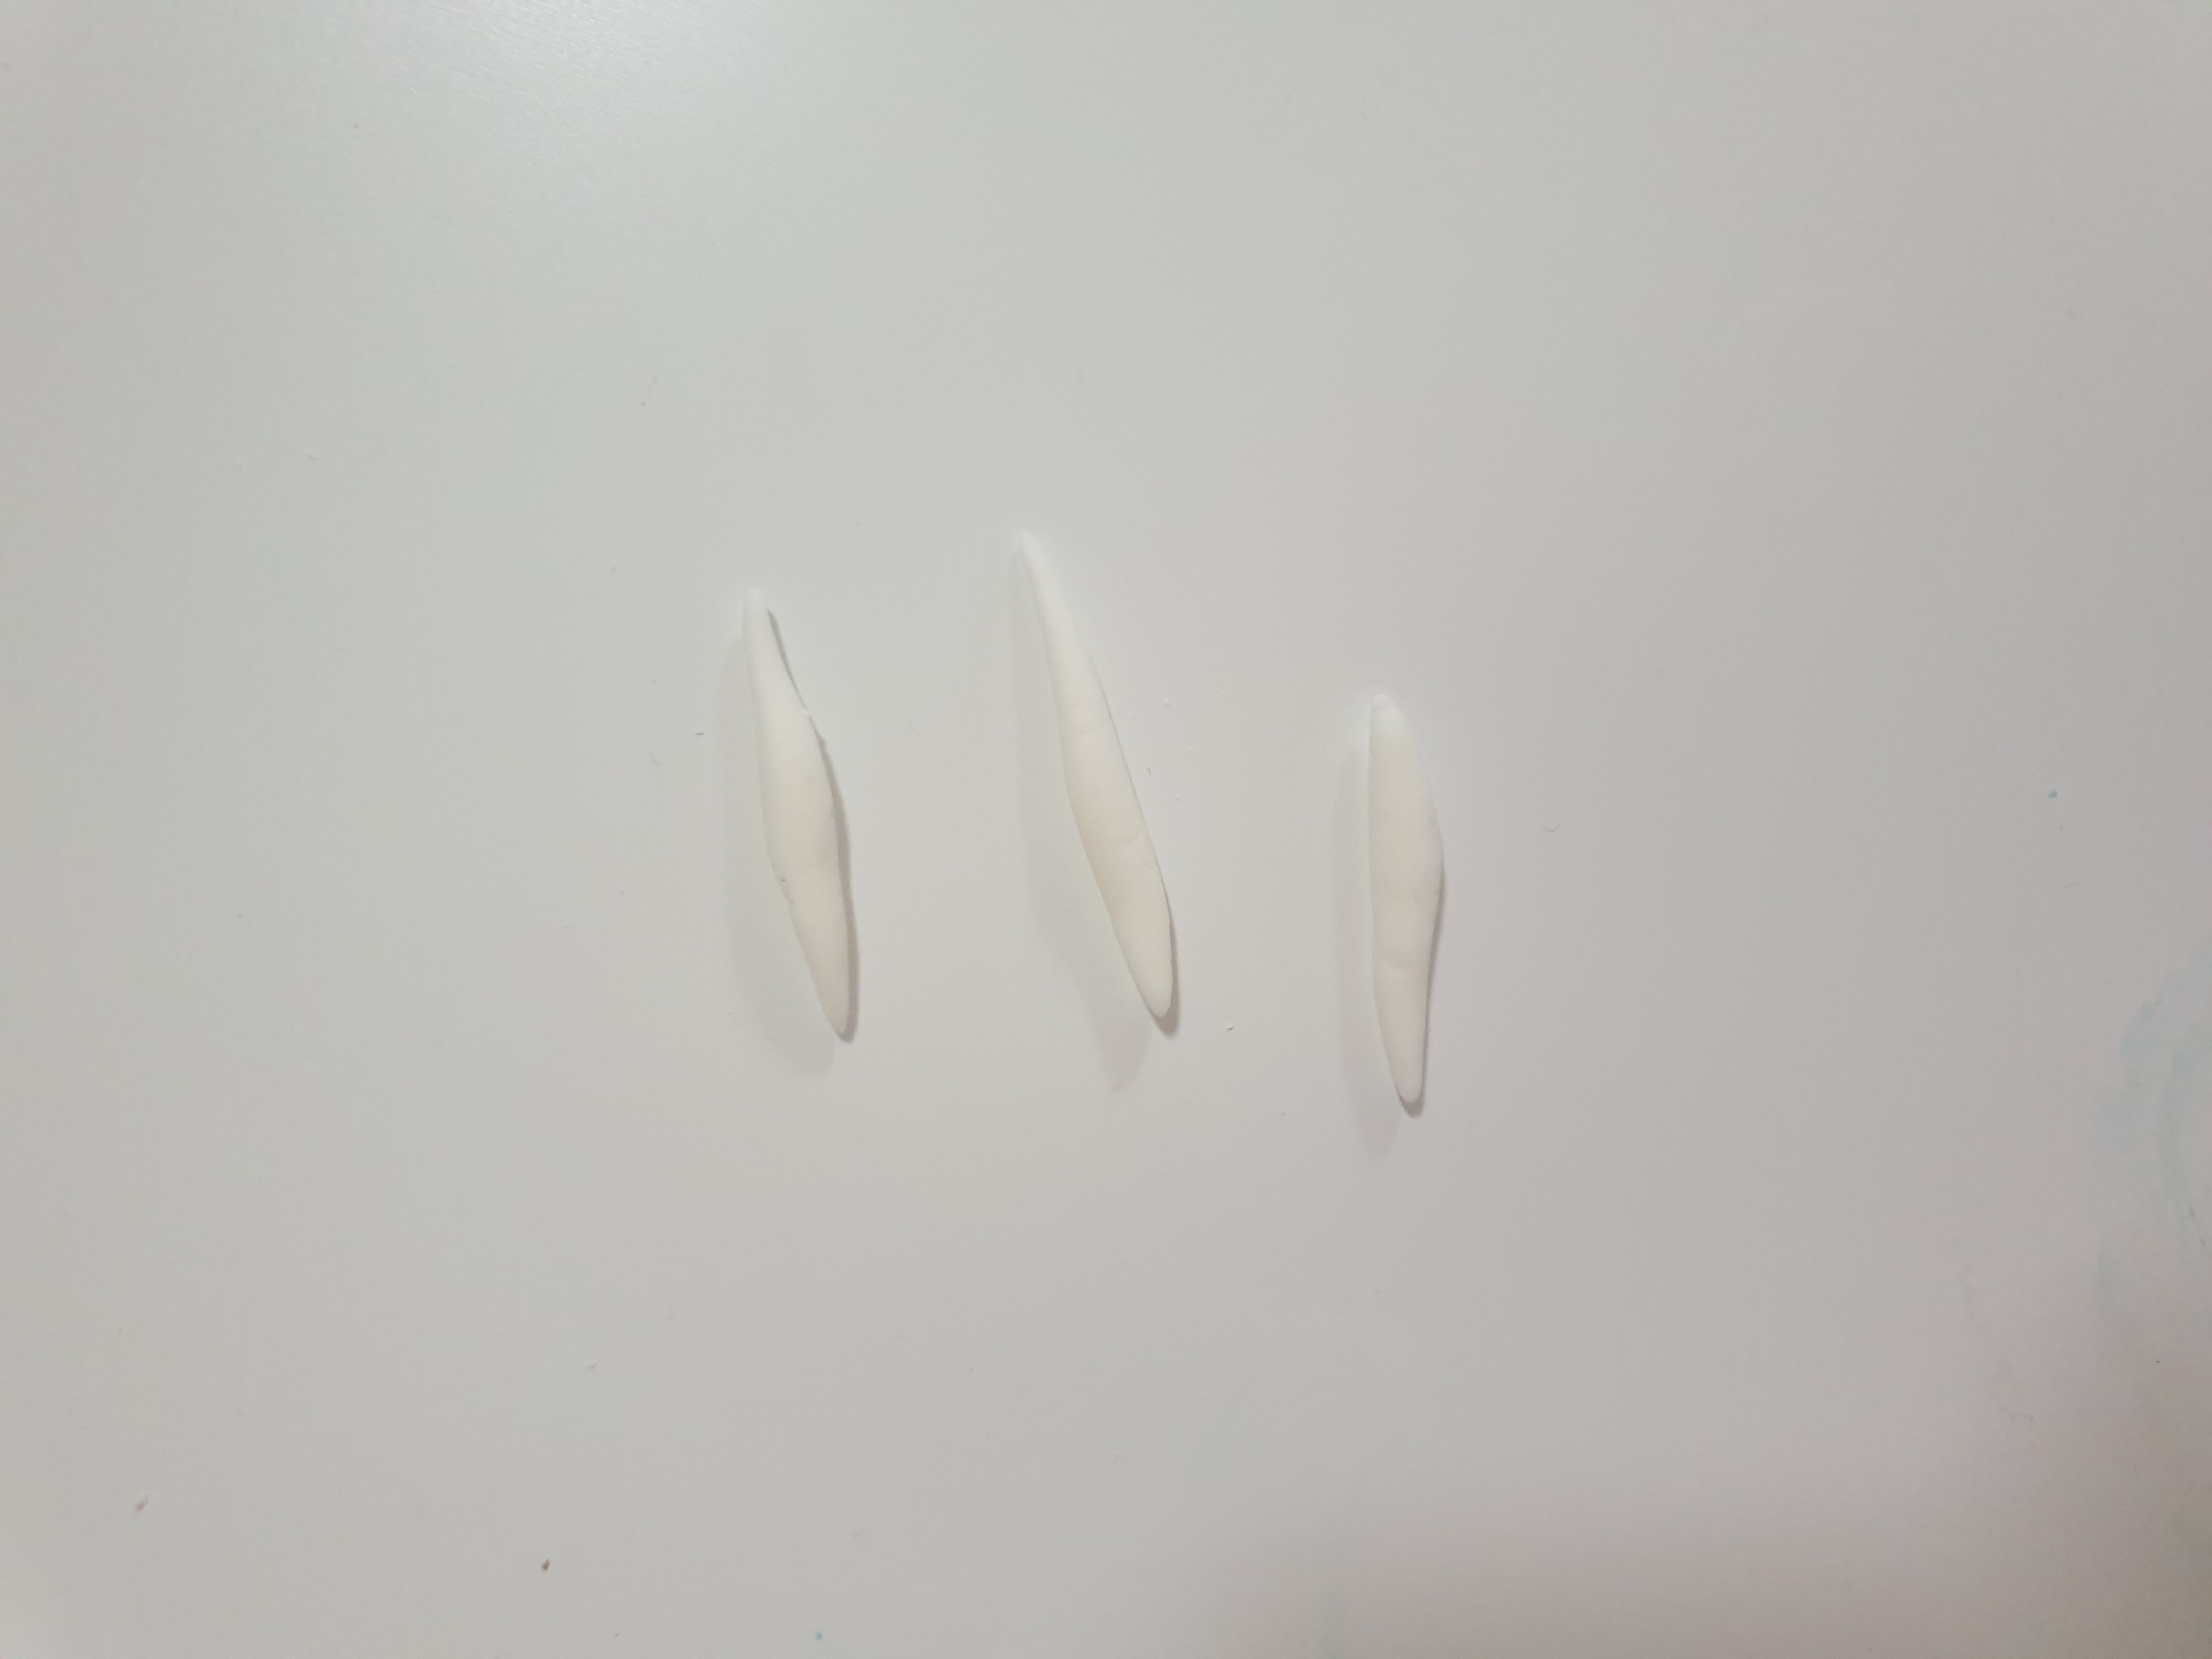
- Use your knife to cut out 2 medium sized bunny ears (see pictures)
- Roll out the blue fondant, and this time, cut out 2 small sized bunny ears.
- Take your brush and wet the white bunny ear.
- Place the small blue ear on top of the white and press down gently to secure.
- Continue this proceed until both ears are done.
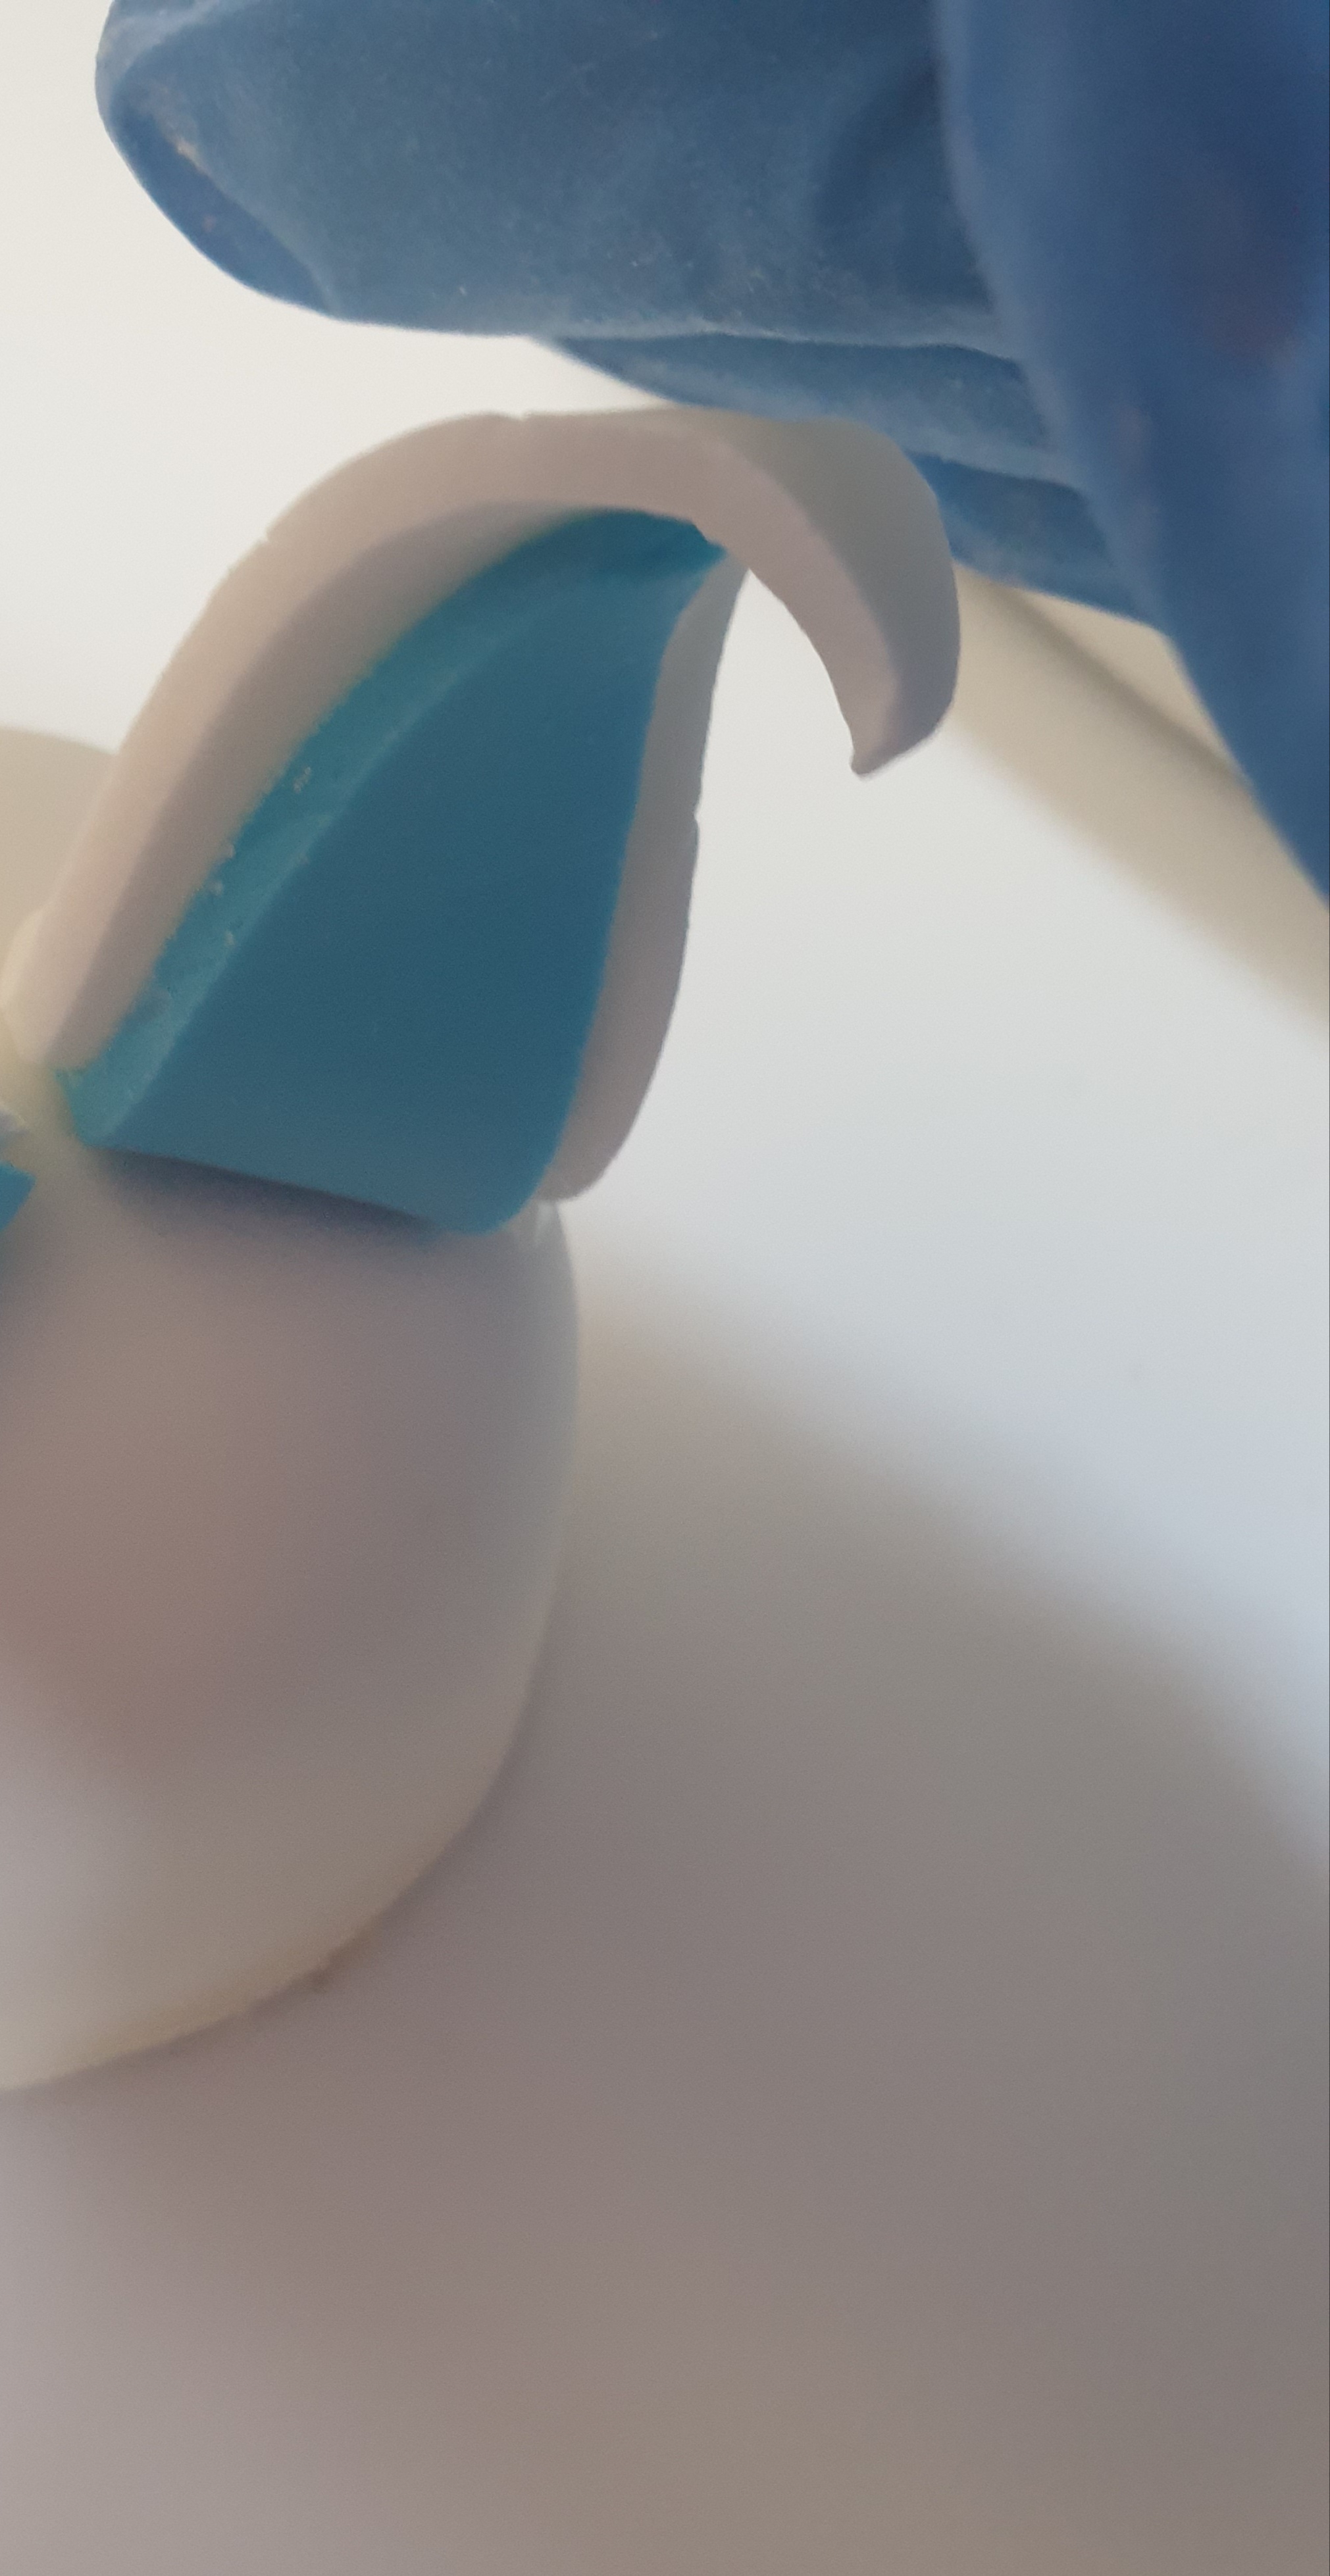
- Brush some water on to either side of the bunny's head.
- Taking an ear at a time, hold in place firmly until they have stuck properly.
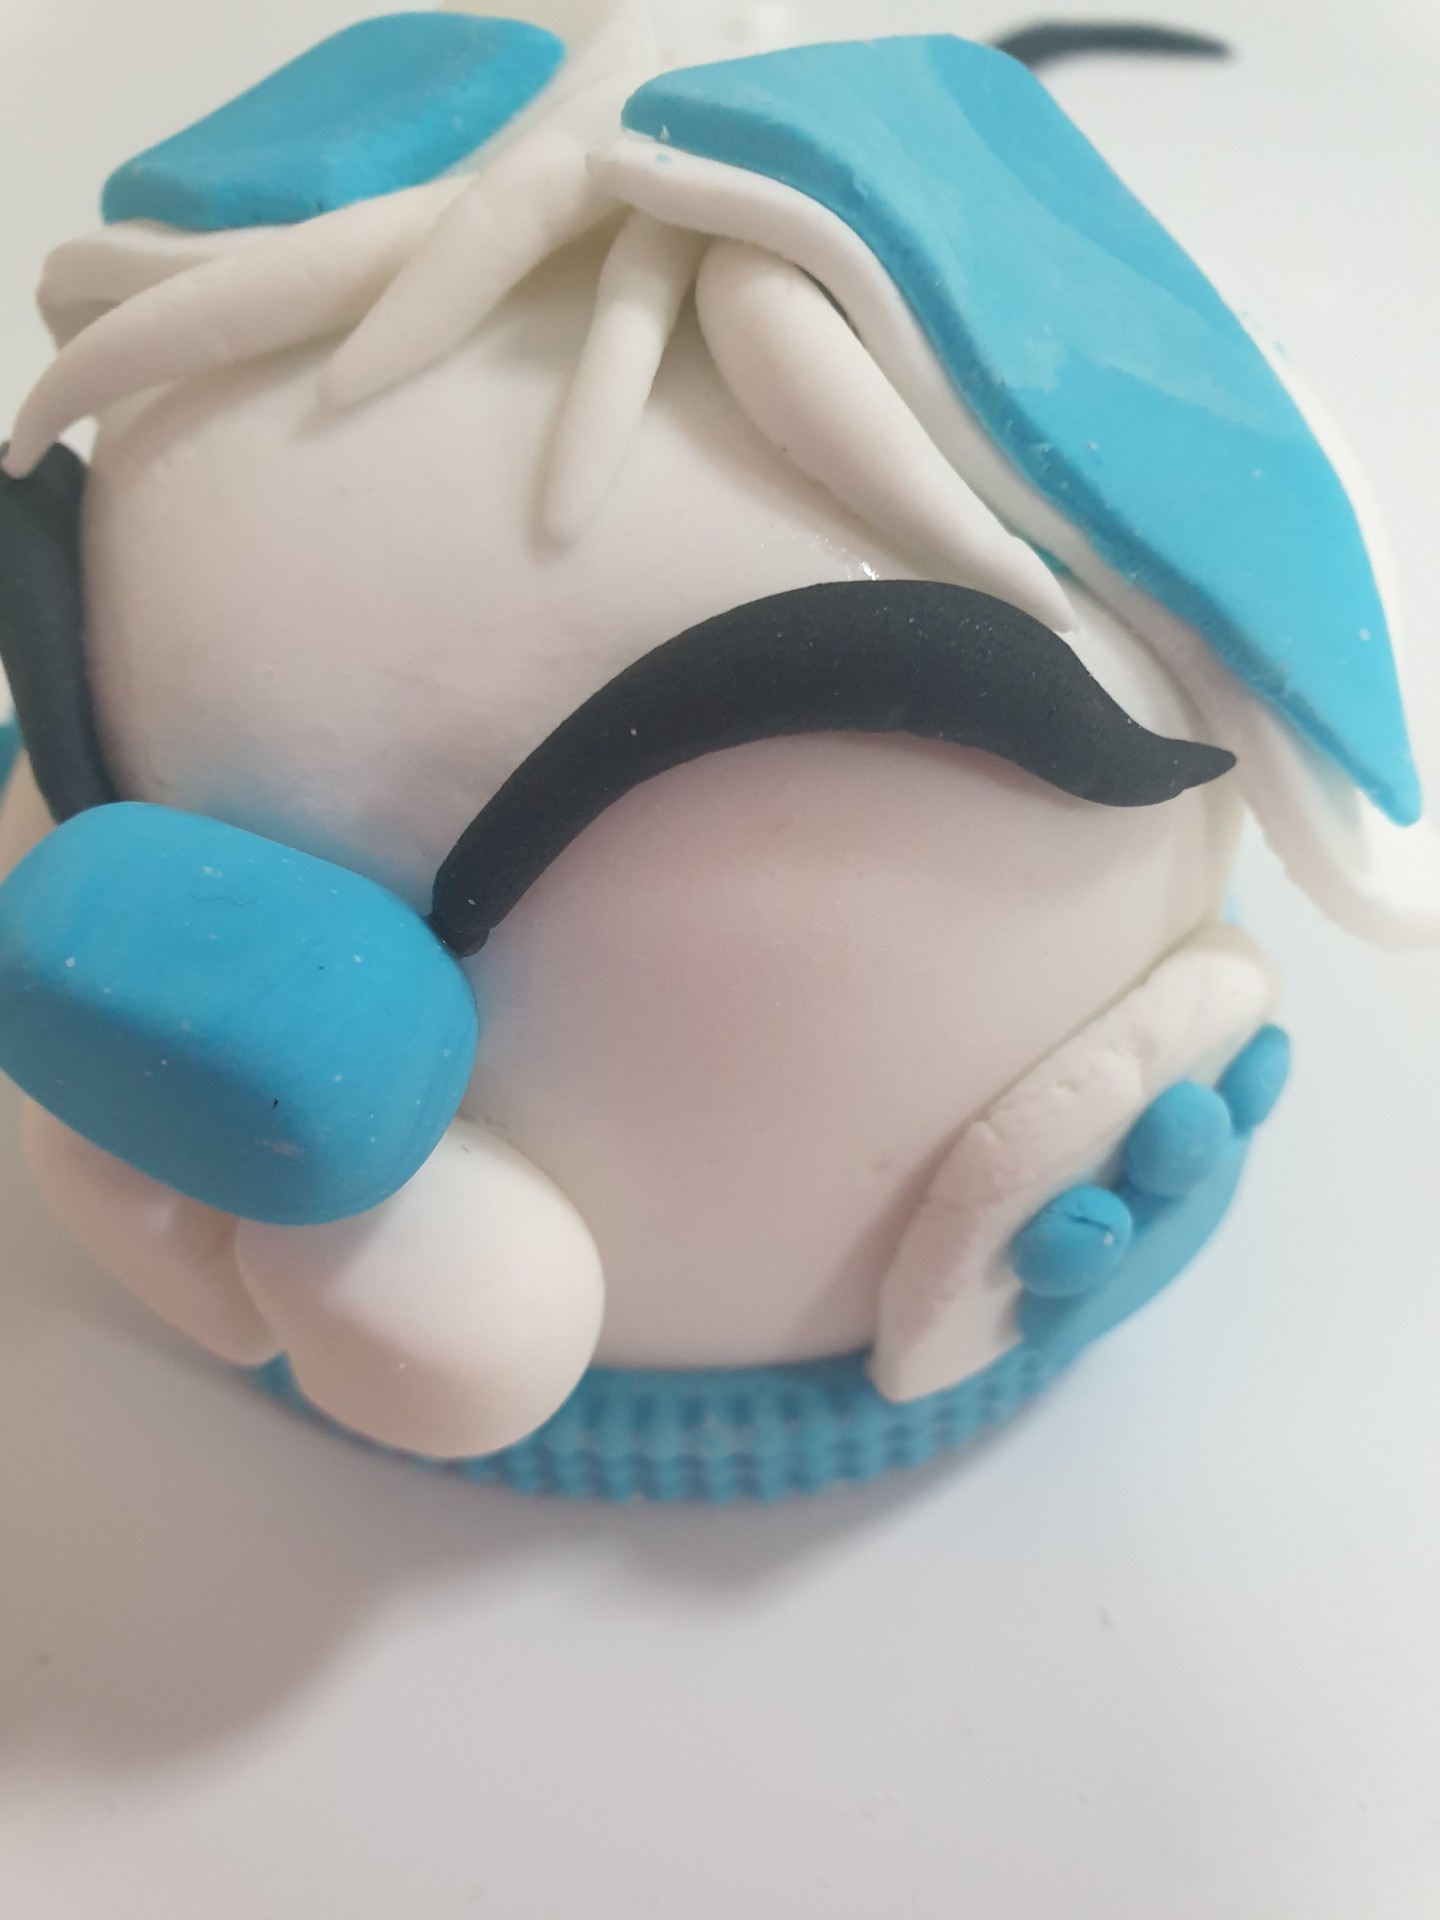
C: Mouth & Paws
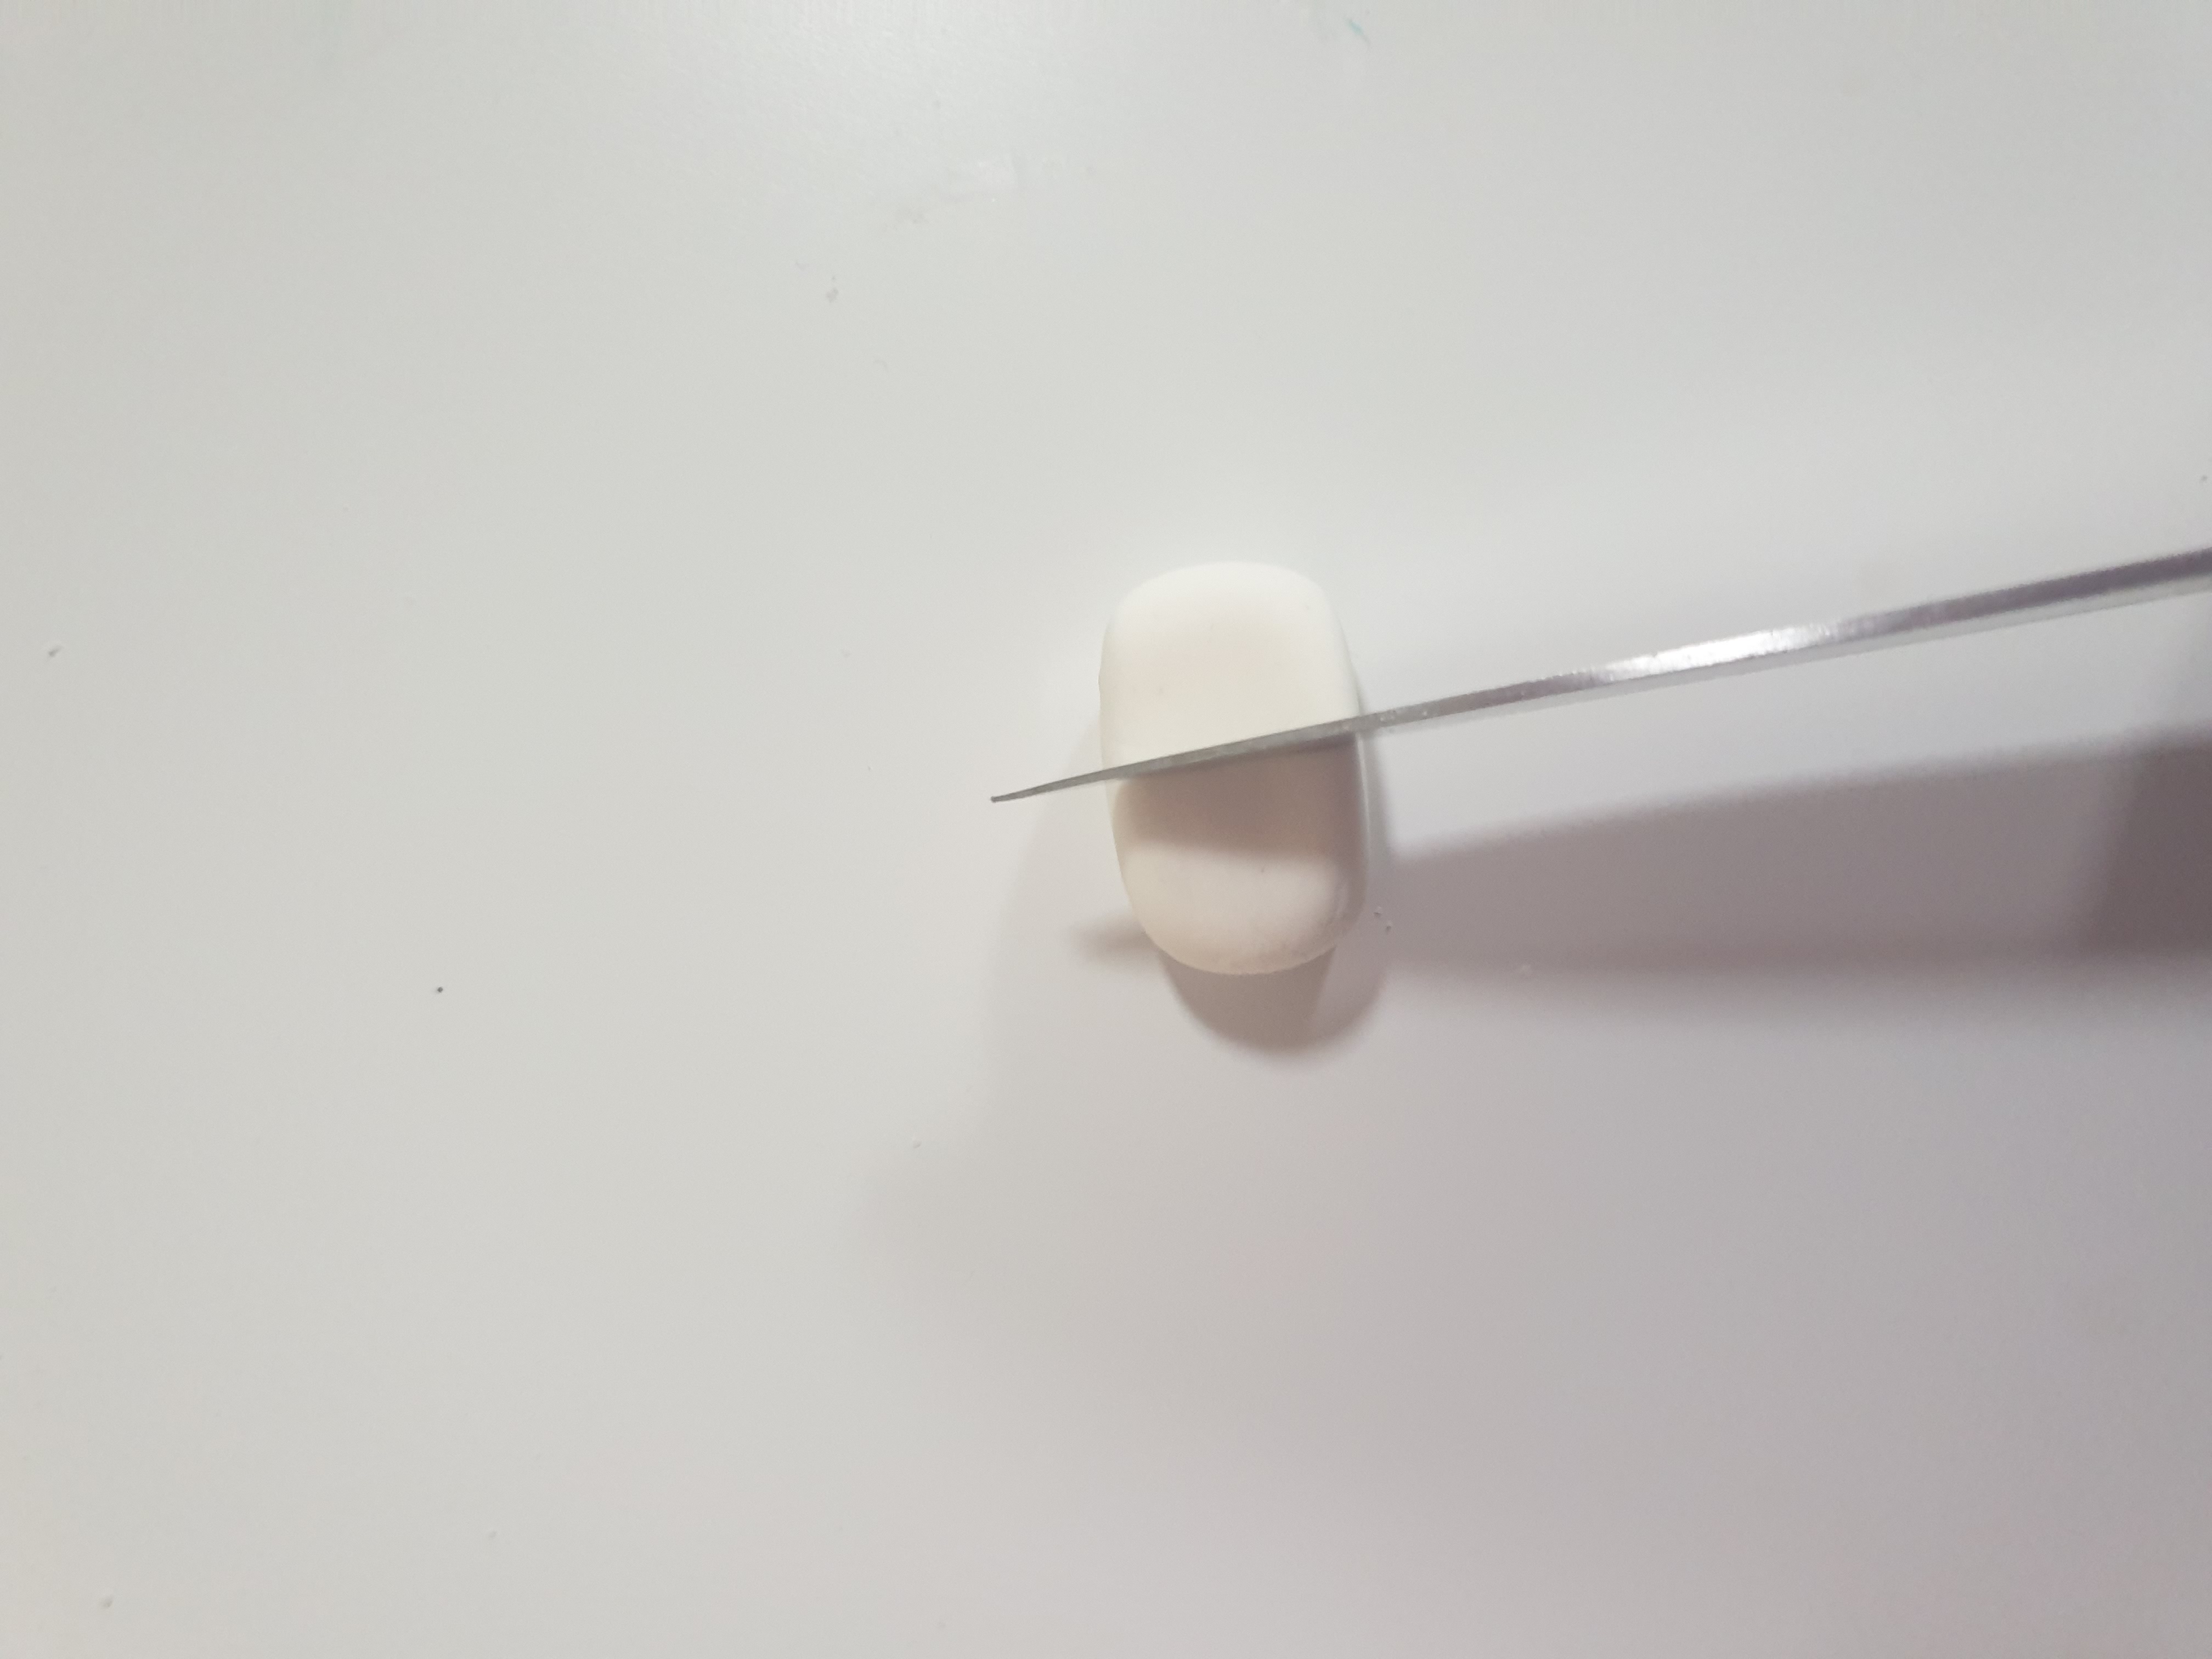
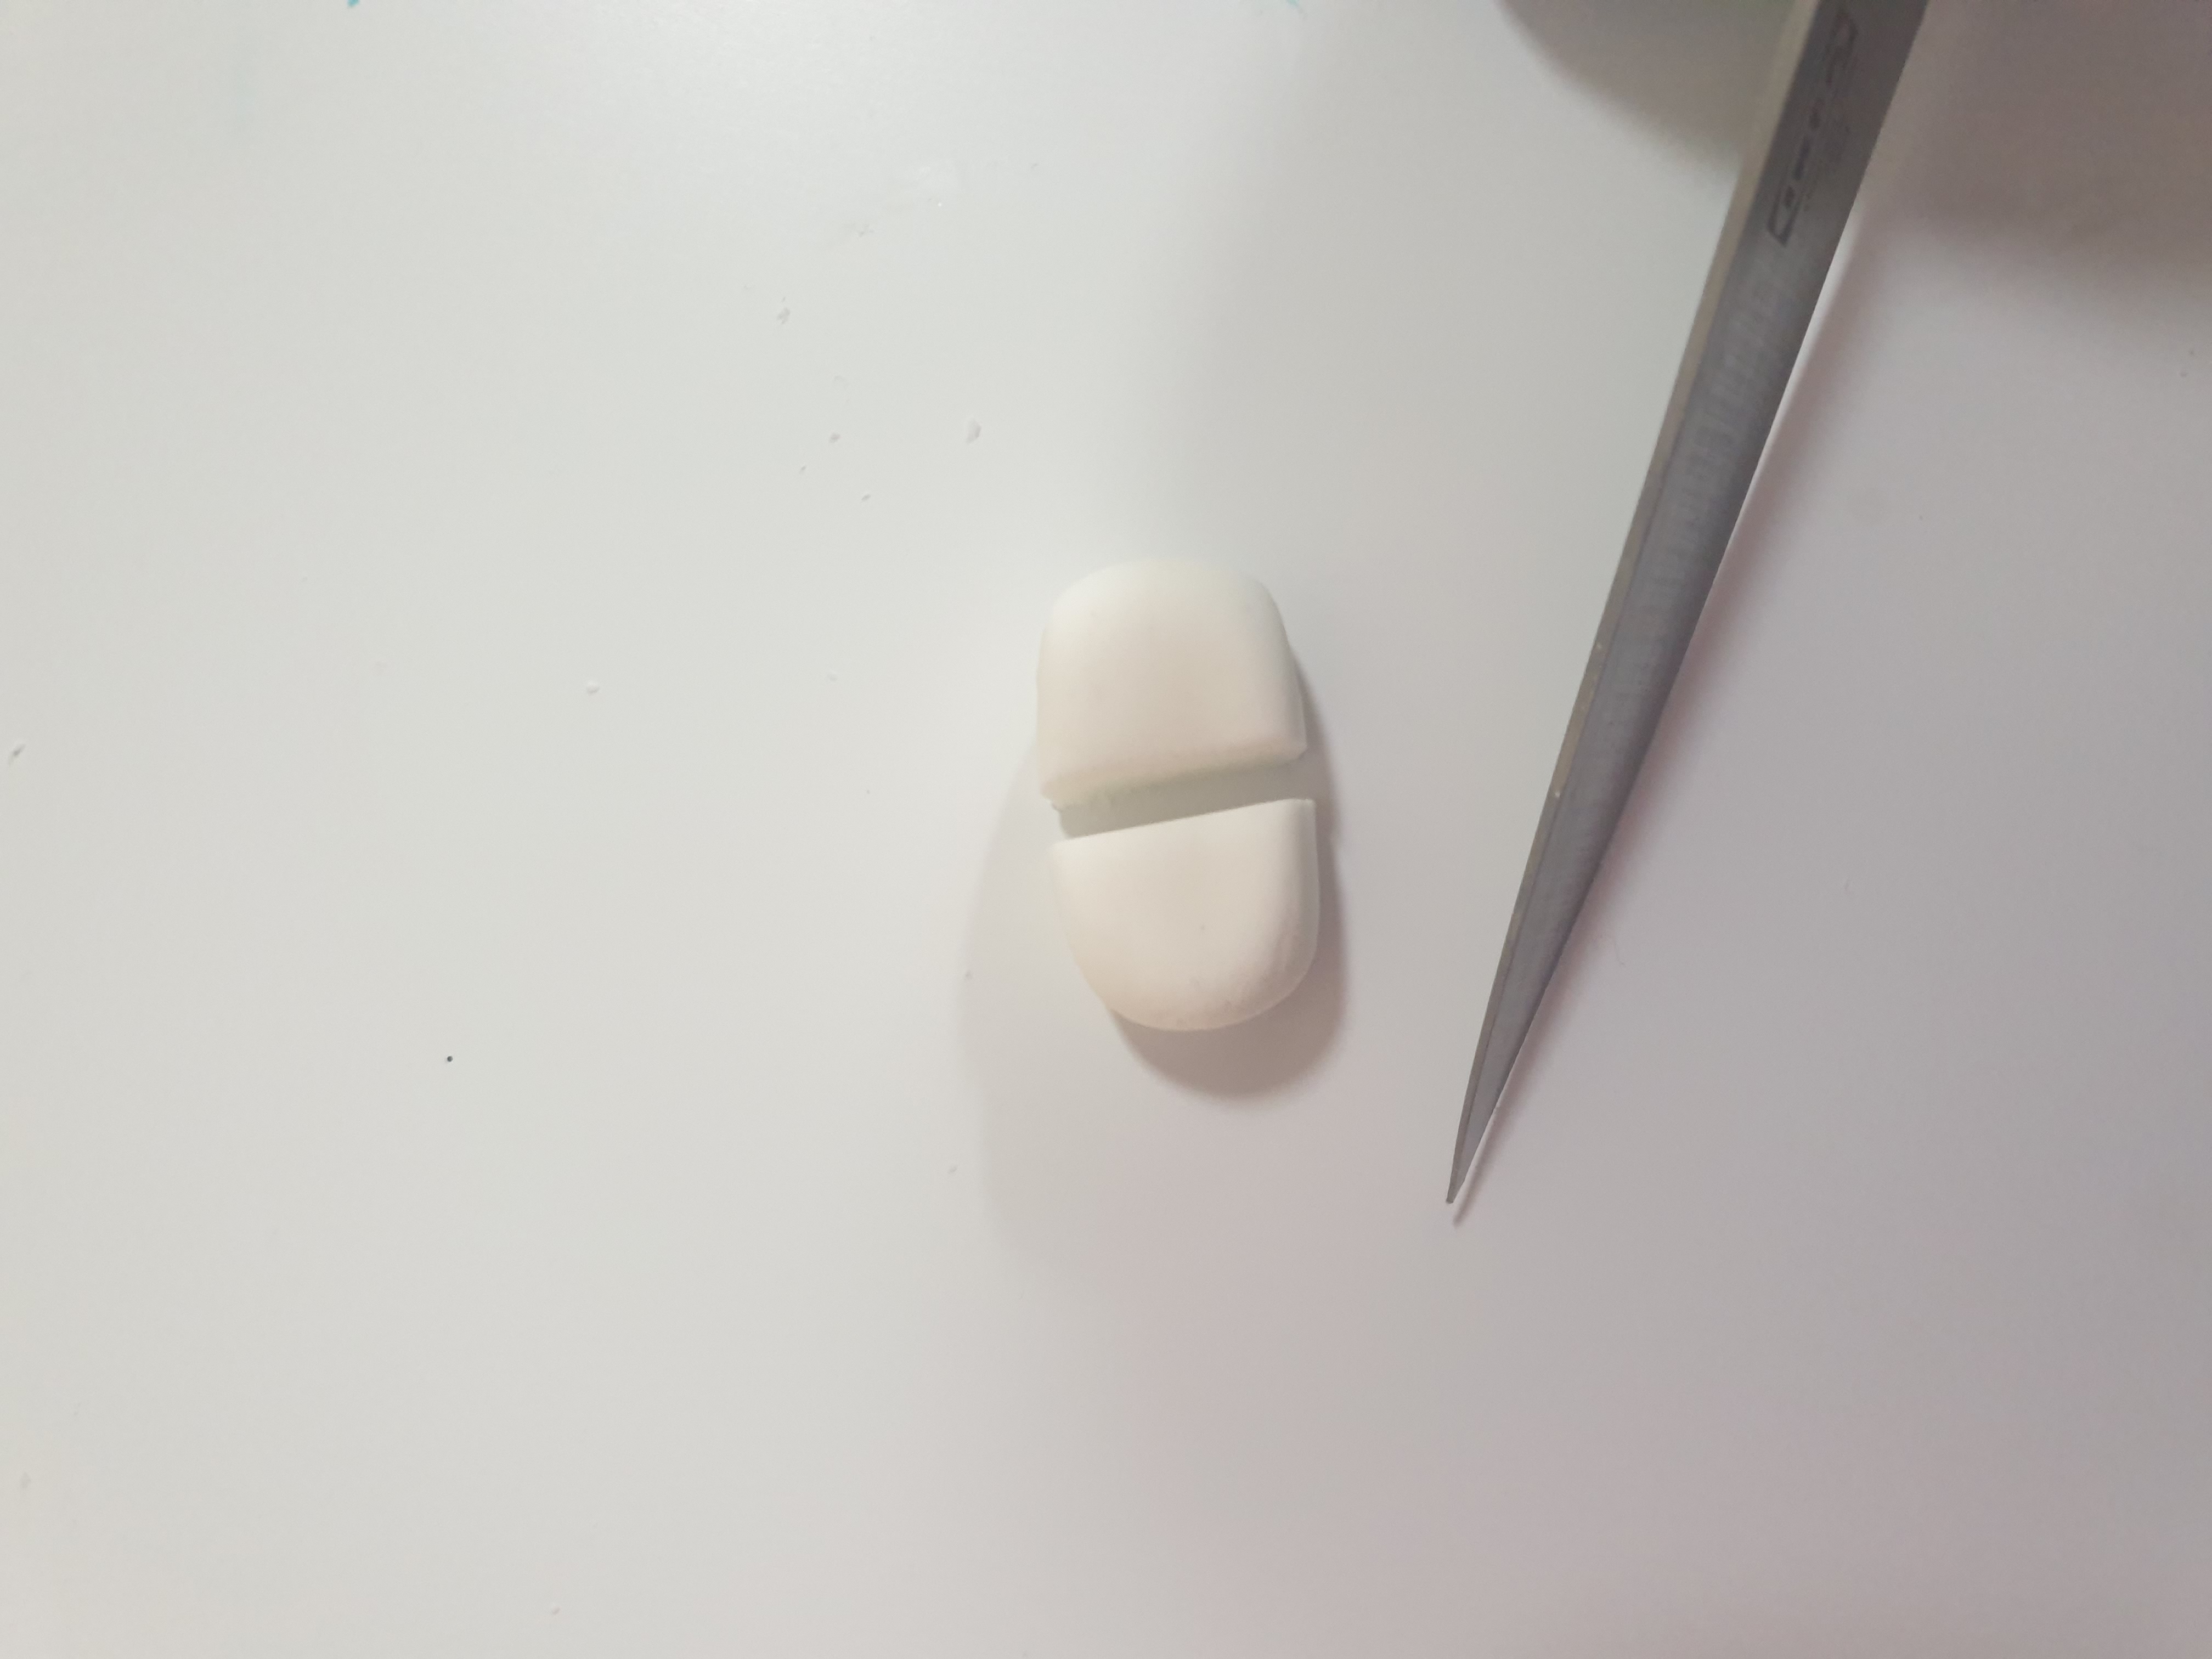
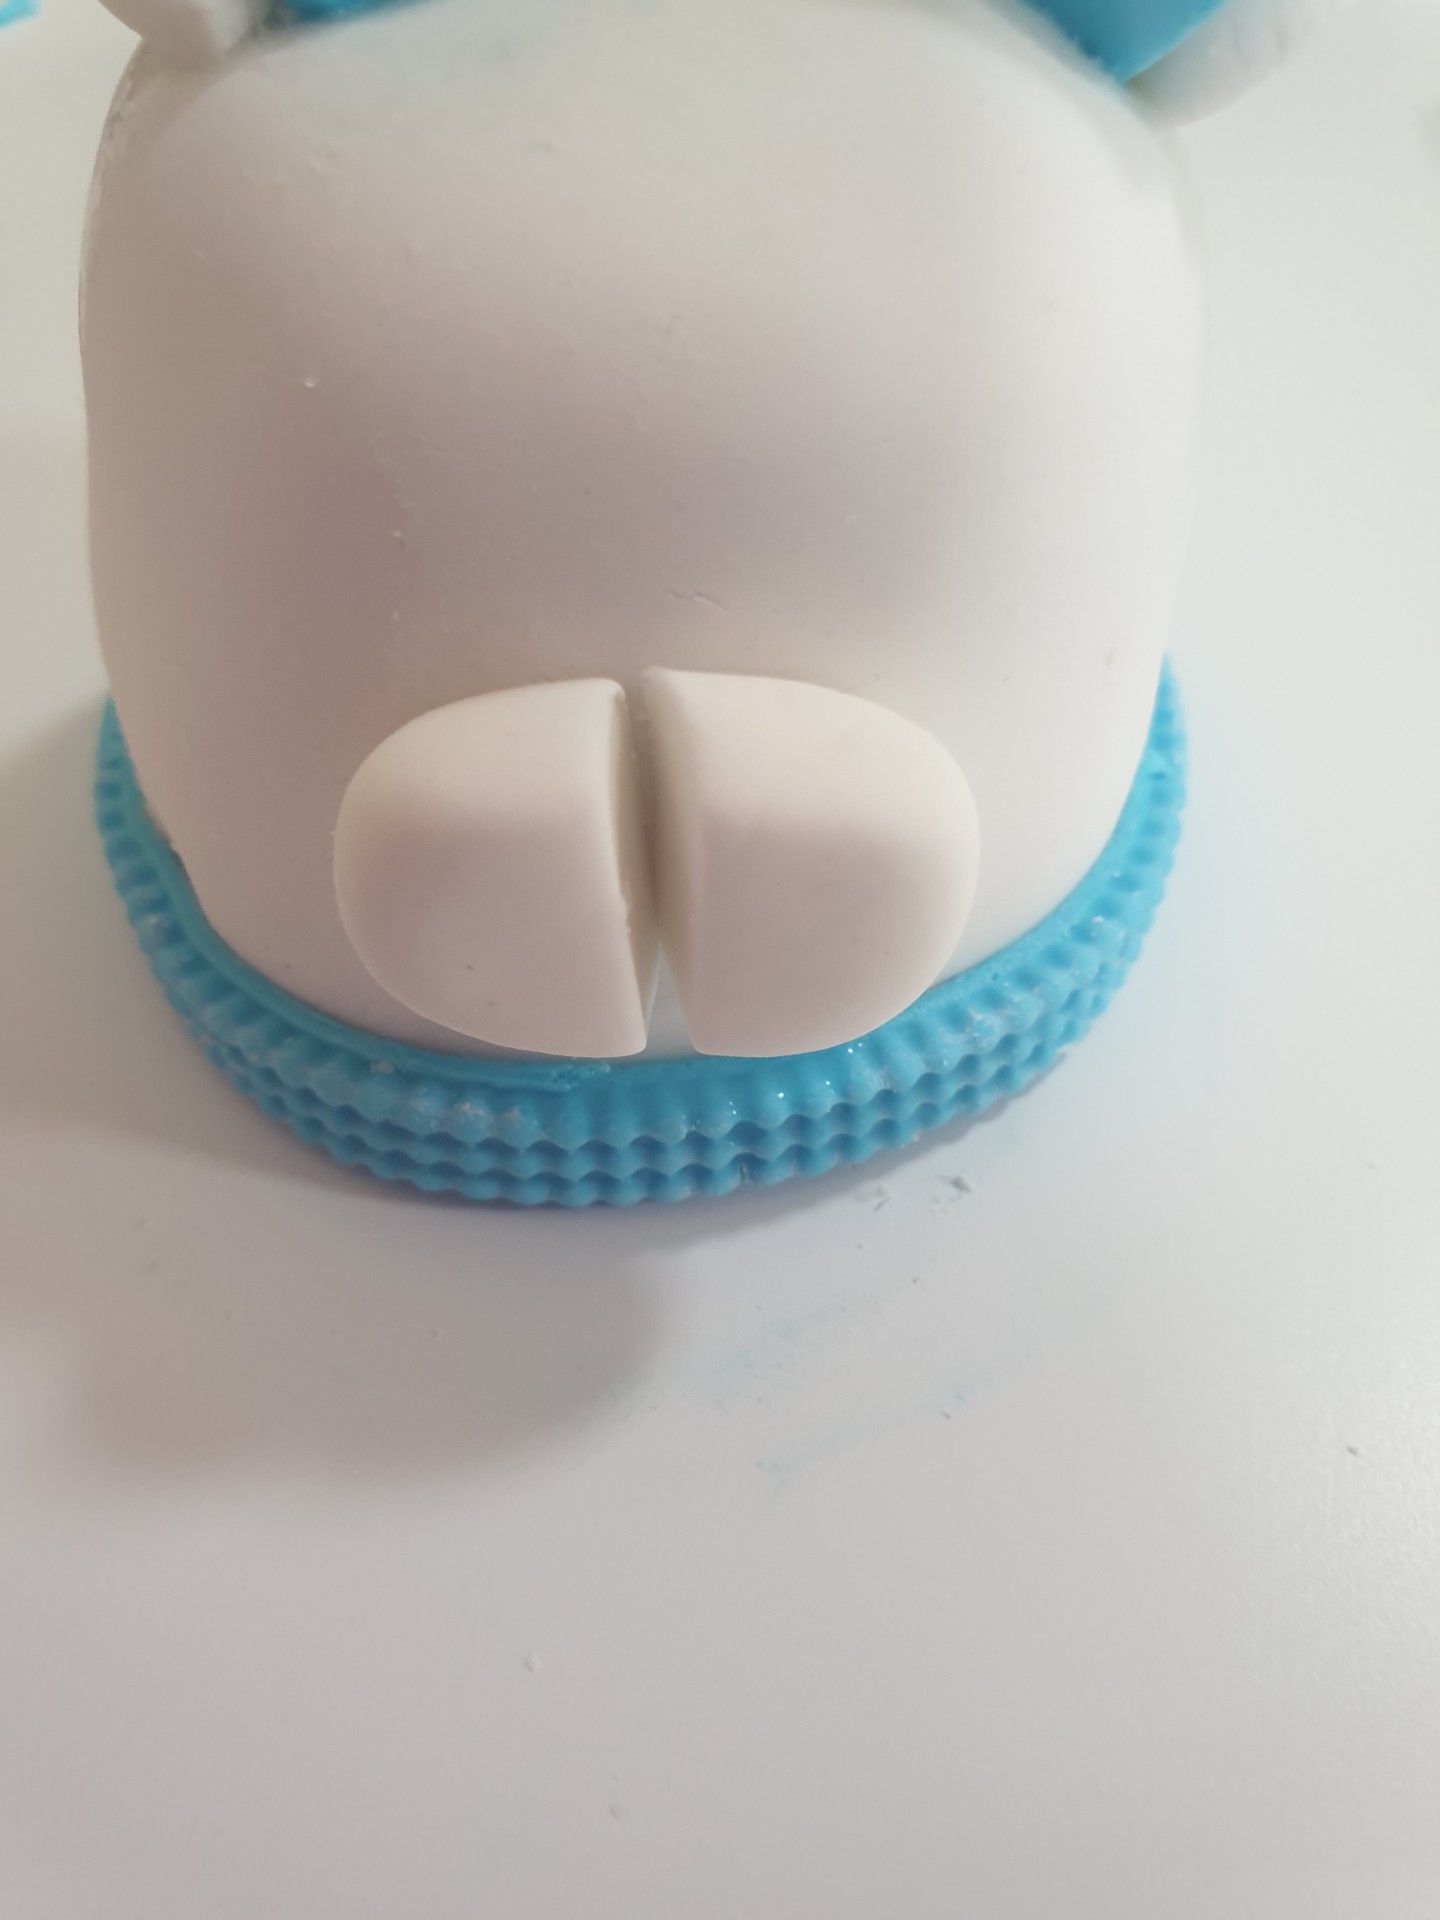
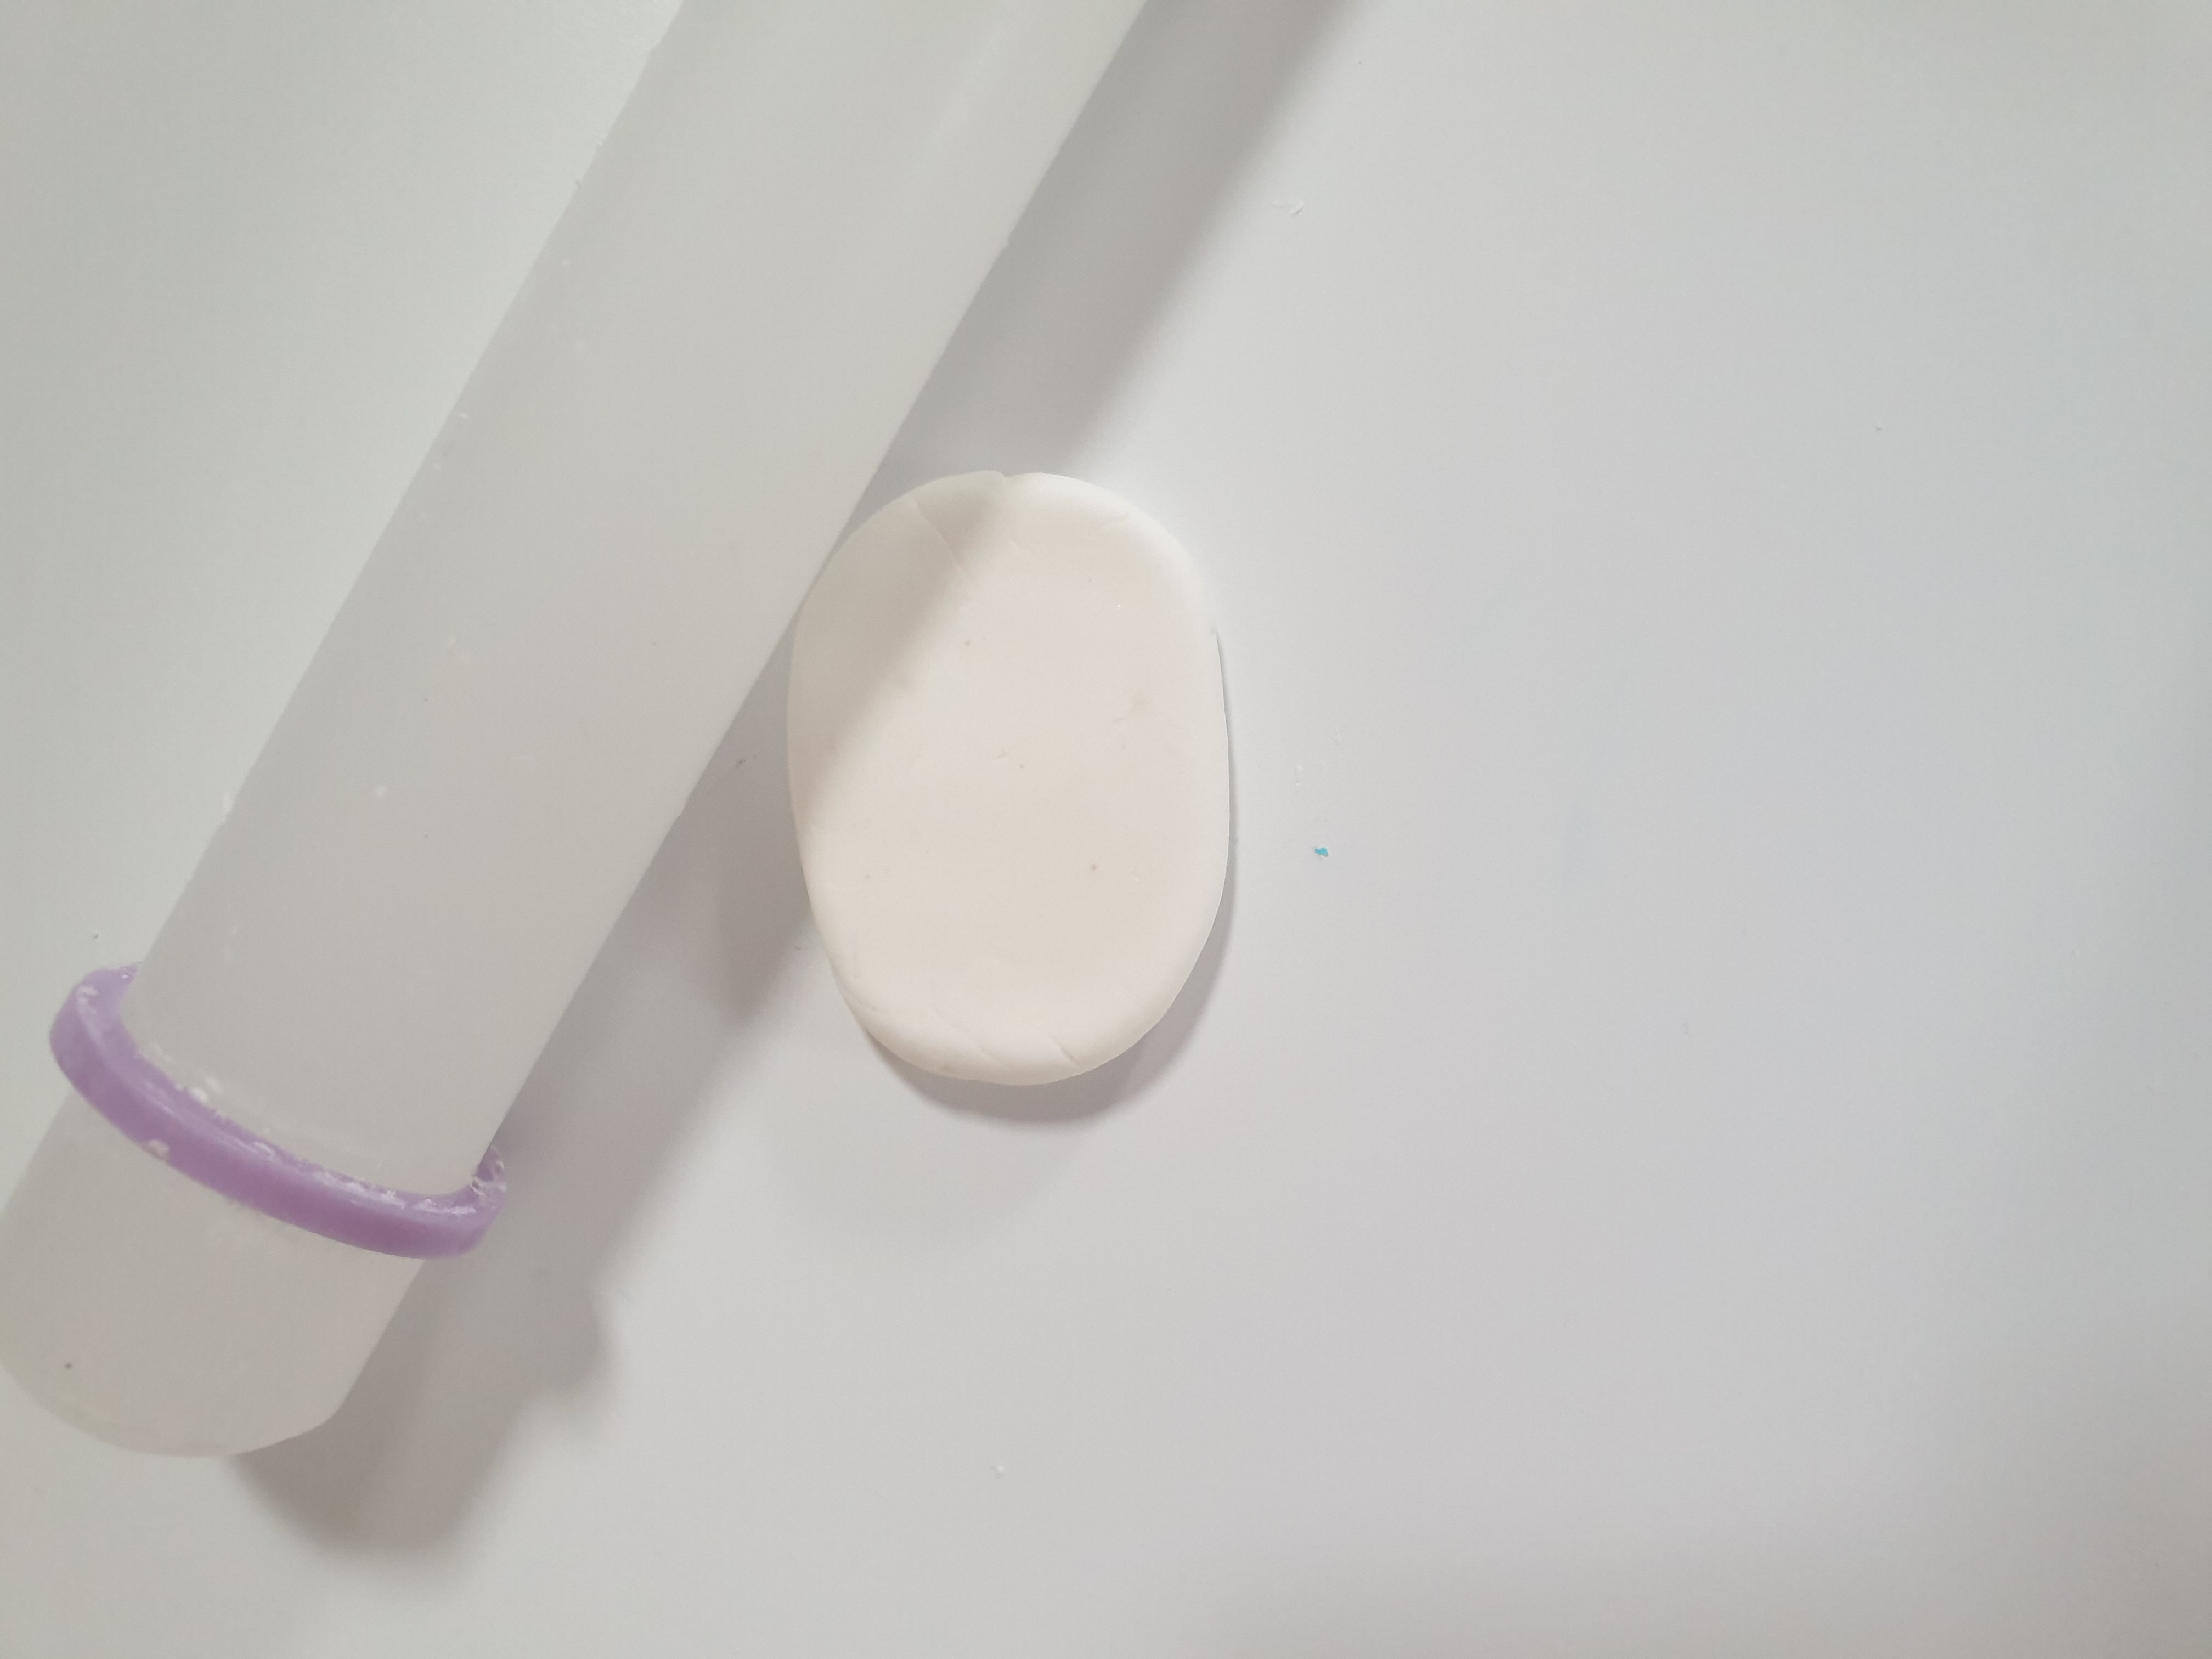
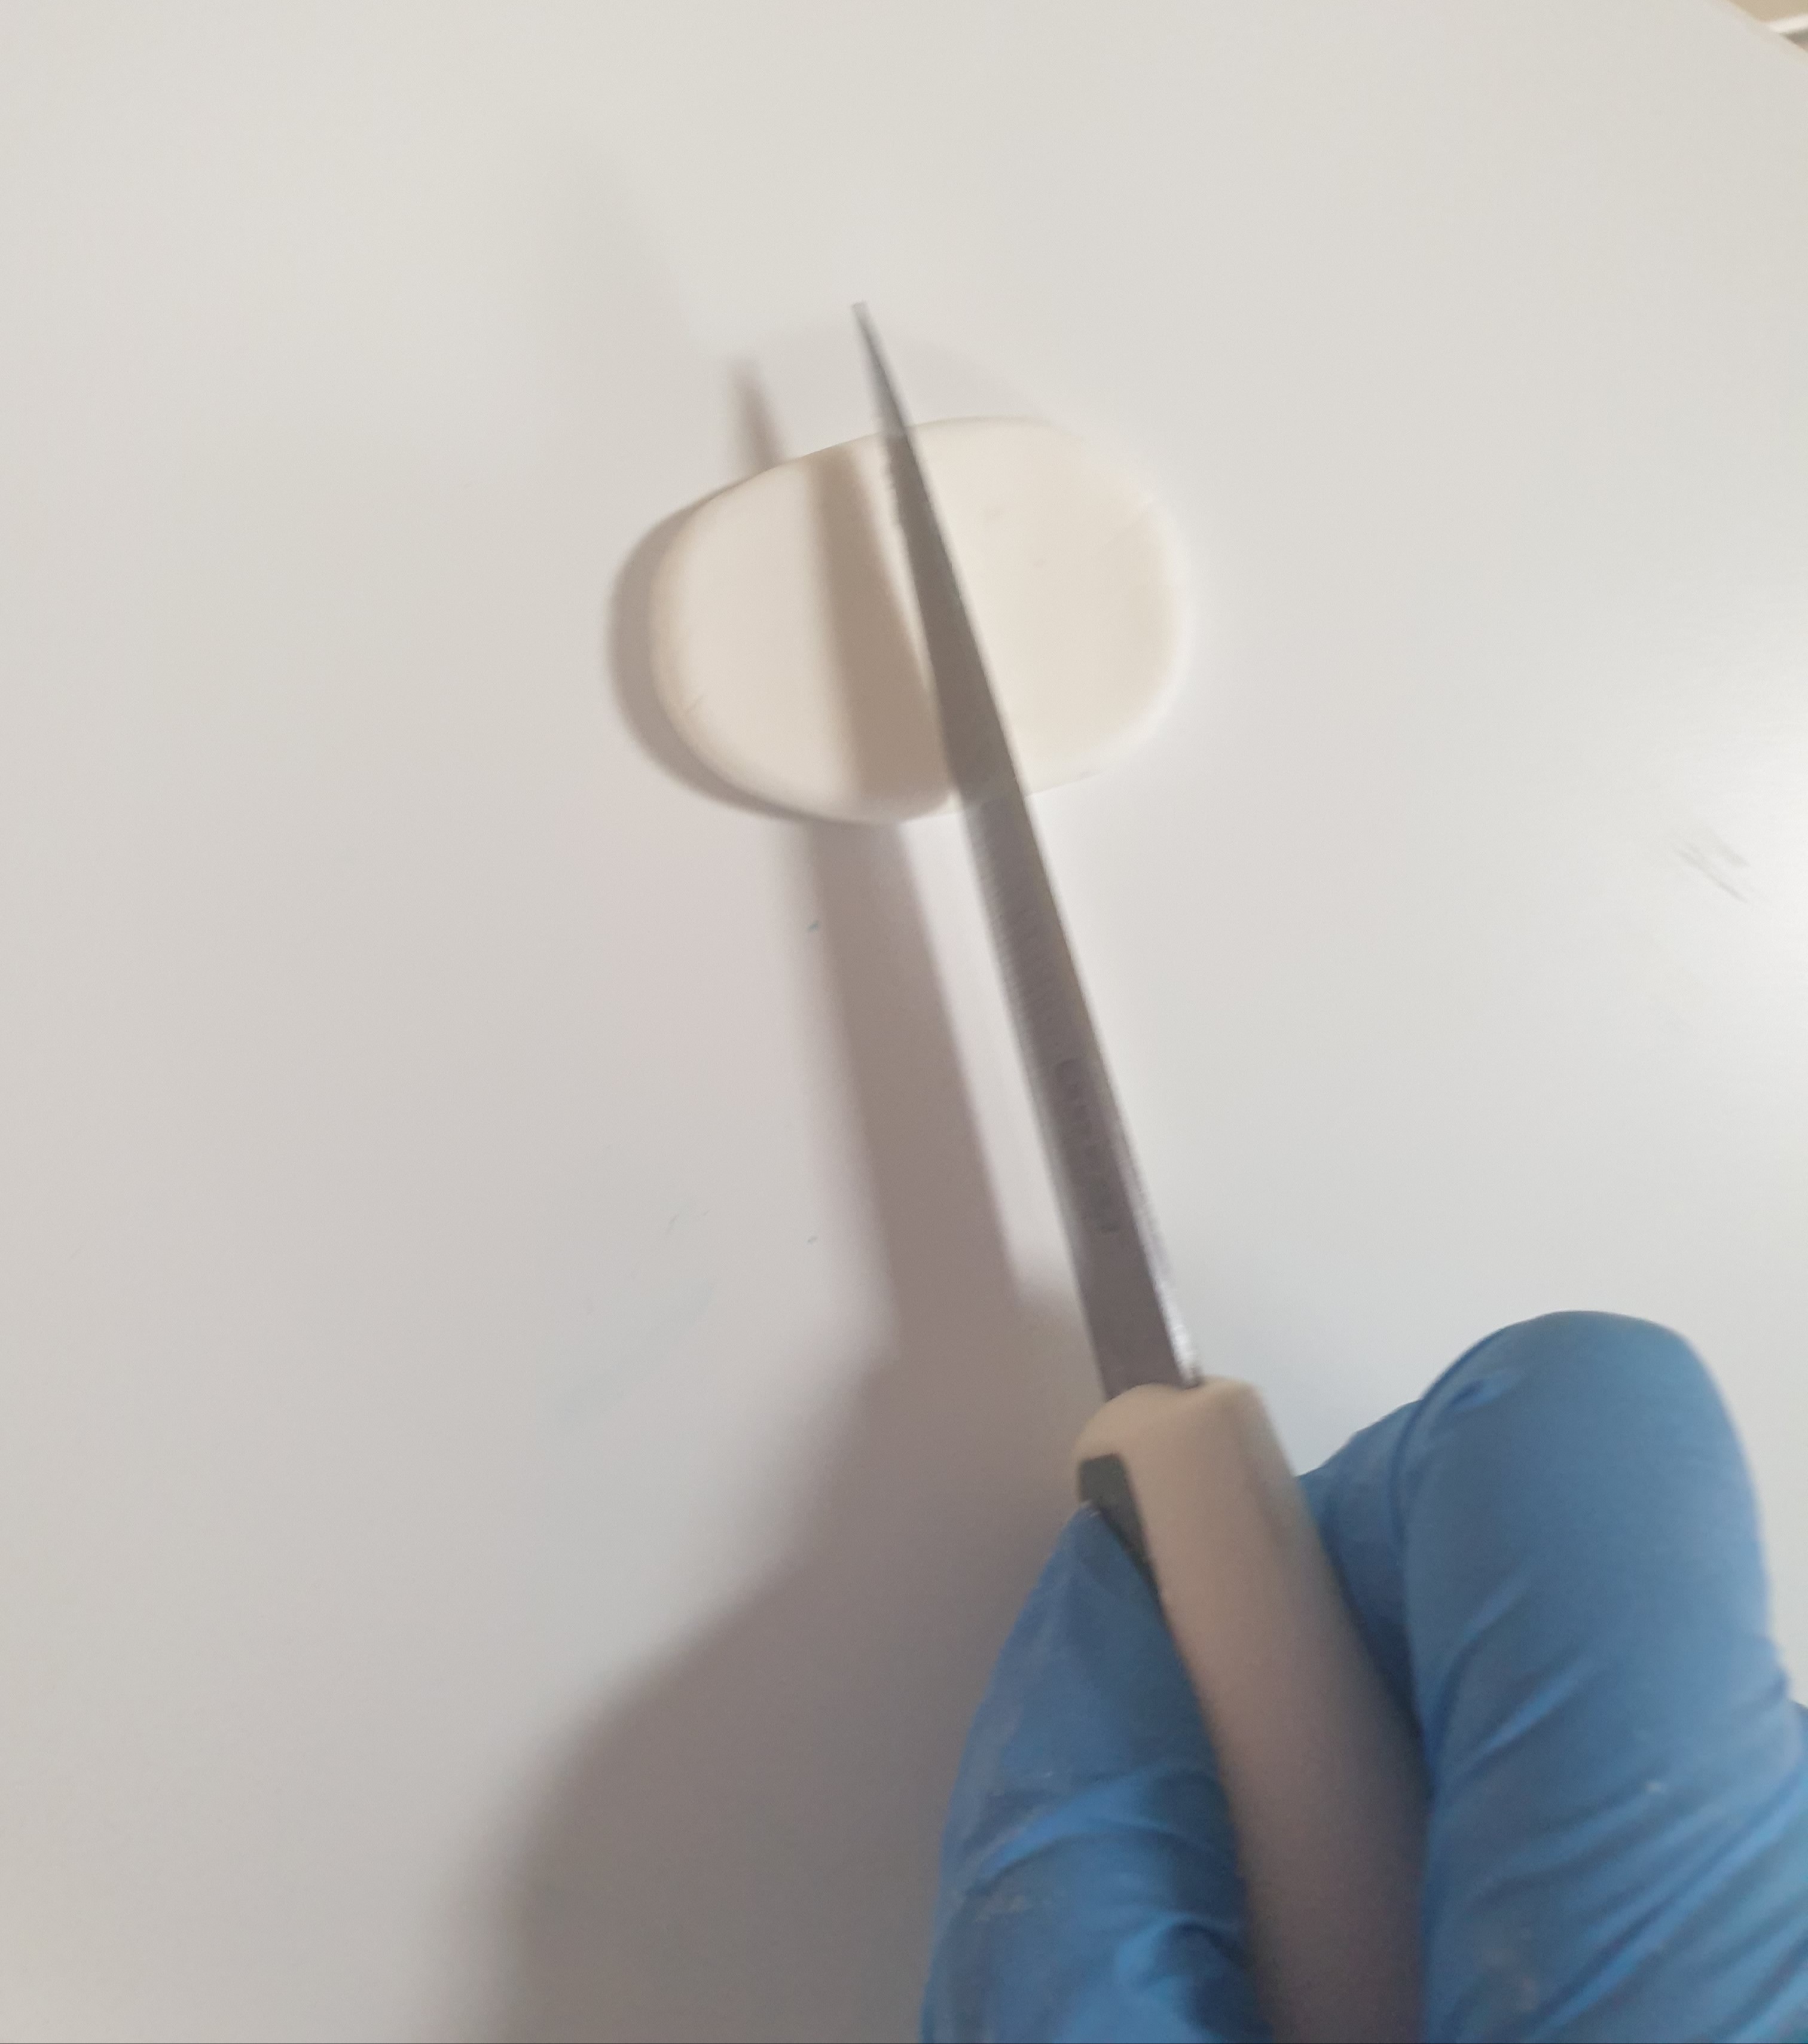
- Roll out a small rectangular piece of white fondant and smooth the edges using your fingers.
- Take your knife and cut it down the middle.
- Using some water and your cake brush, stick the mouth pieces to the front of the cake where the mouth would be.
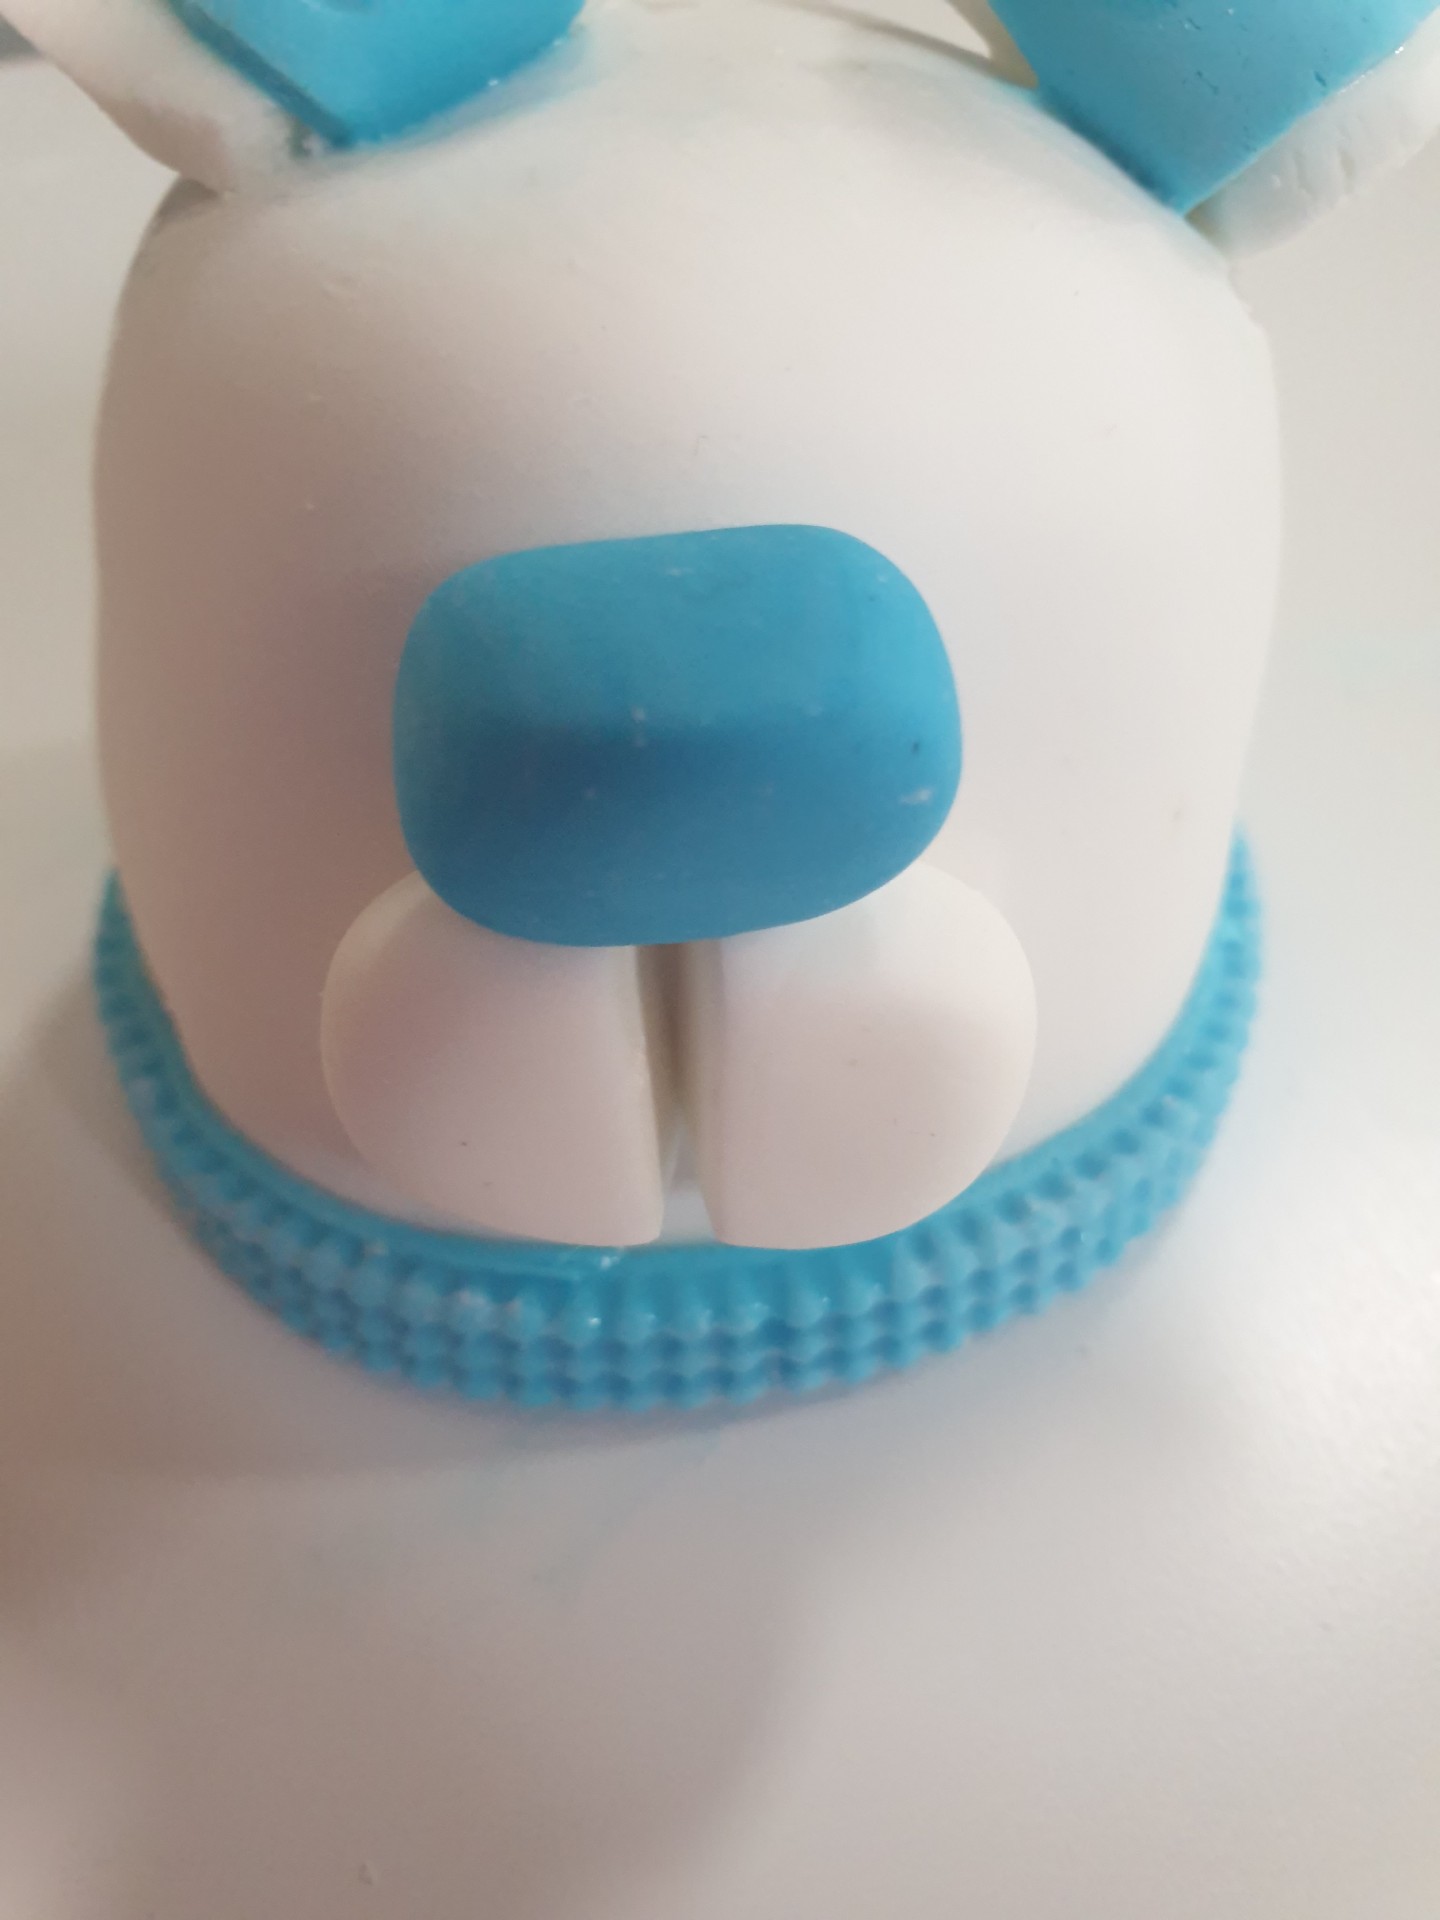
- Roll a small piece of blue fondant and shape it into a rectangular nose.
- Again, stick this piece to the front of the cake, above the mouth area, and hold in place for a few seconds.
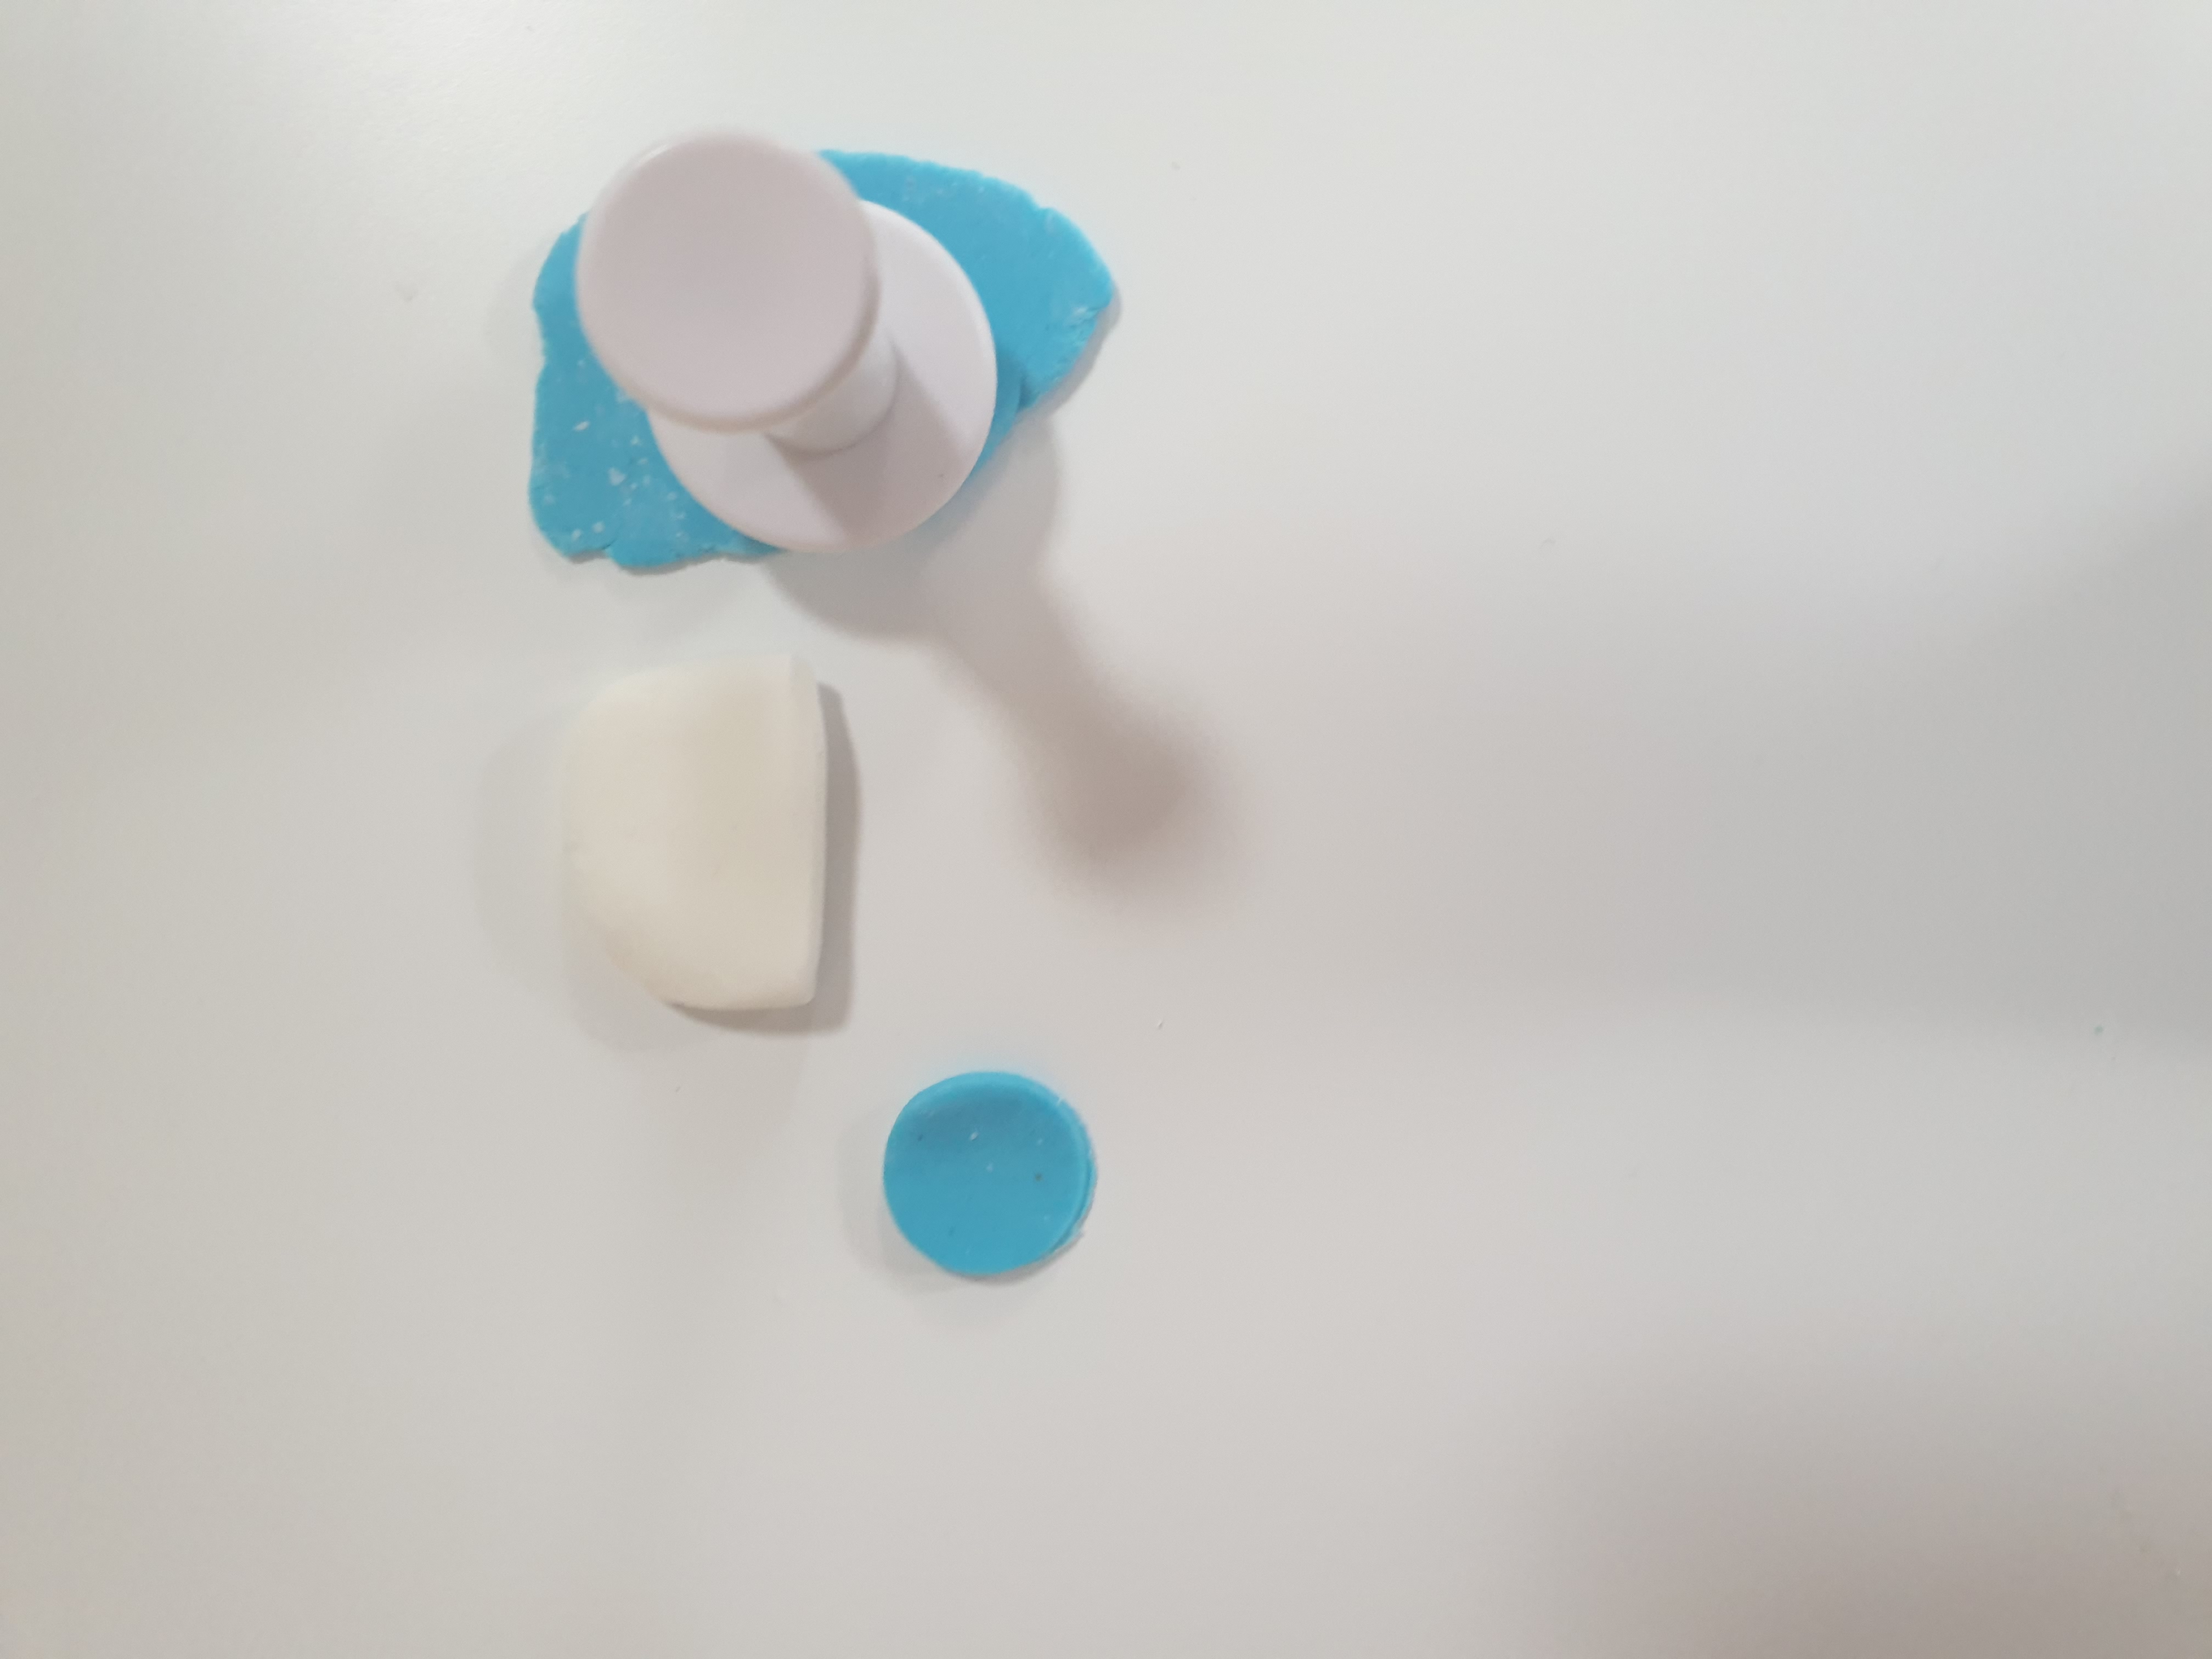
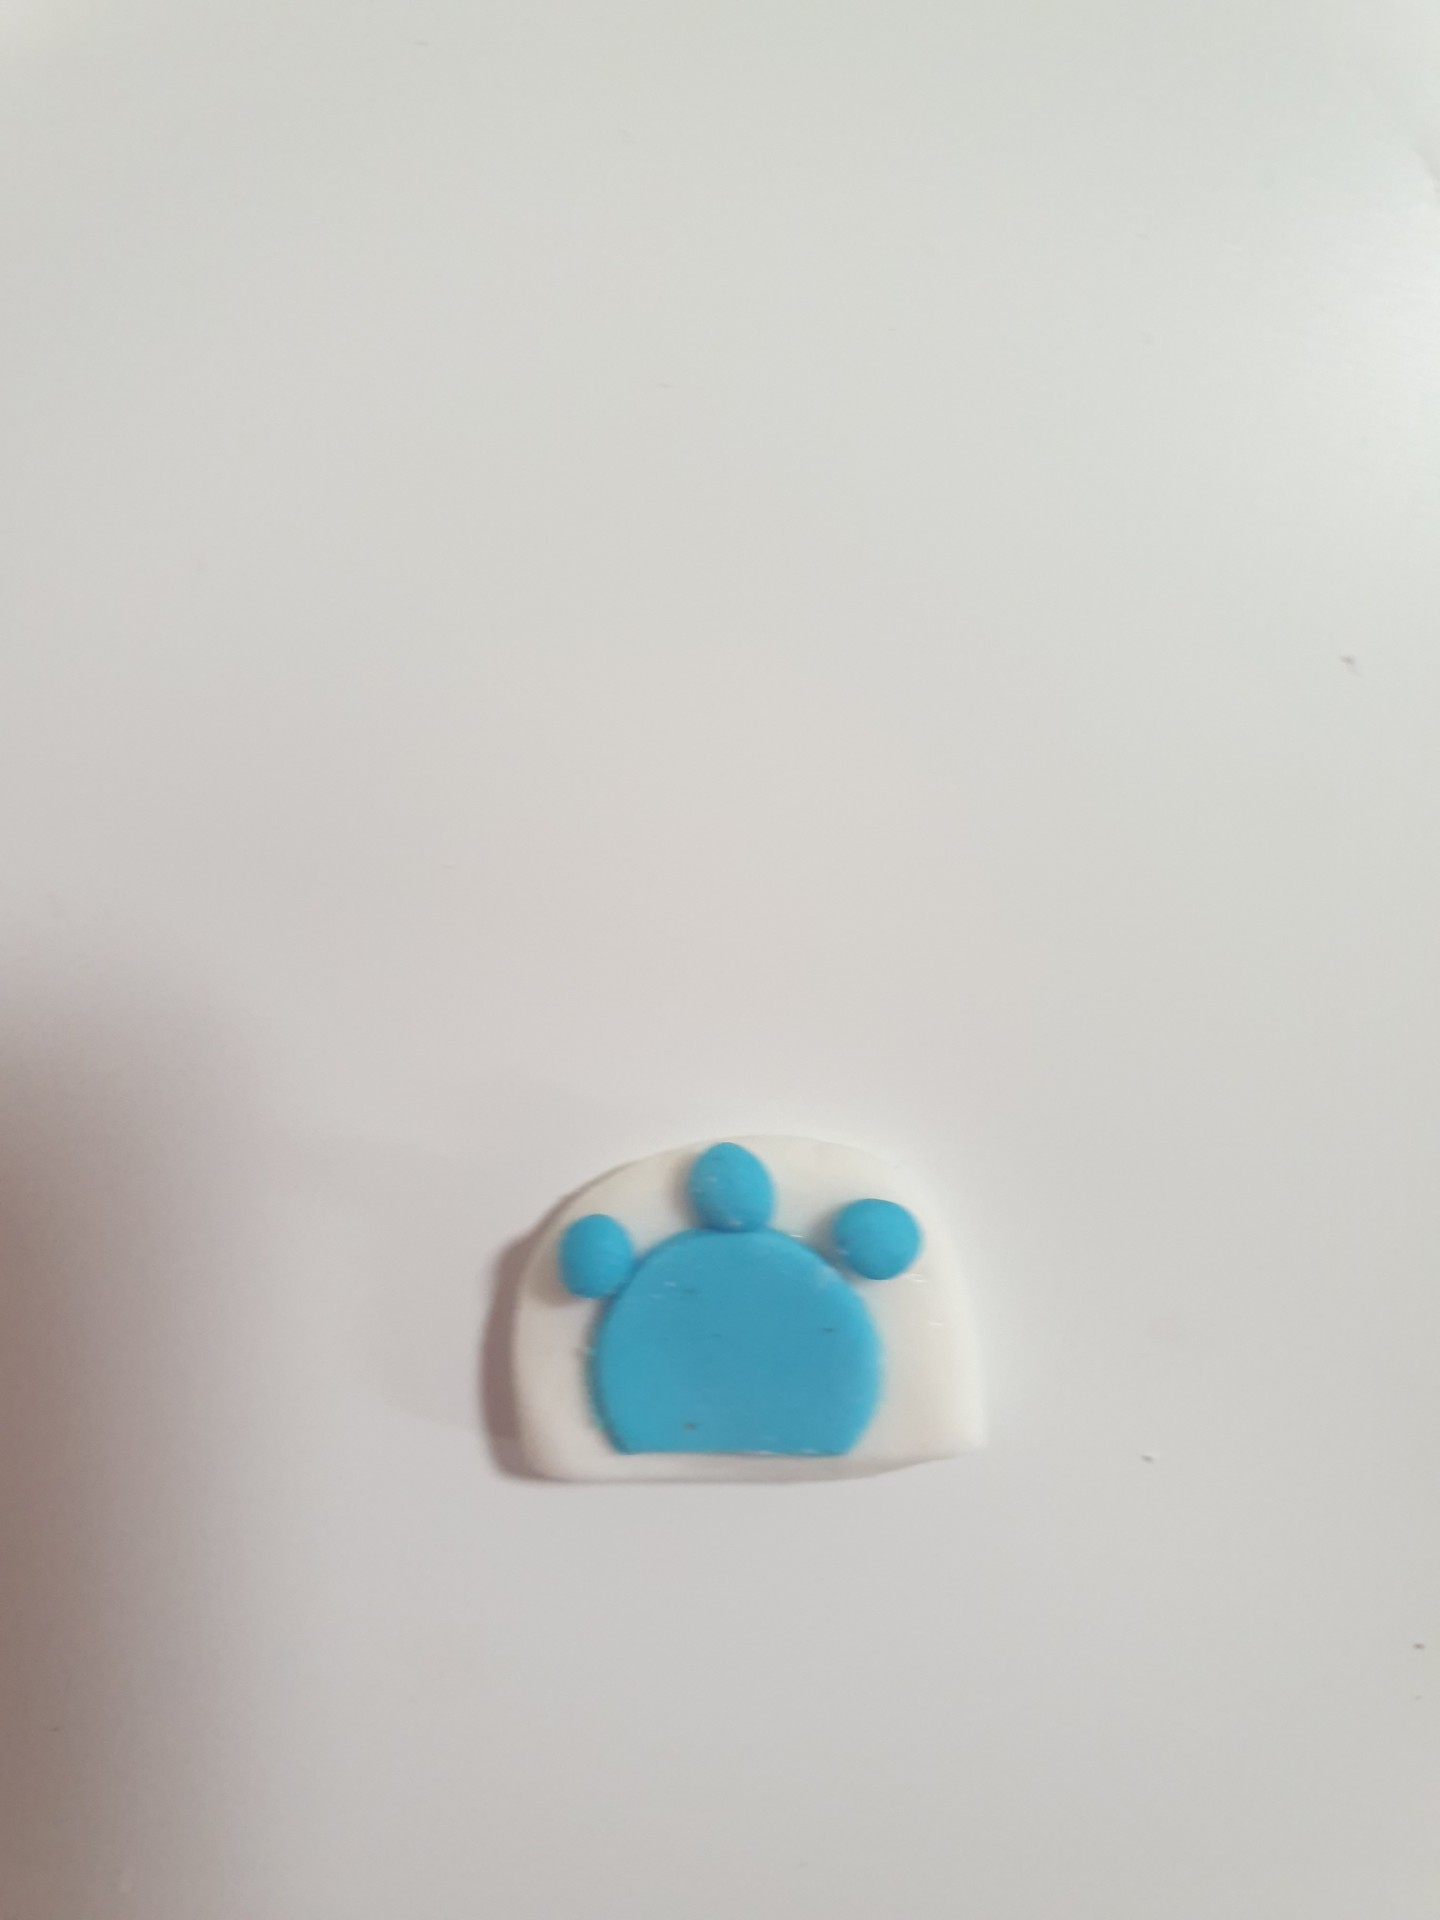
- Roll out a flat piece of white fondant, and a flat piece of blue fondant.
- Cut the white piece of fondant in half with your knife.
- Using your round fondant plunger, cut out a small blue circle.
- Place the circle on a half piece of white fondant and secure with water, repeat this process on the other white half.
- Roll 6 small balls of blue fondant and secure them on the foot to create paws (see pictures).
- Secure the paws on either side of the cake, just above the blue border.
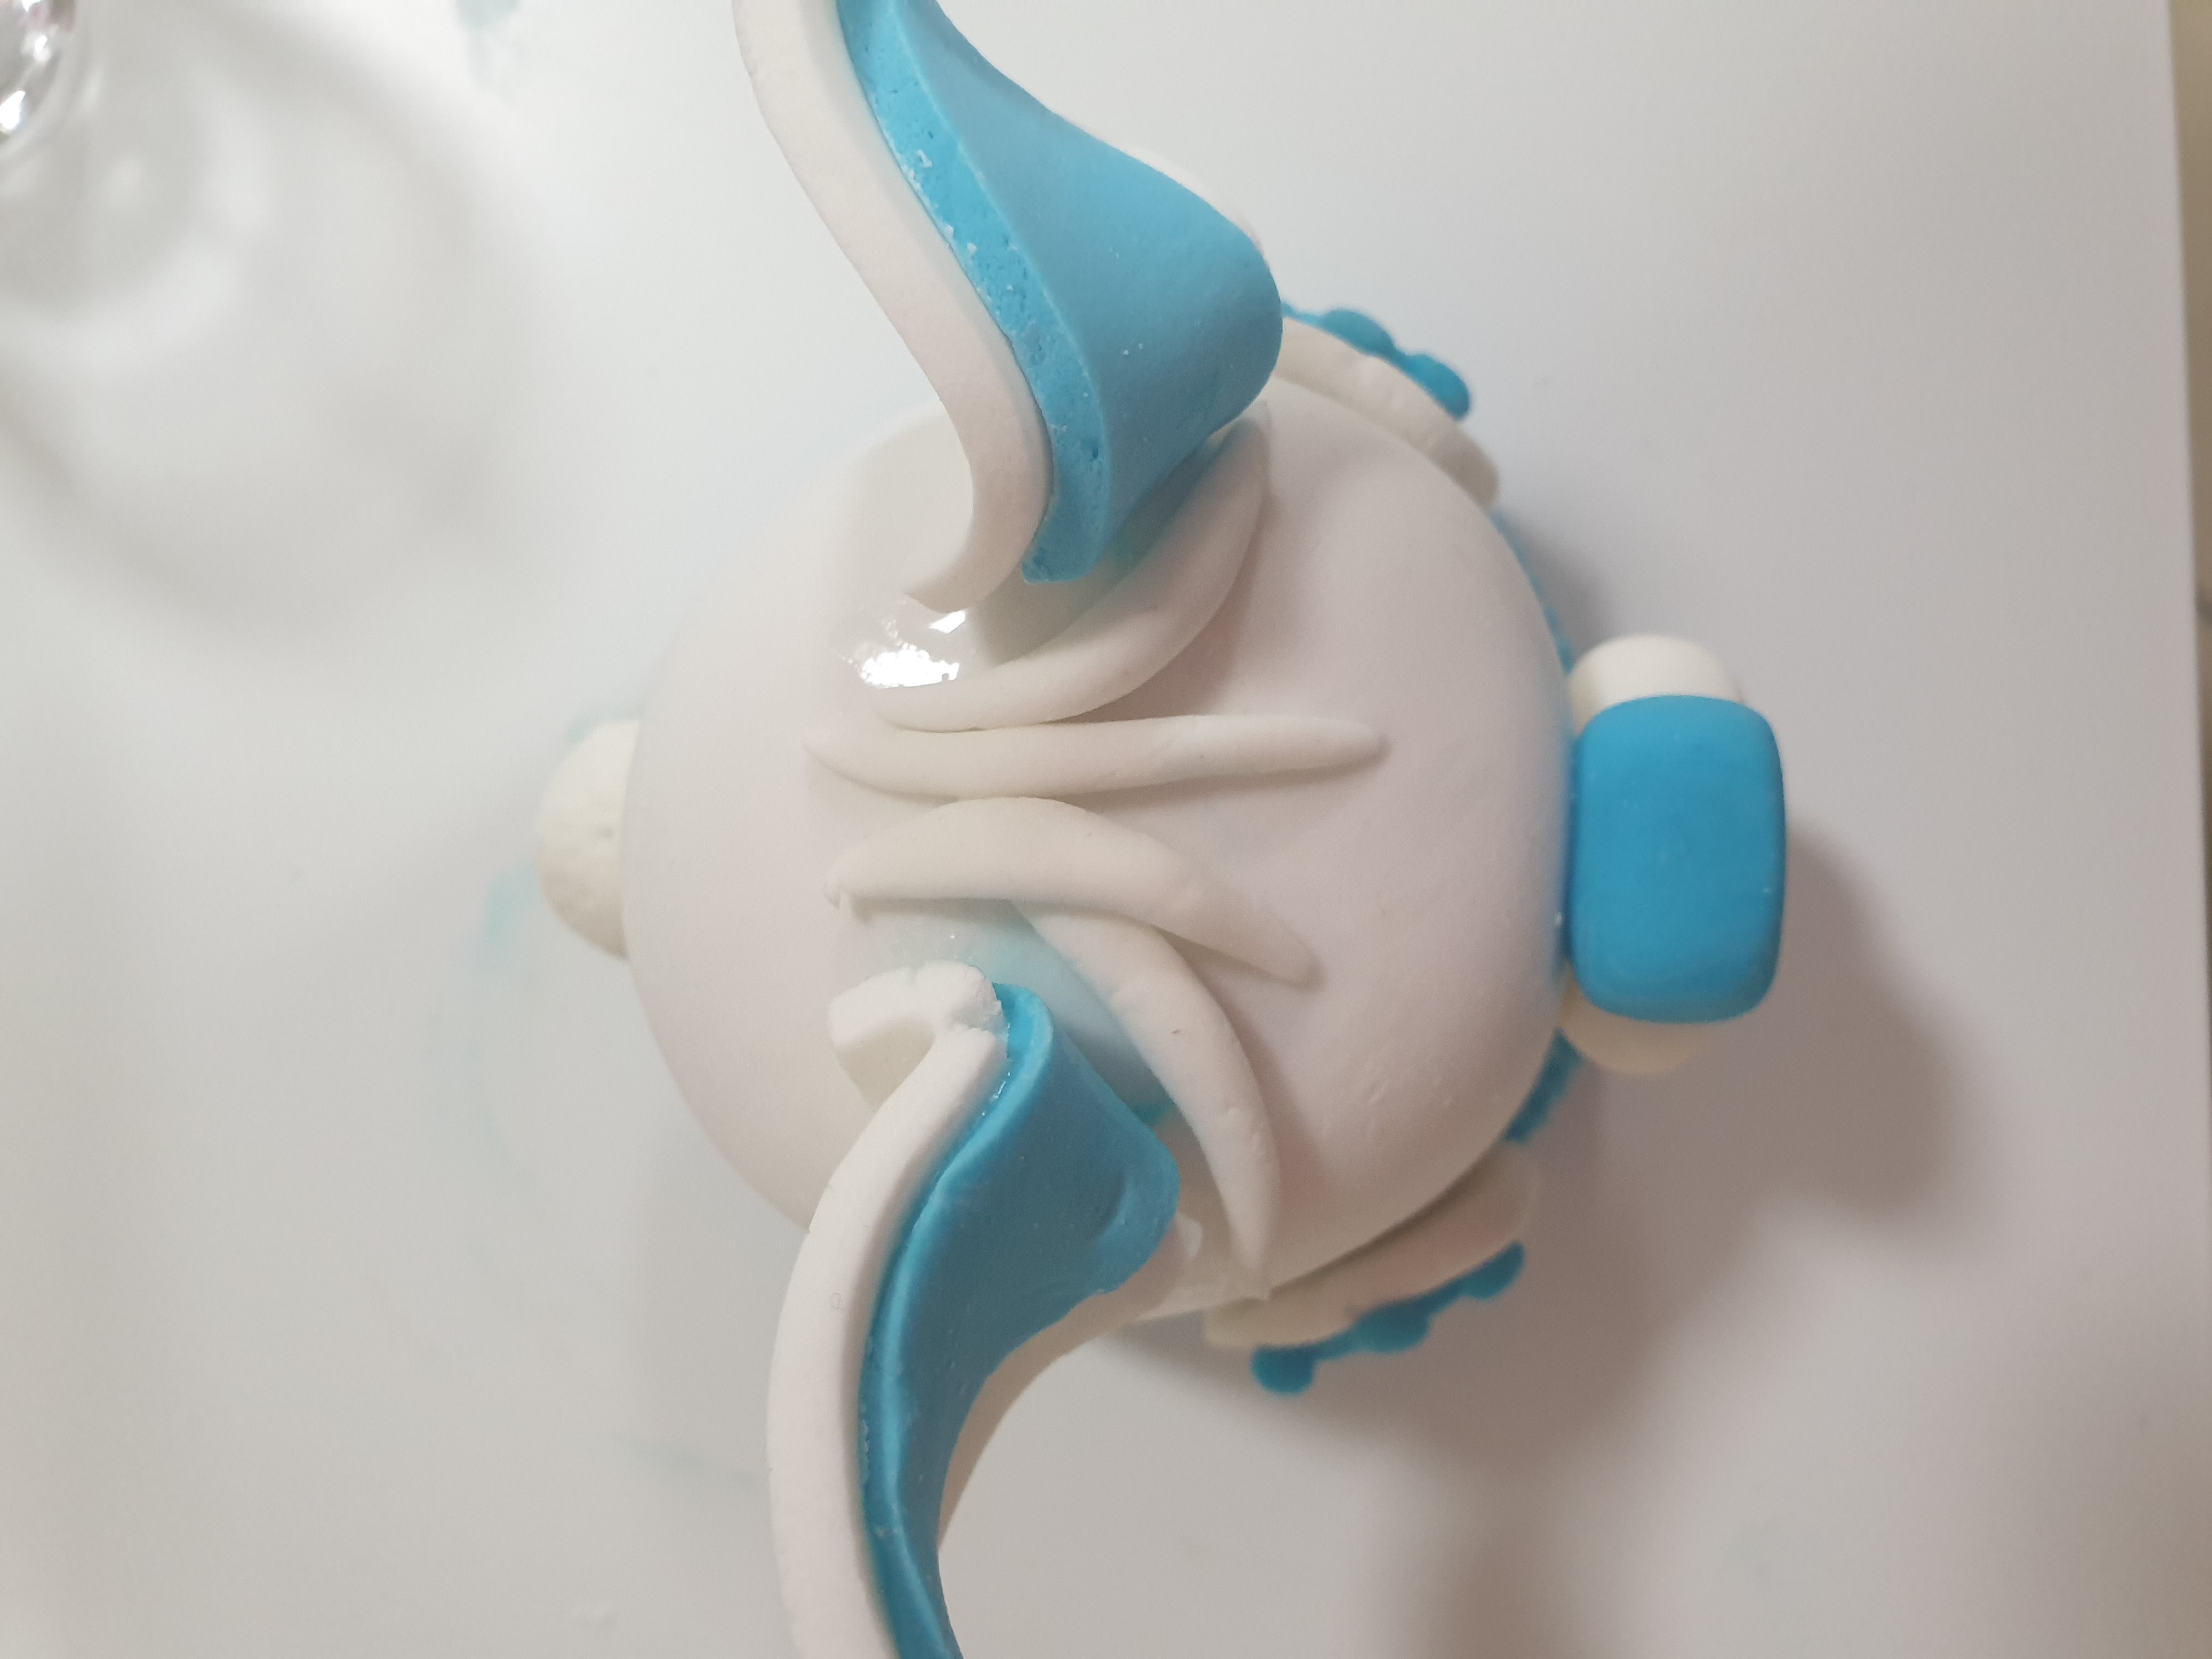
D: Cotton Tail, Hair & Eyes
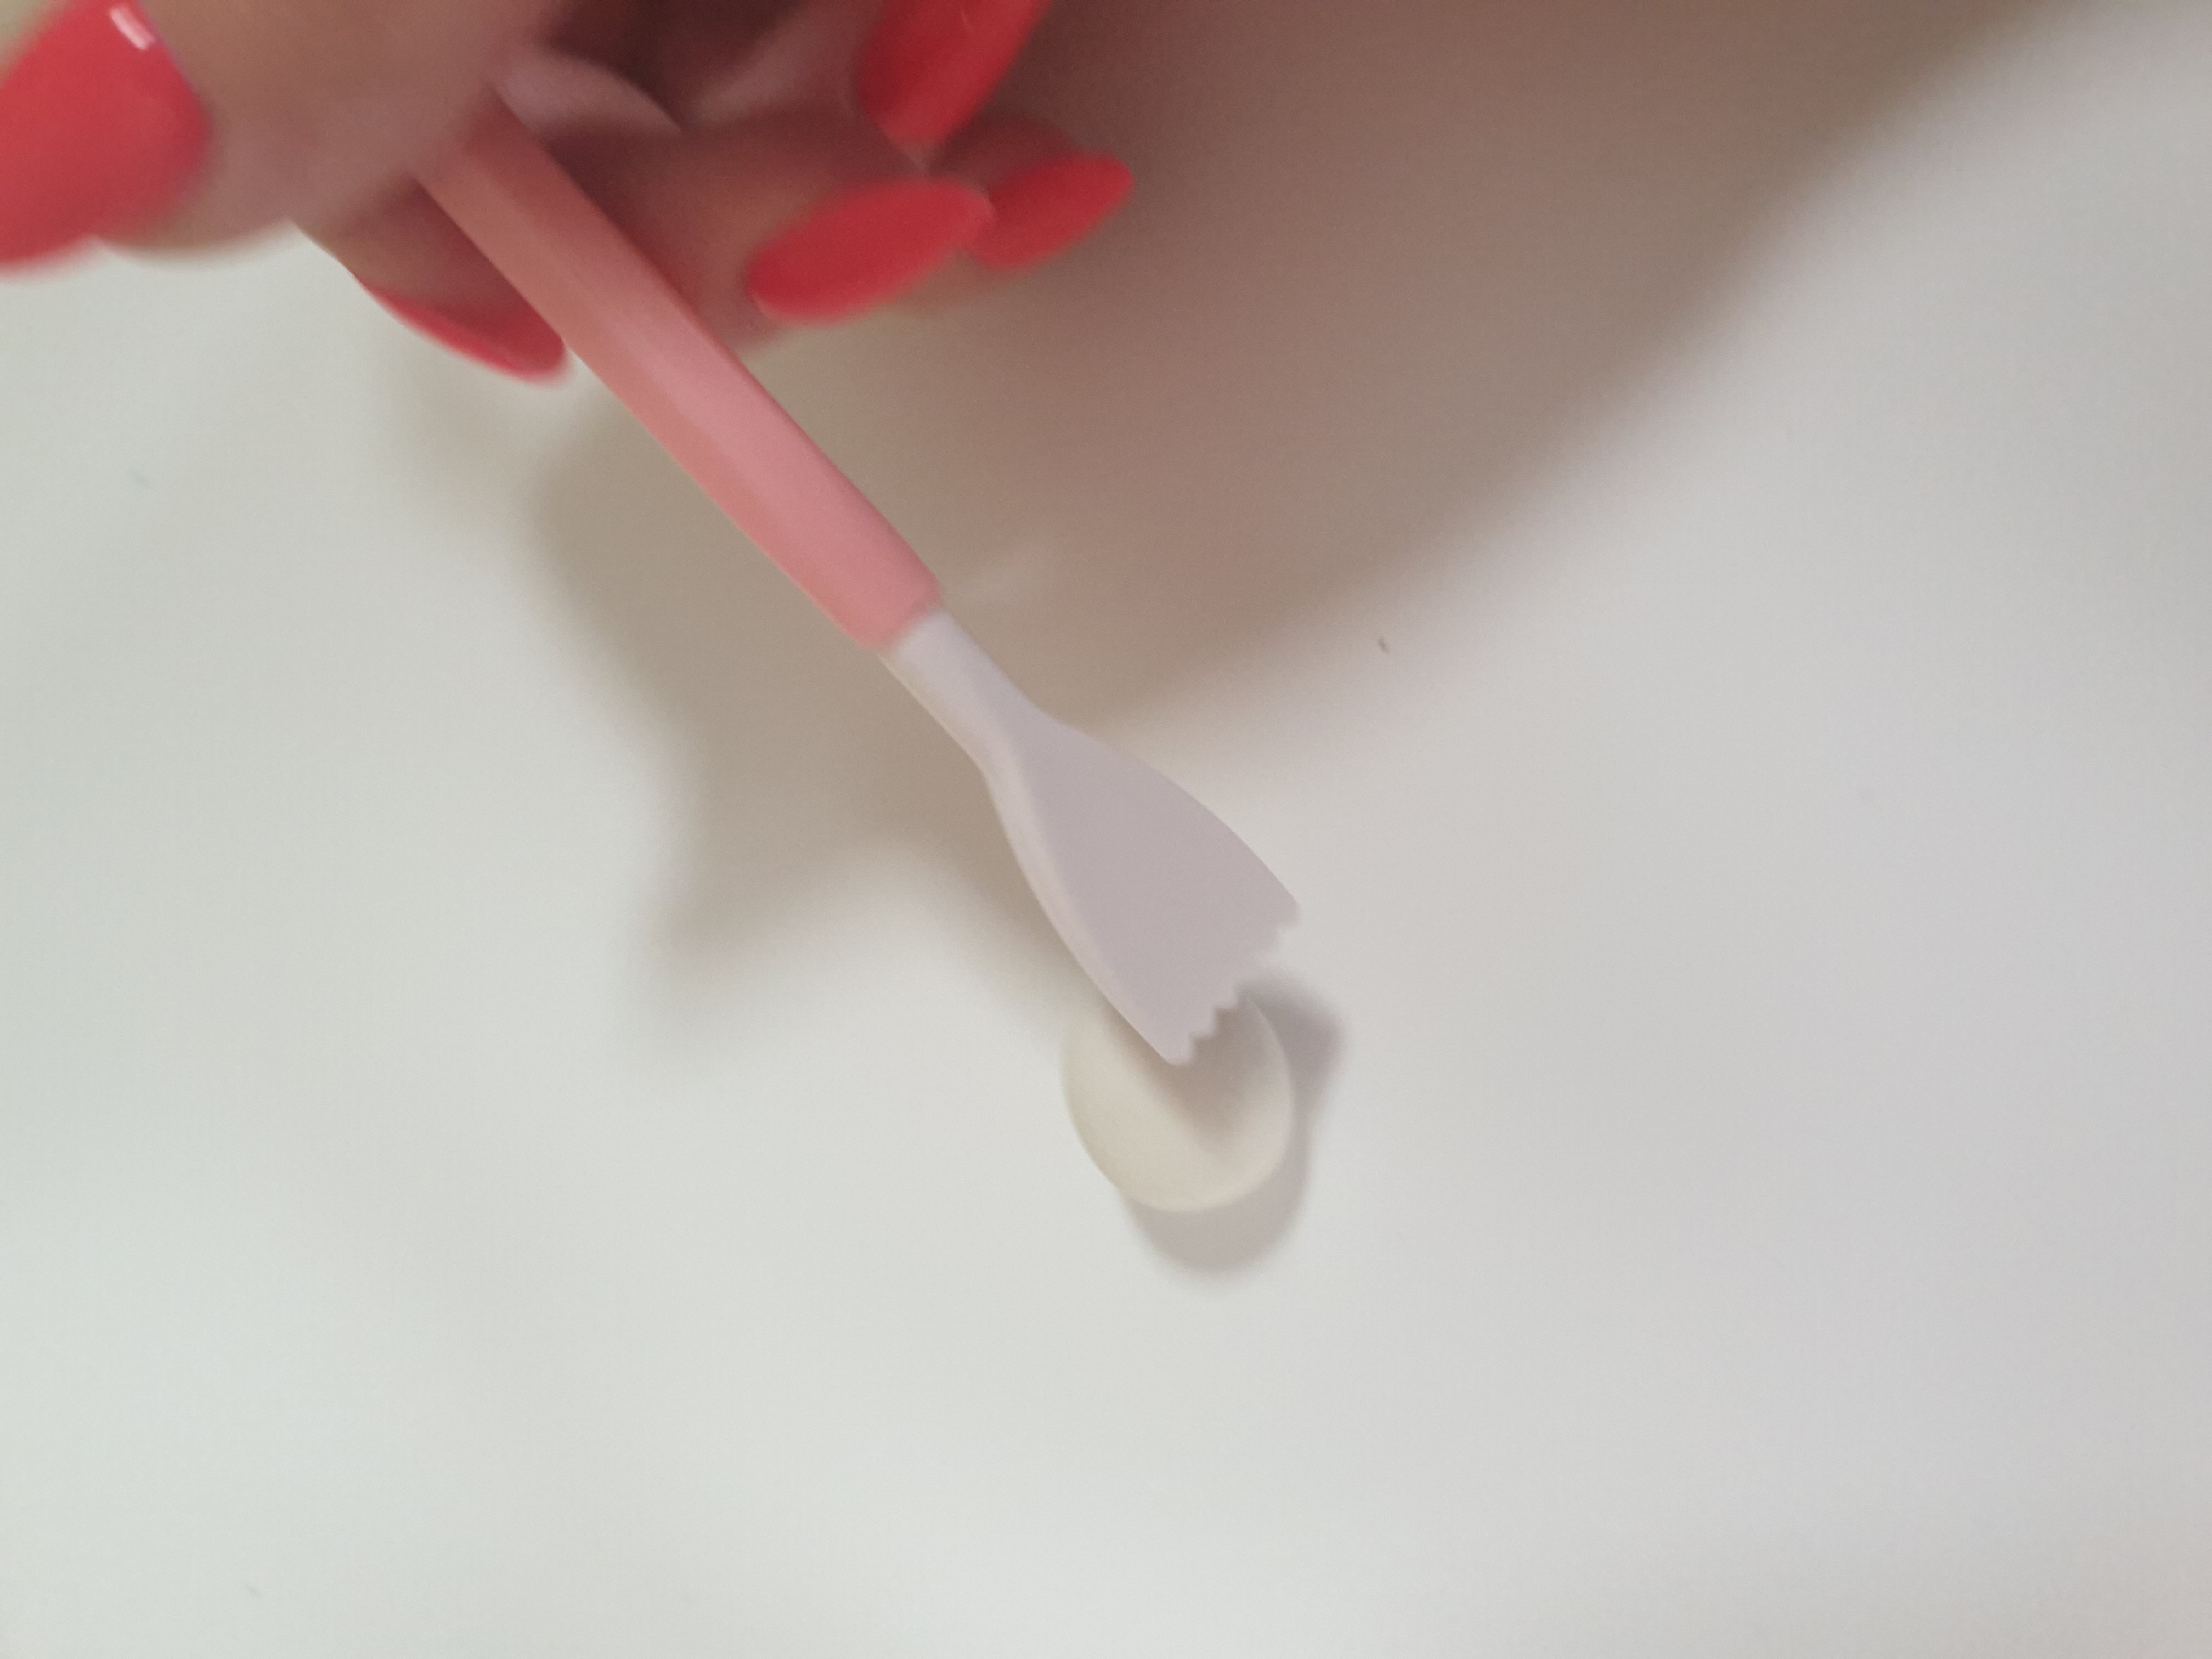
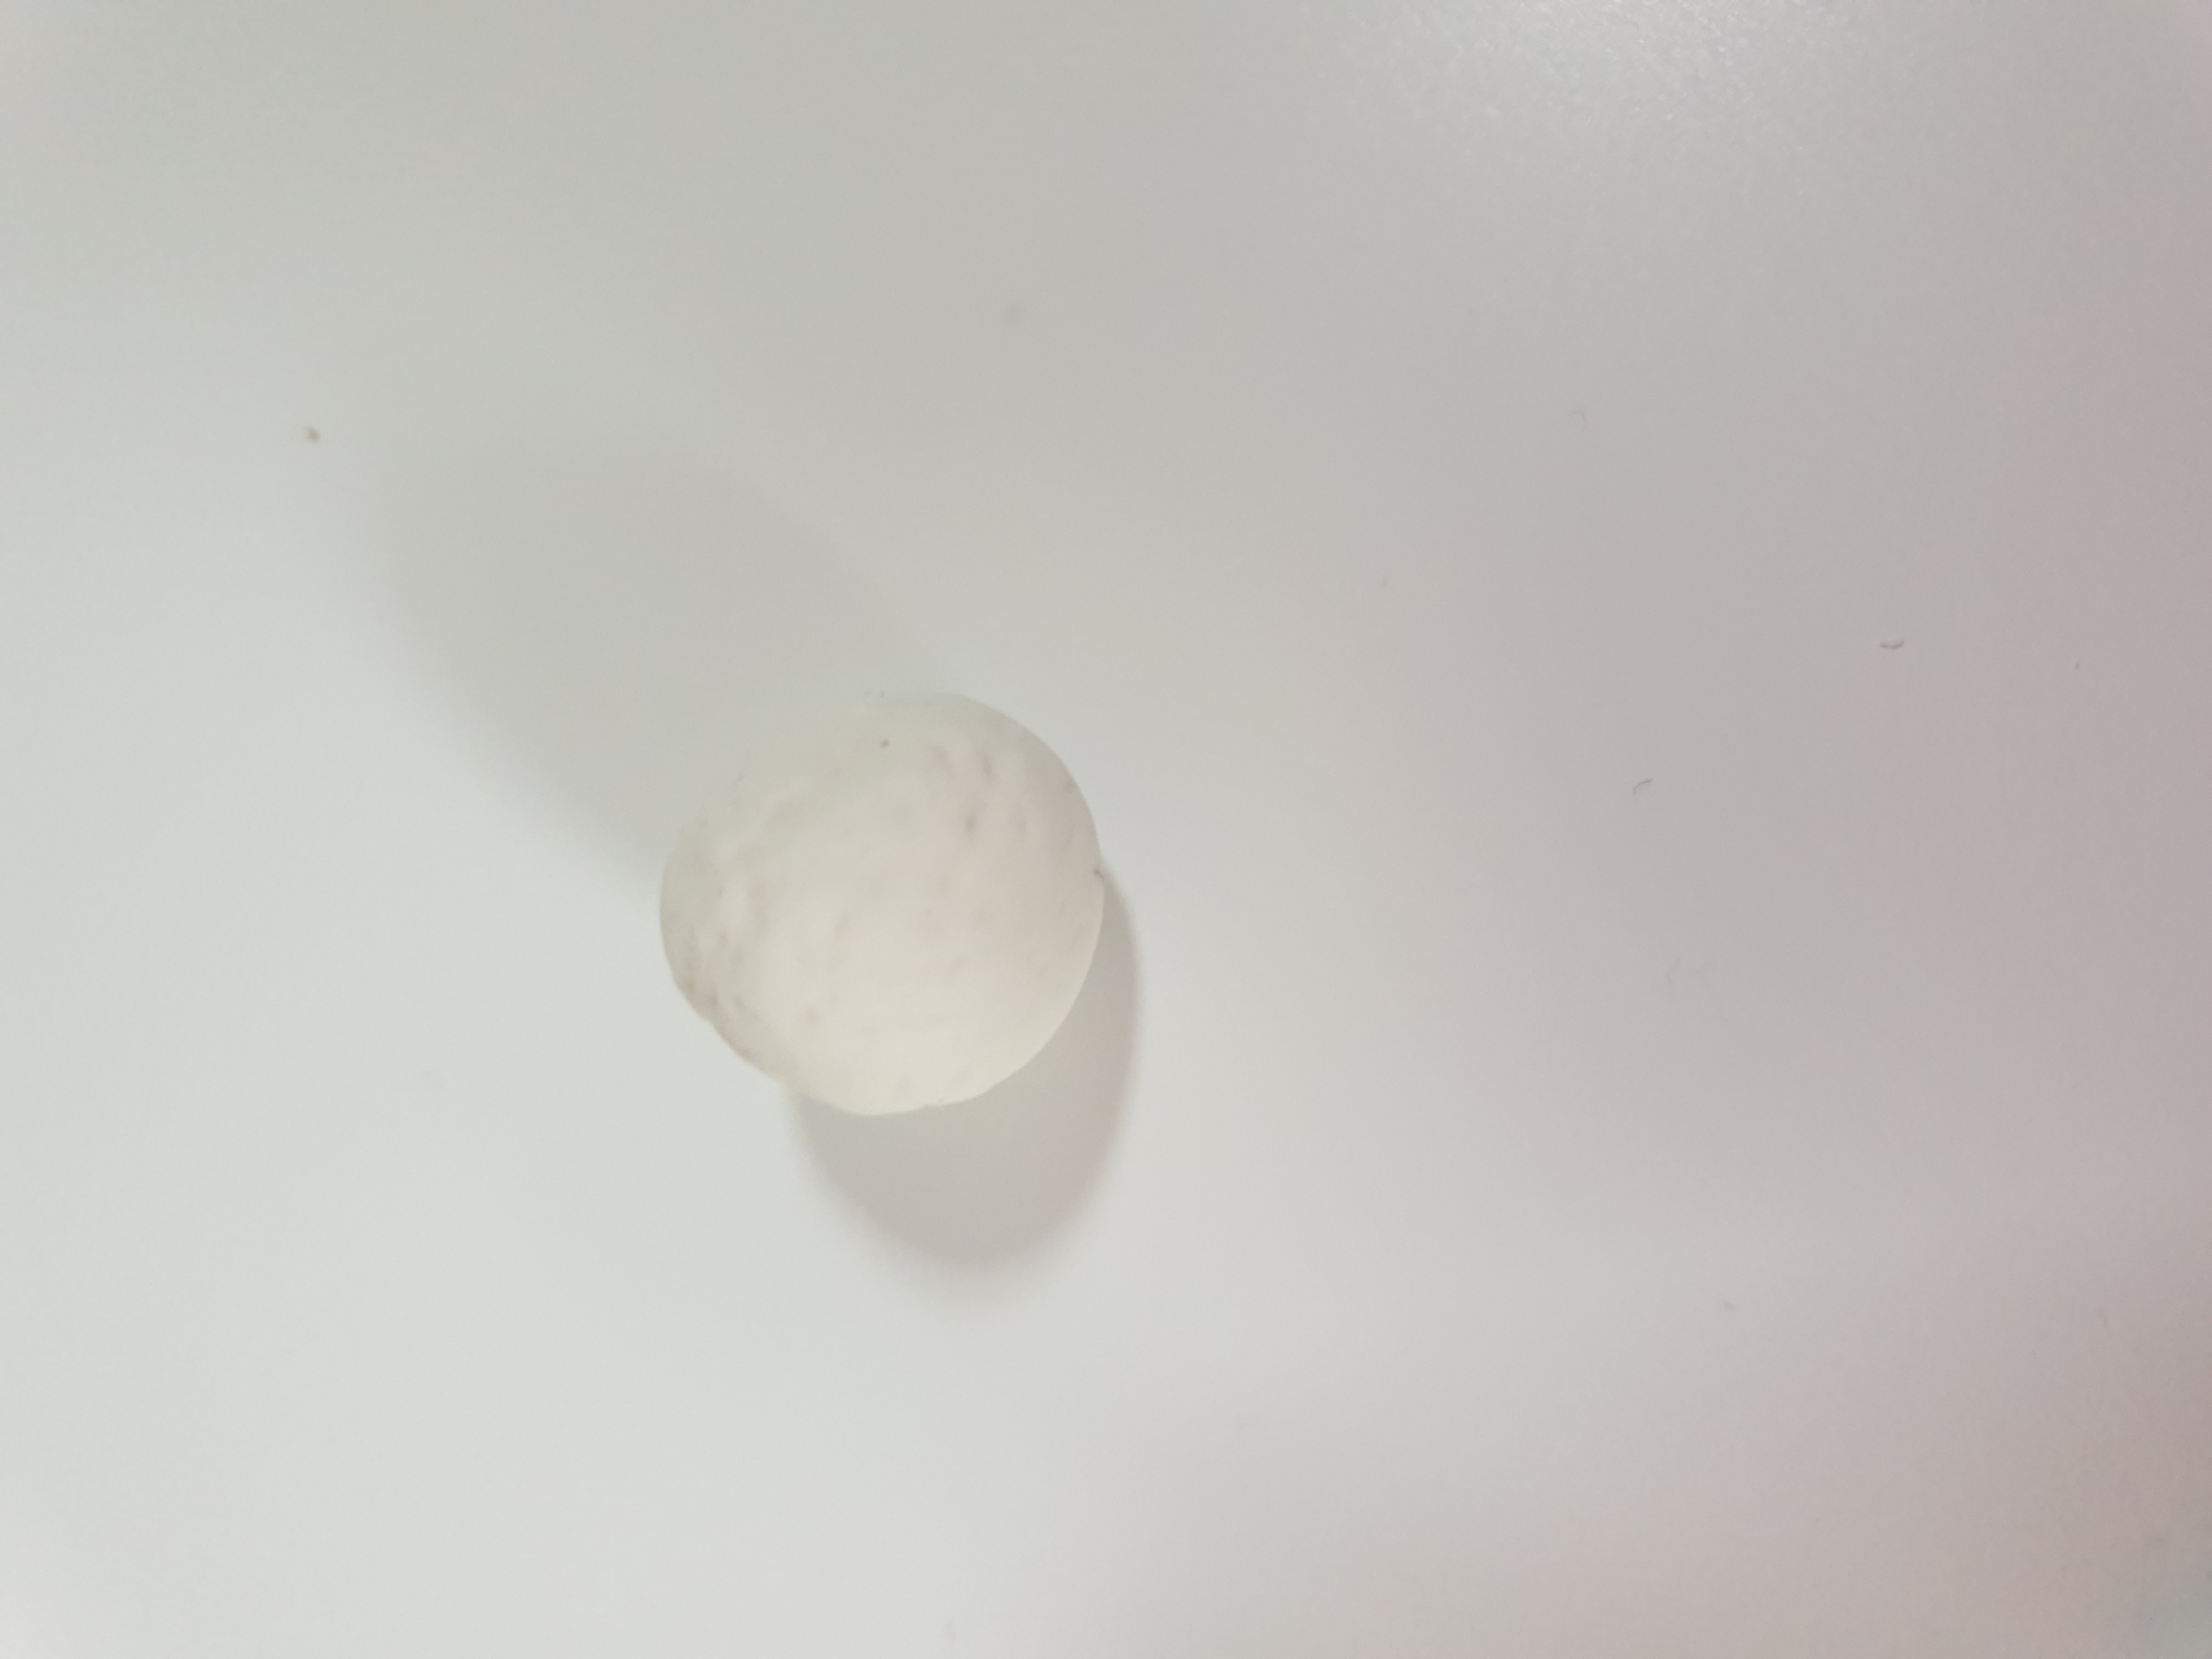
- Take a small piece of white fondant and roll it into a ball.
- Press down on the whole area of the white ball using your serrated fondant tool. This will help create a soft cotton look to the tail.
- Using your water and cake brush, stick the tail to the back of the bunny cake, just above the blue border.
- Taking more white fondant, roll out a long snake shape and cut into sections to create strands of hair. Stick these on the bunny's head (between the ears) as per picture.
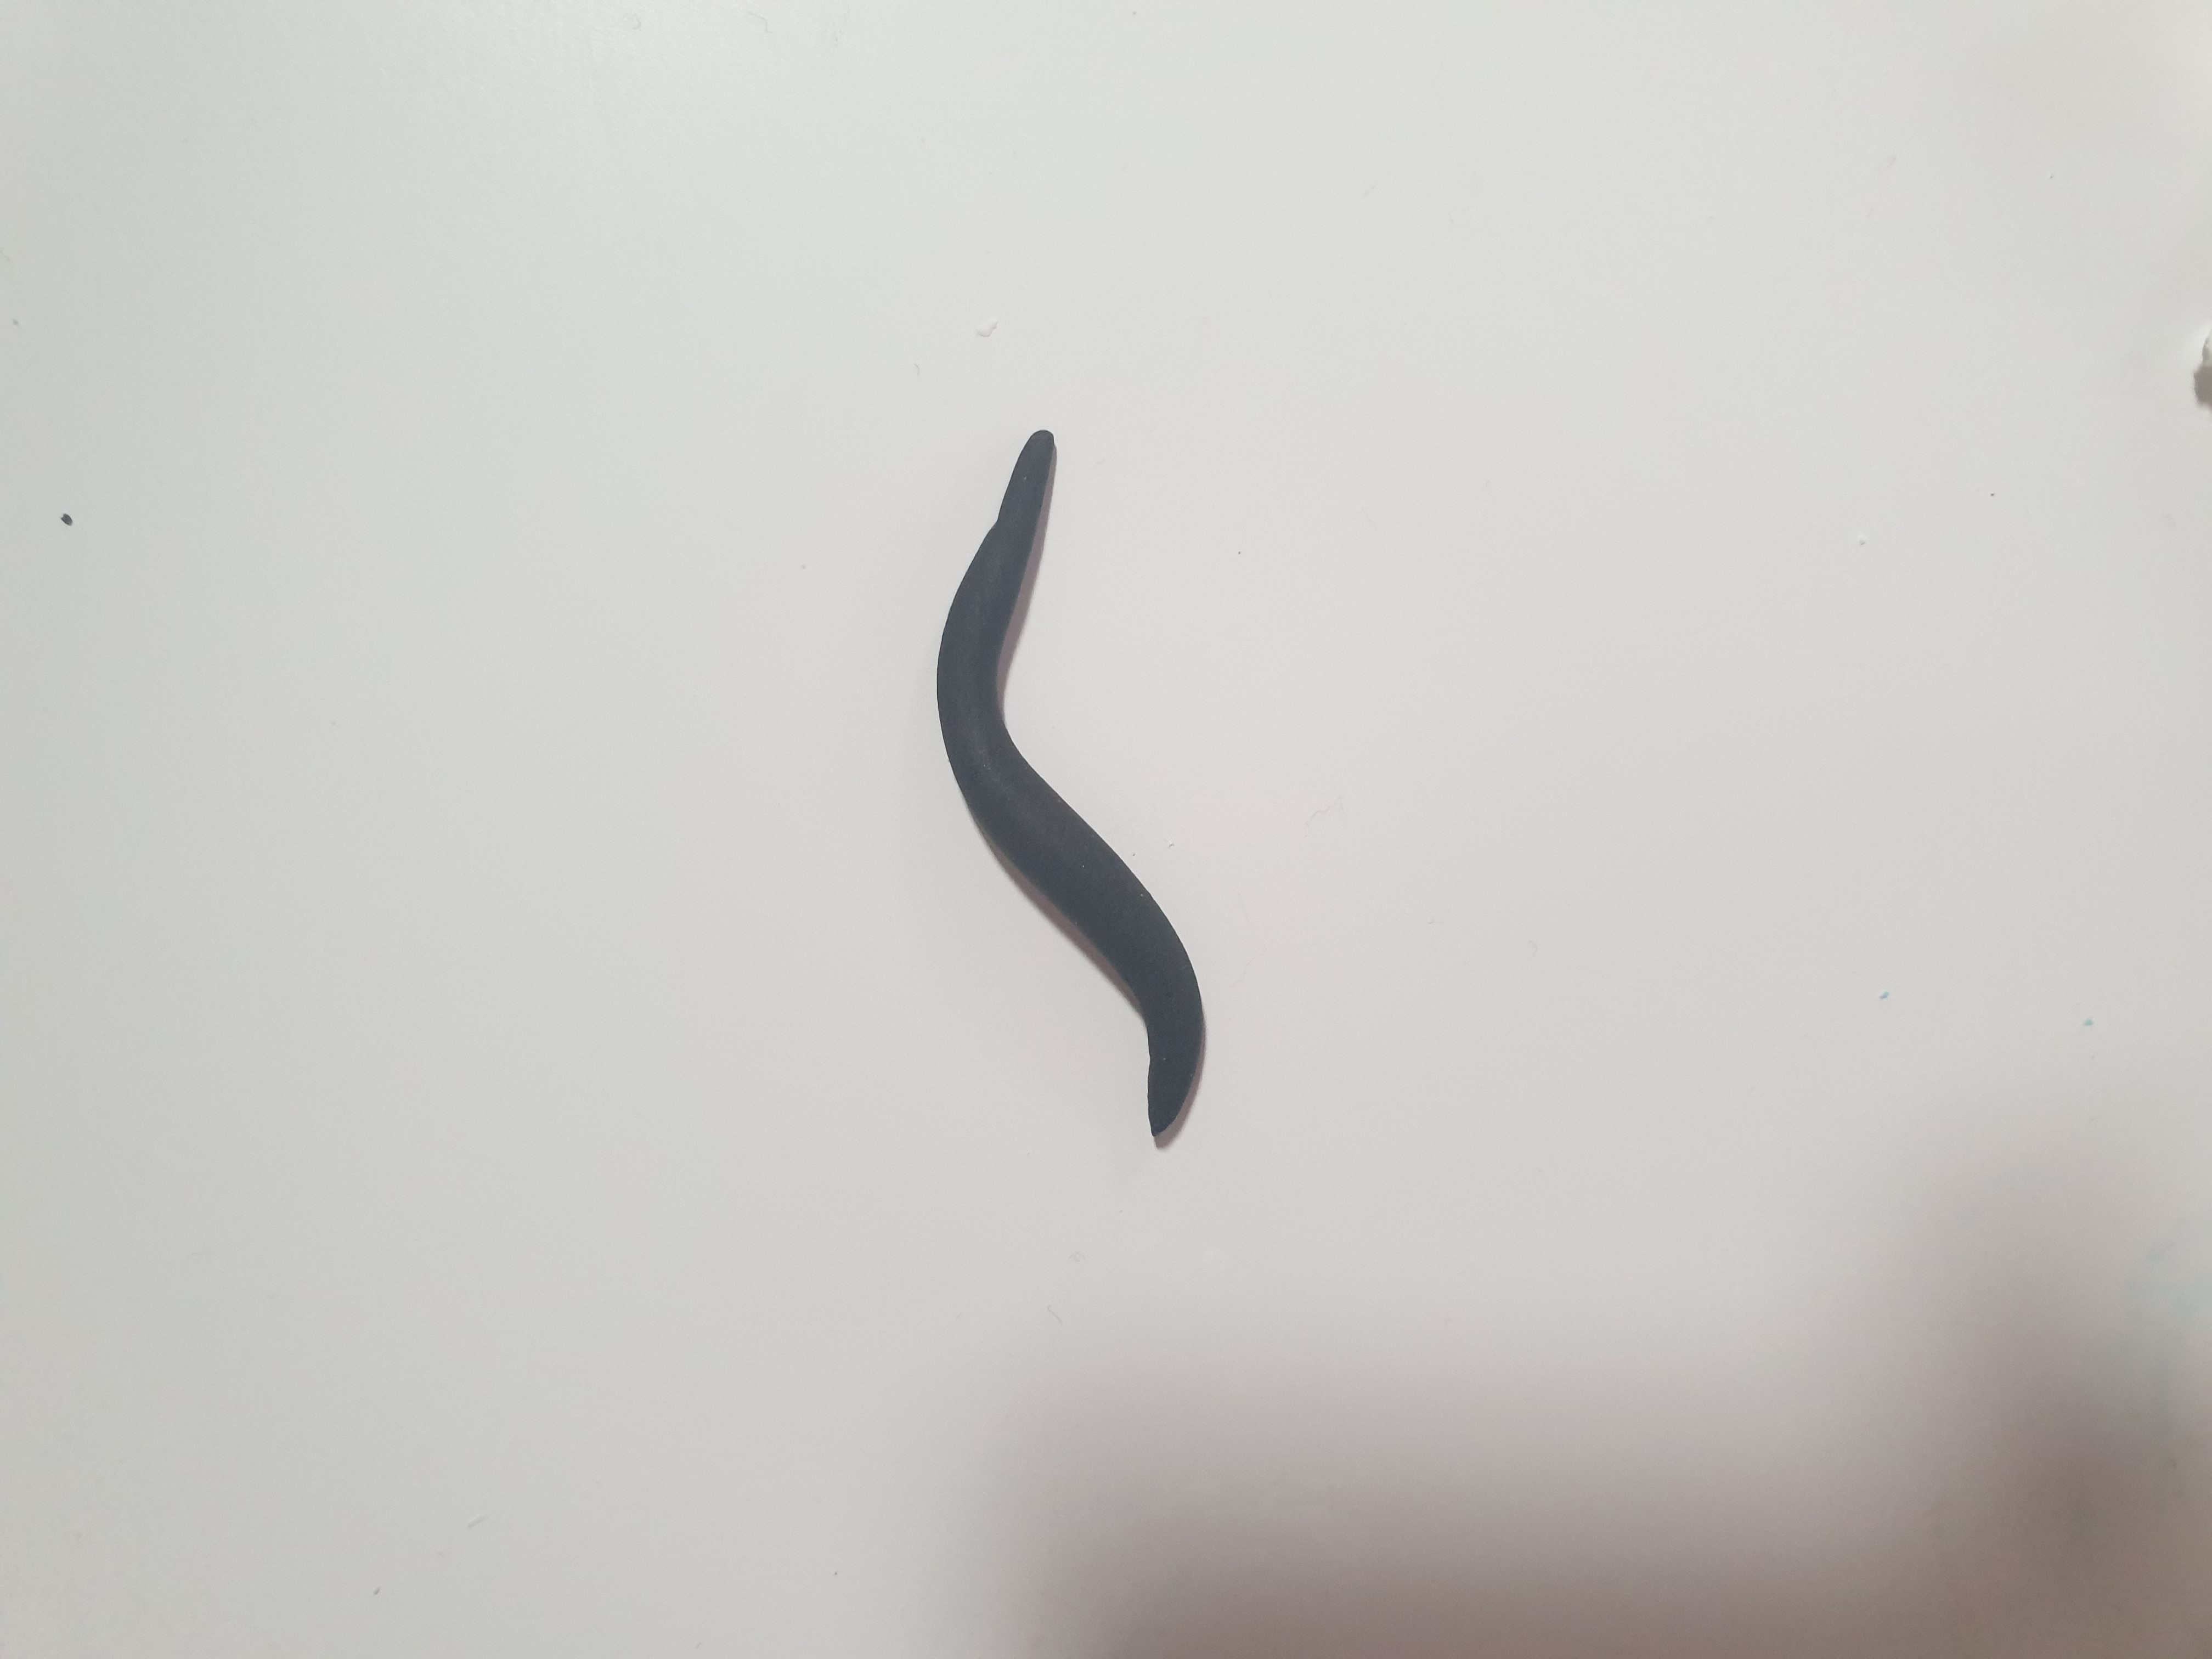
- Roll out some thin black fondant and curve it in a slight S shape for the eye. Stick this to the eye area and hold down for a few seconds to ensure it sticks.
- Leave the bunny cake to set for an hour or so before wrapping.
- Wrap them in cellophane and tie them with some pretty ribbon.
© Copyright The Happy Spatula .ie