What you will need ~
- Food colouring
- Gloves
- Fondant
- Cornflour
- Rolling Pin
- "Wood effect" Mould
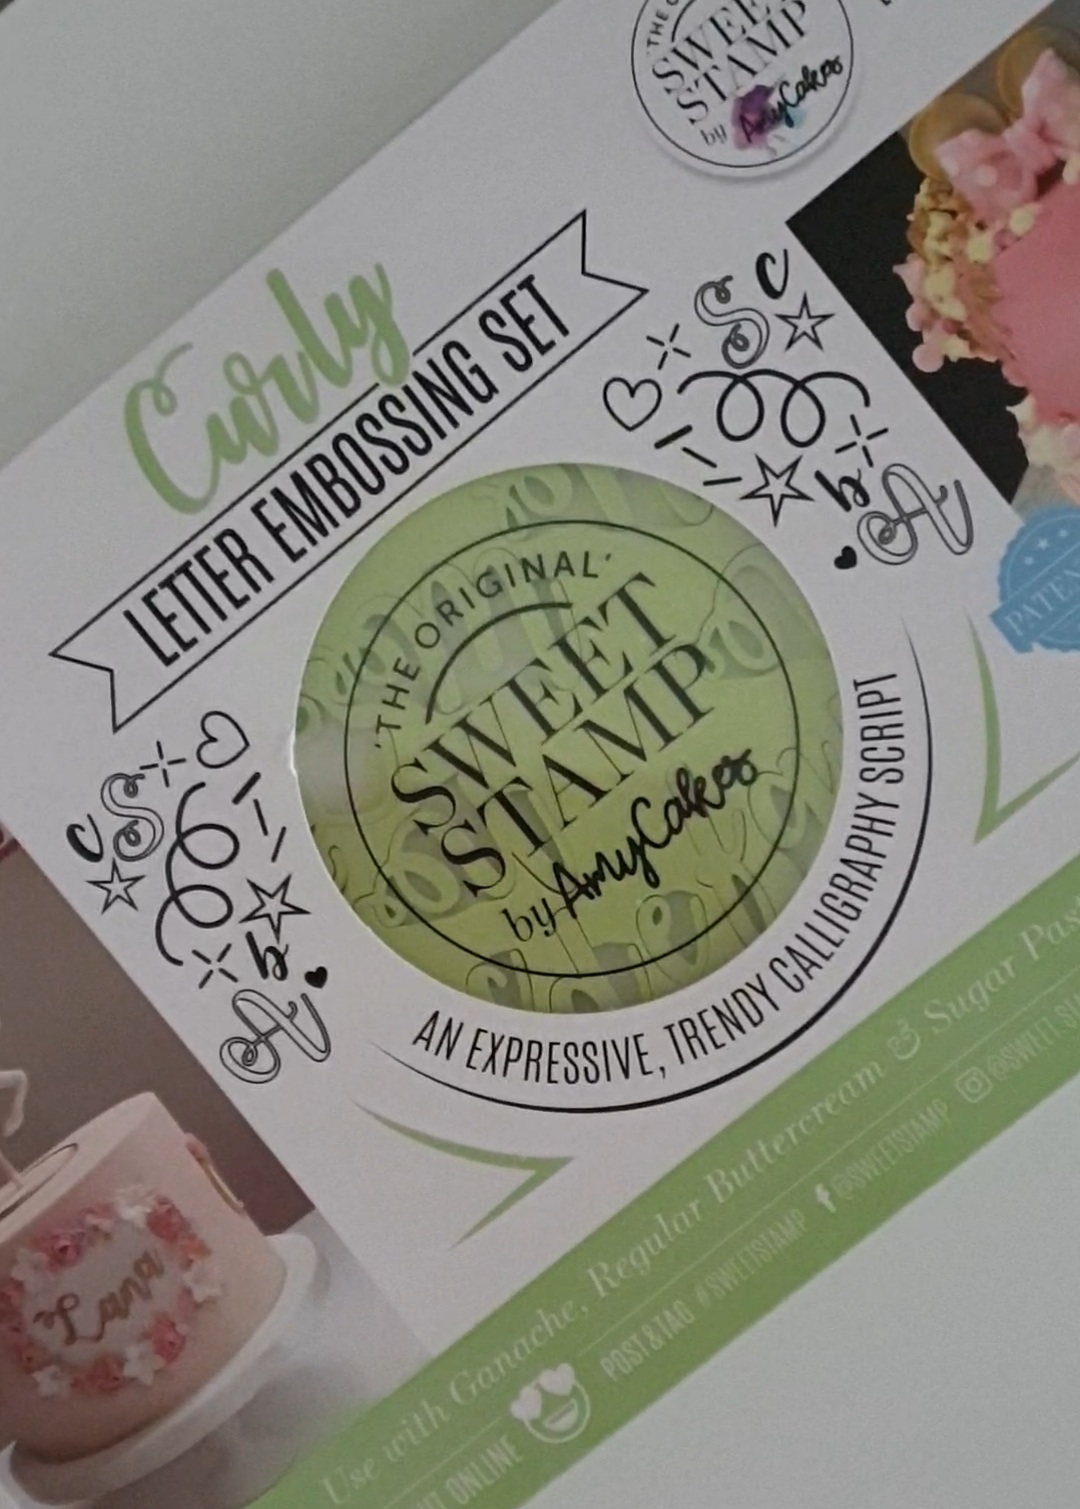
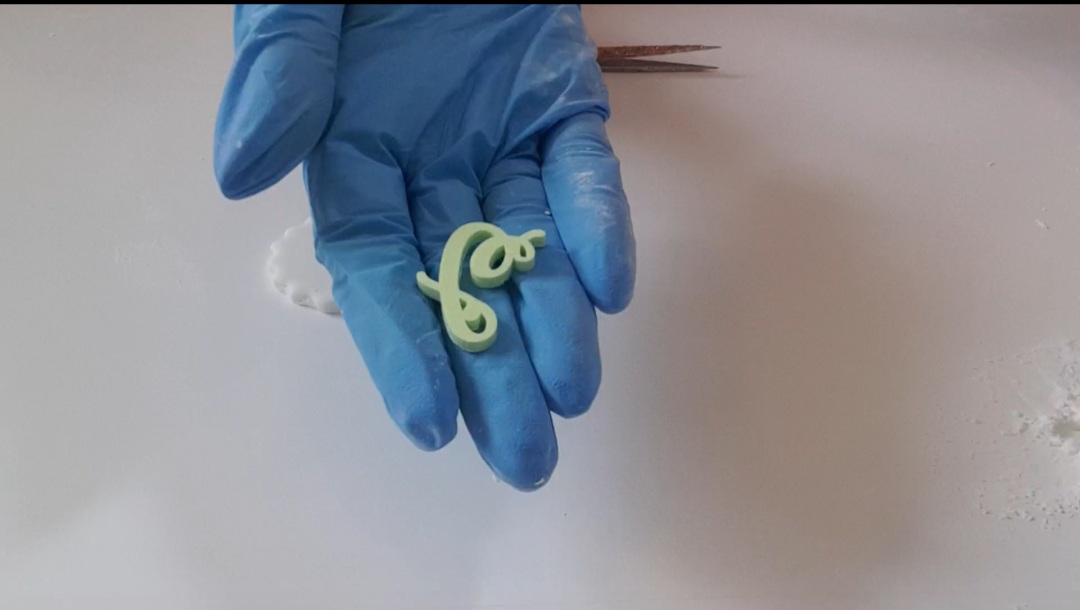
- Letter Embossing set
- A Cake Tweezers
- Cookie Cutters ( 1 large round, and 1 medium round with jagged edge)
- Cake Brushes
- Water
- Edible Silver Paint
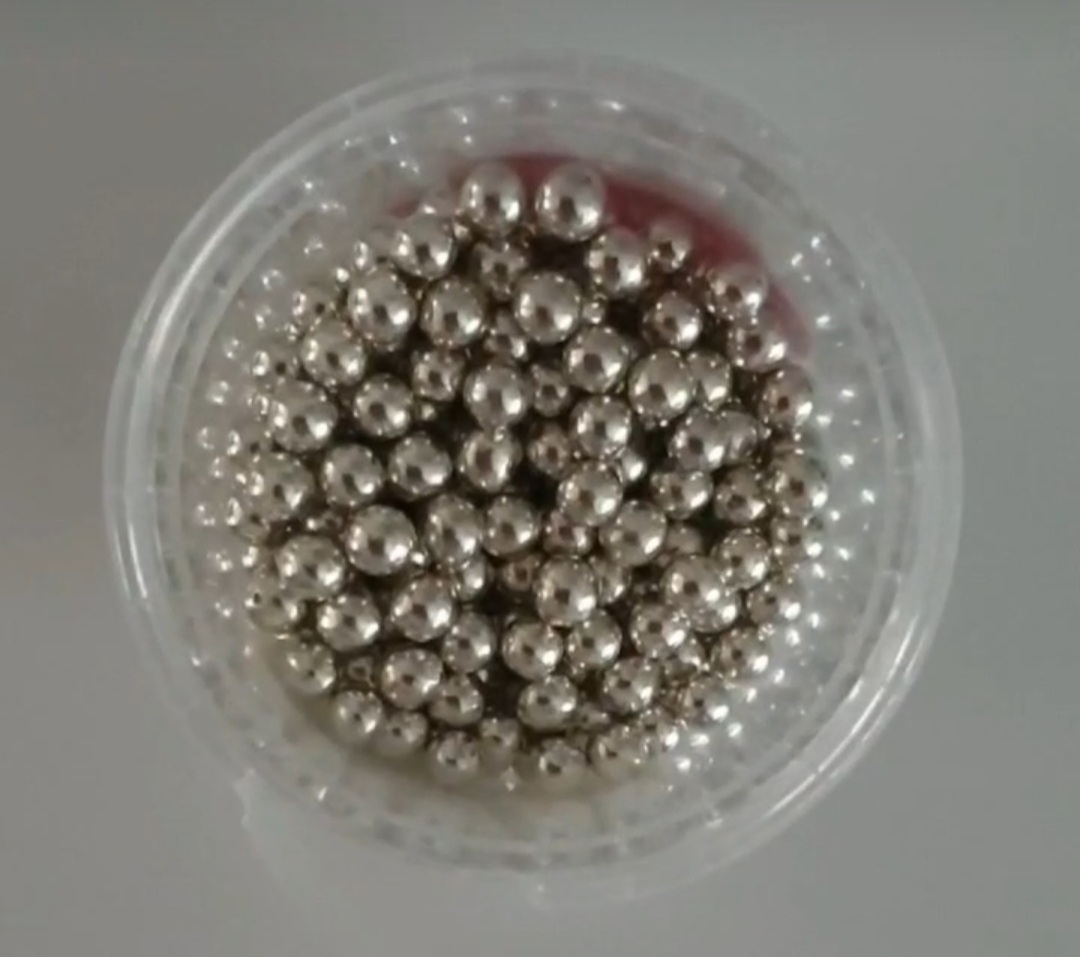
- 6mm Silver Ball Sprinkles

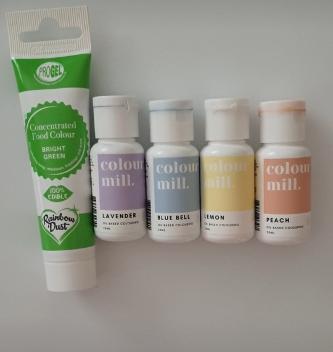
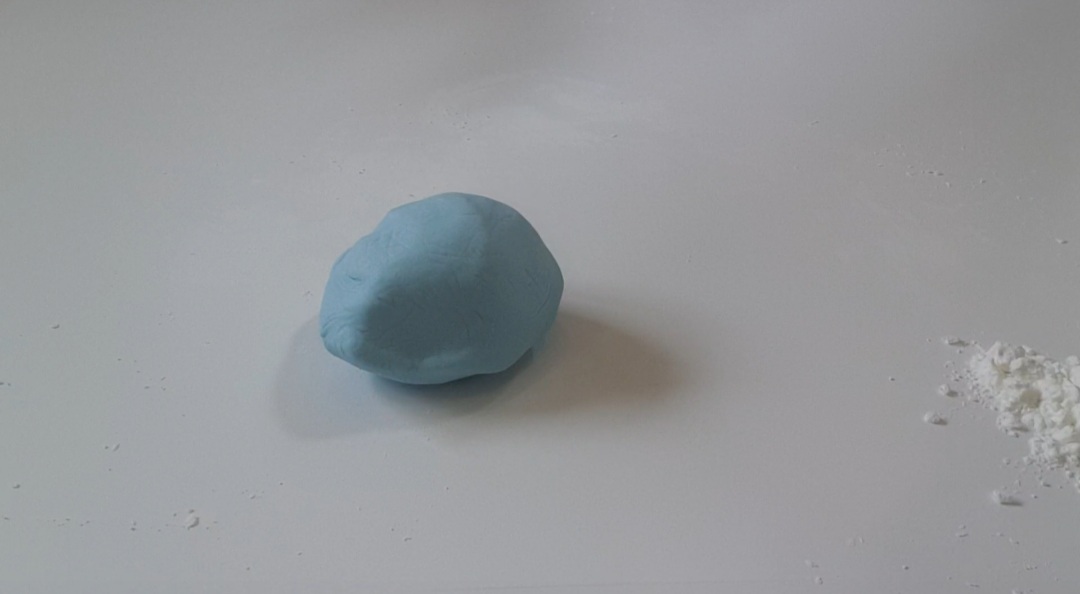
Step 1 : Colouring your fondant
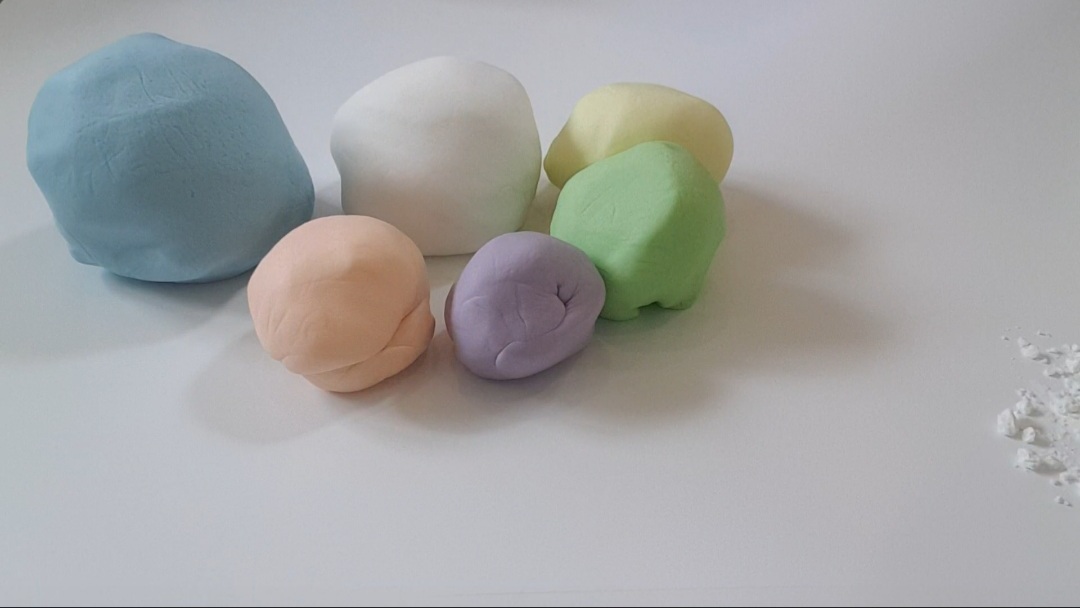
Pick out the food colours you wish to use and pop on your gloves to prevent your hands turning into a rainbow!
Using a very small amount of food colouring at a time, blend into individual balls of fondant until you have reach the required shades.
(I used ProGel, and Colour Mill food colouring for these particular toppers)
* This is not affiliated marketing with ProGel or Colour Mill
Step 2 : Designing your fondant topper ~ Step By Step pictures
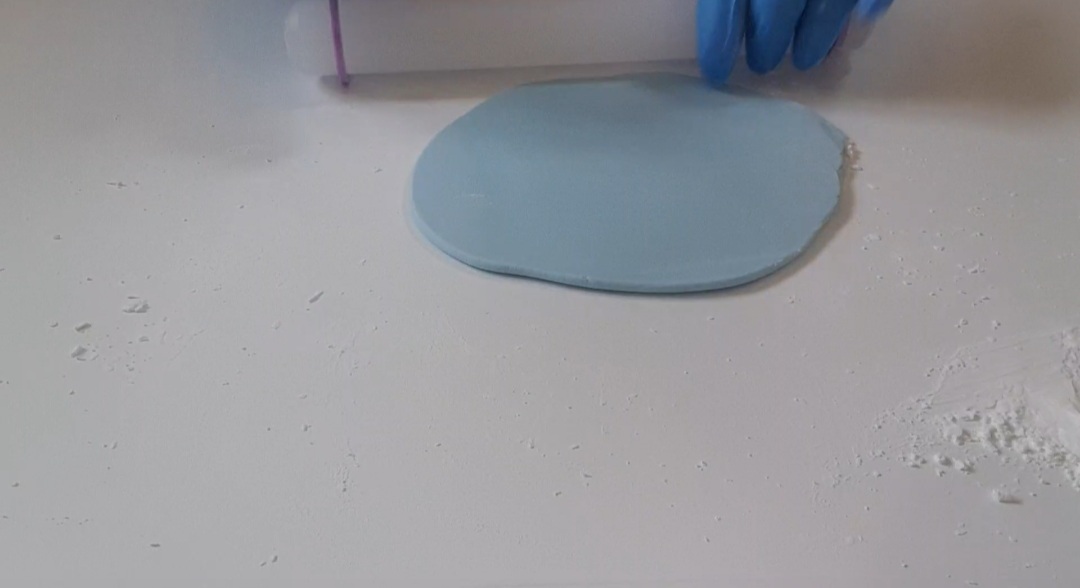
Sprinkle some cornflour on your work station.
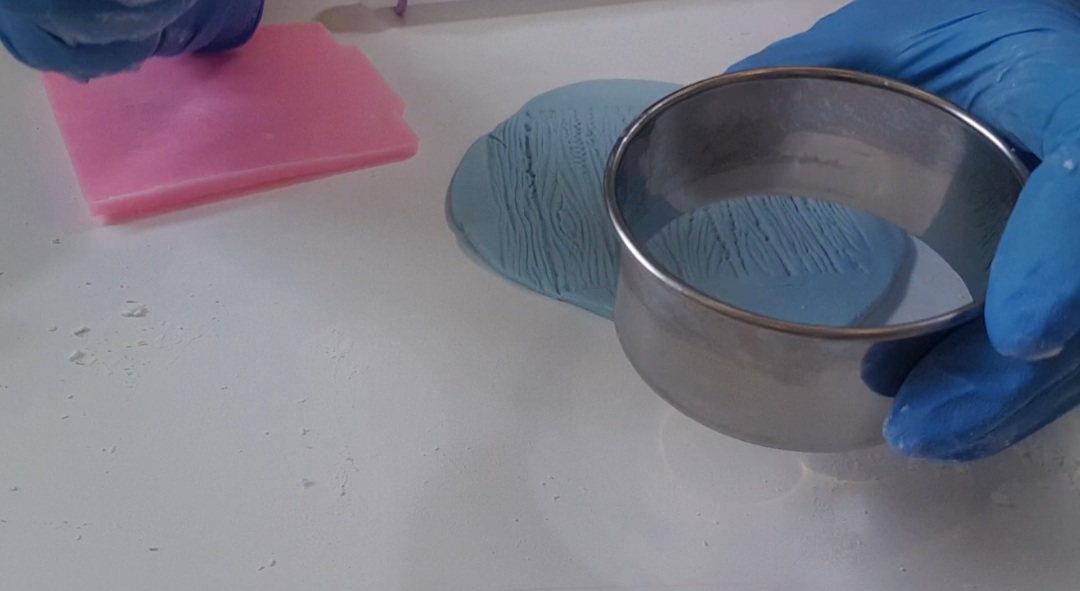
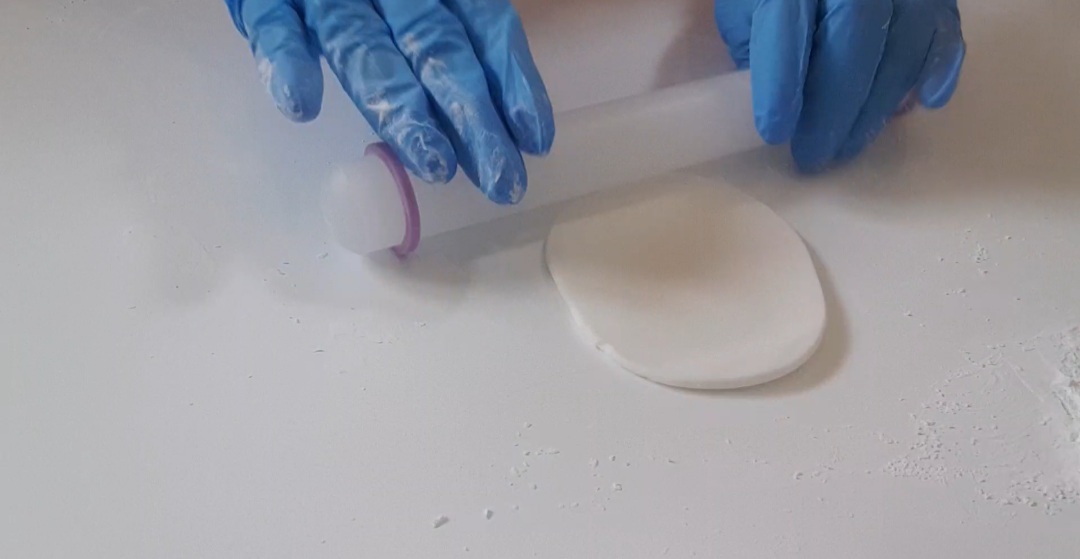
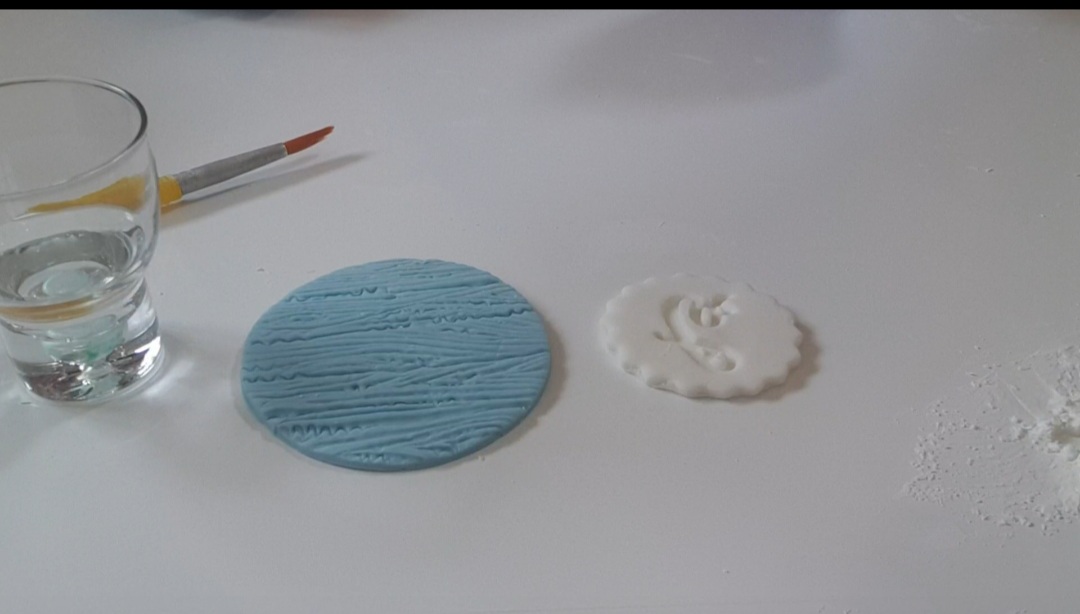
Get your blue fondant, and roll it out to your preferred thickness.
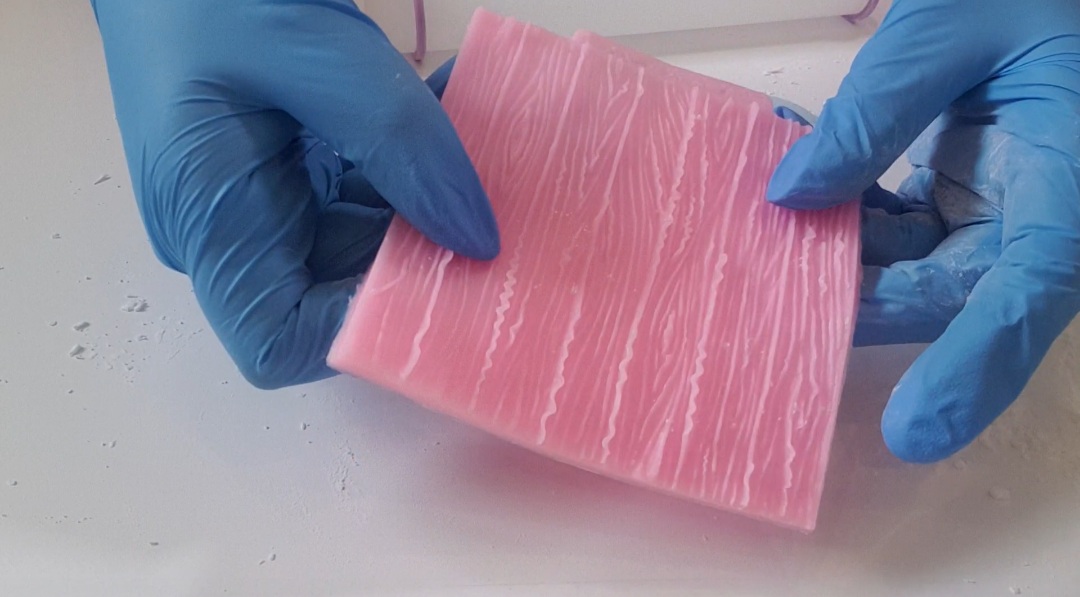
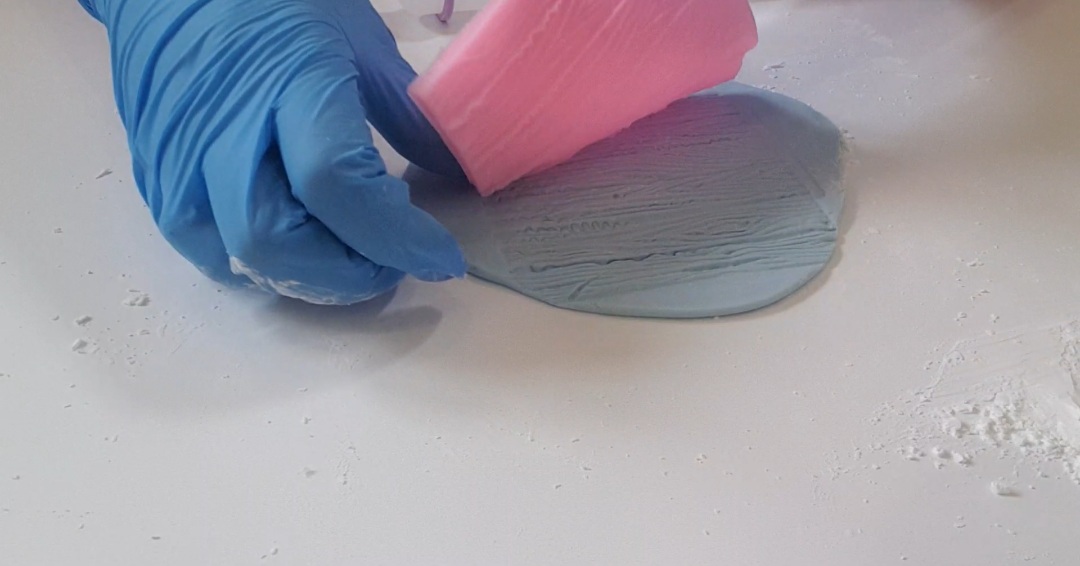
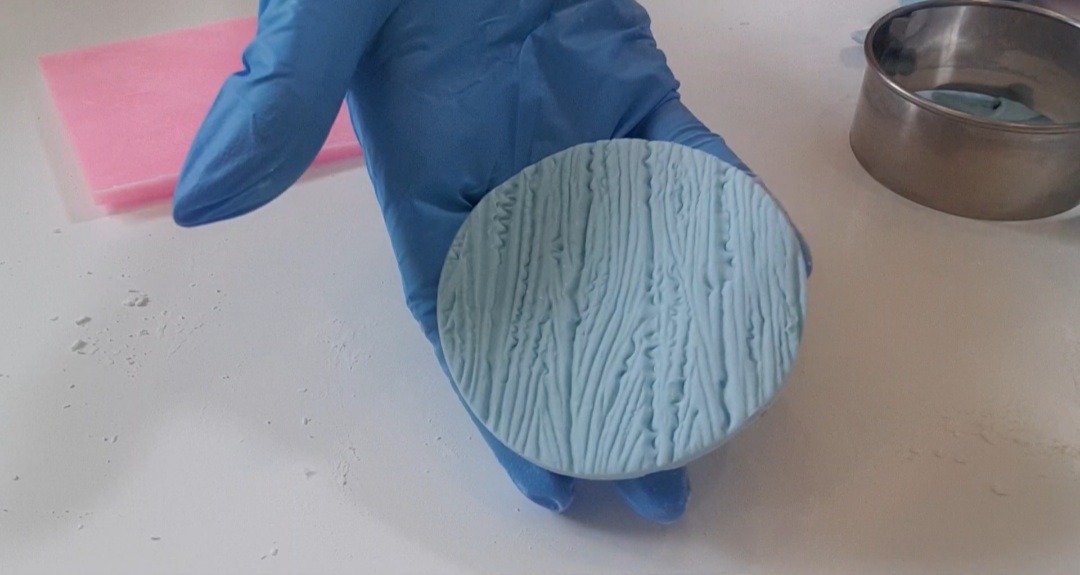
Using the wood effect mould, gently place it over the rolled fondant and push down to imprint. Gently peel and remove.
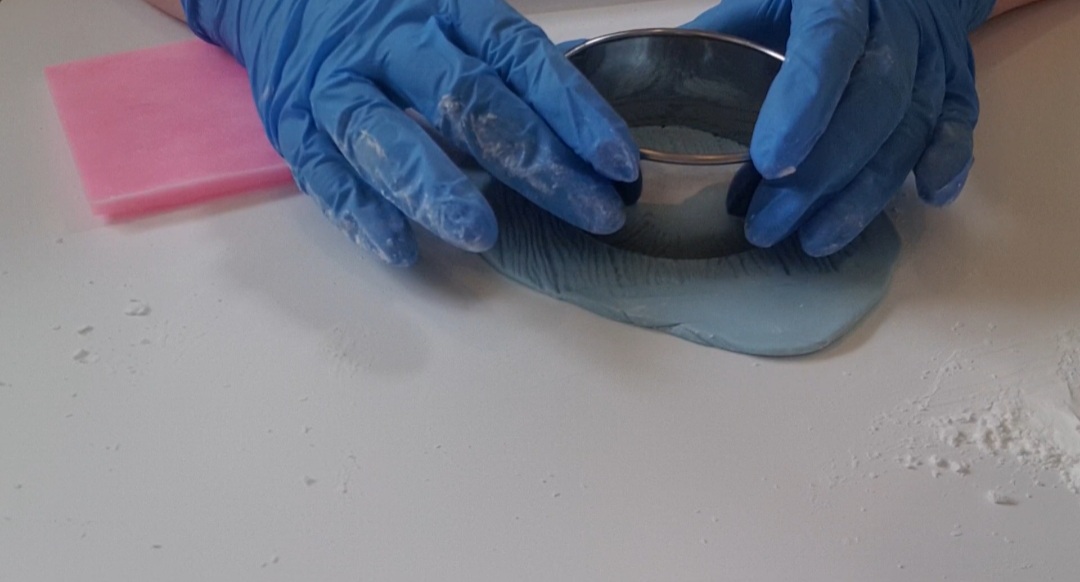
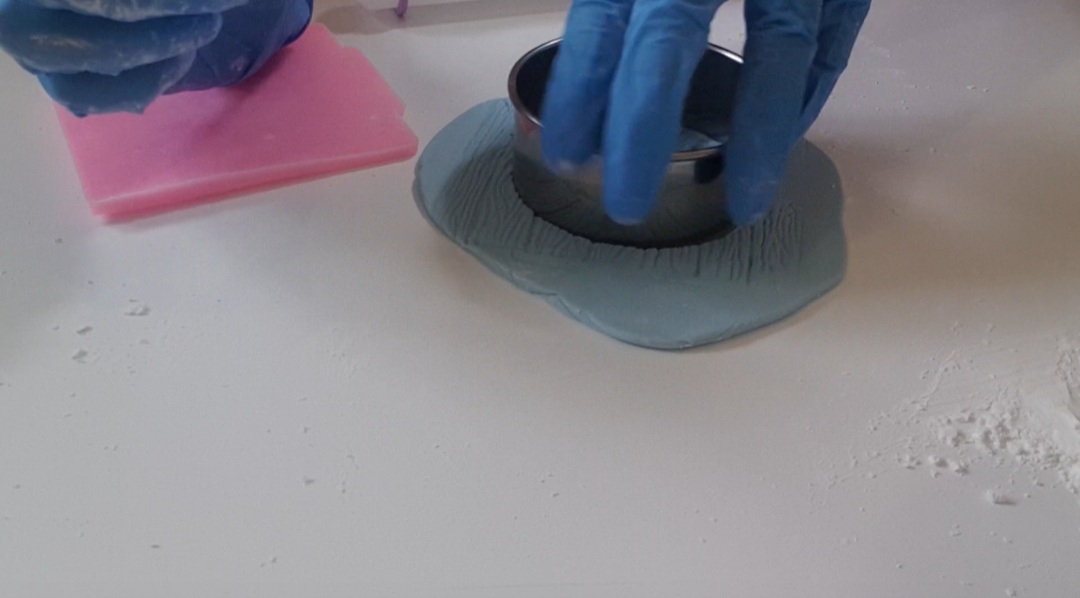
Taking your large round cookie cutter, again place this on your imprinted fondant and press down firmly. Twist from right to left to get a smooth edge. Remove excess fondant and leave it aside for later.
Put your circular piece of fondant to the side for the moment.
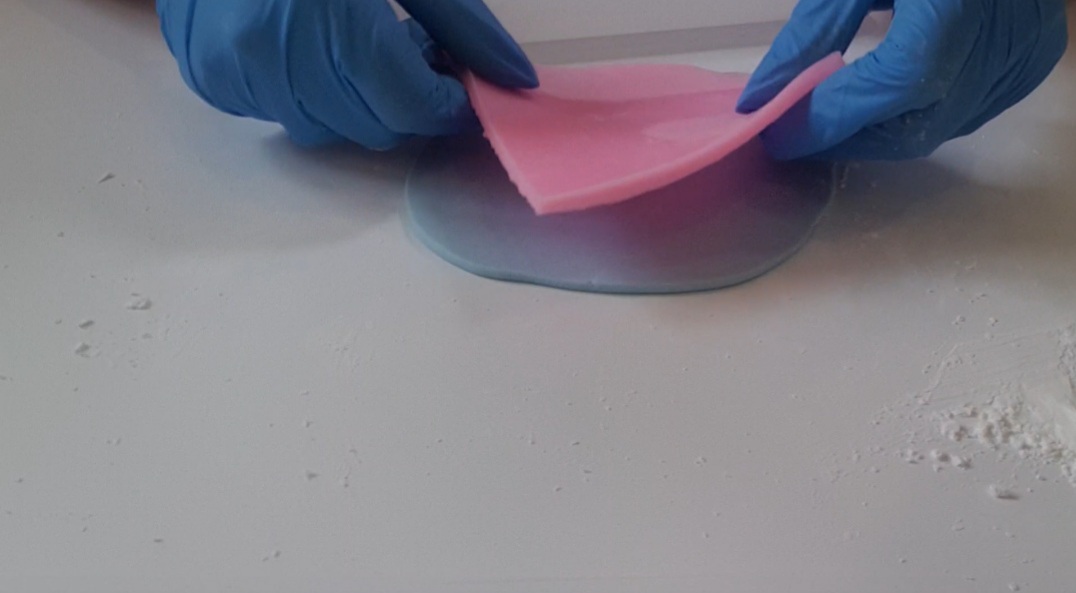
Sprinkle some cornflour on your work station again if needed.
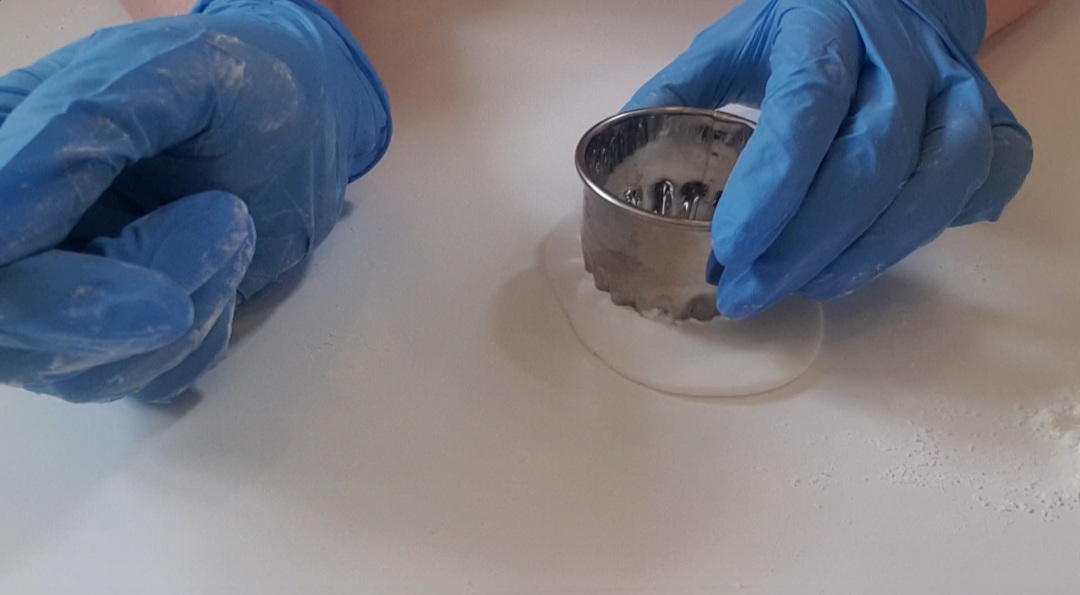
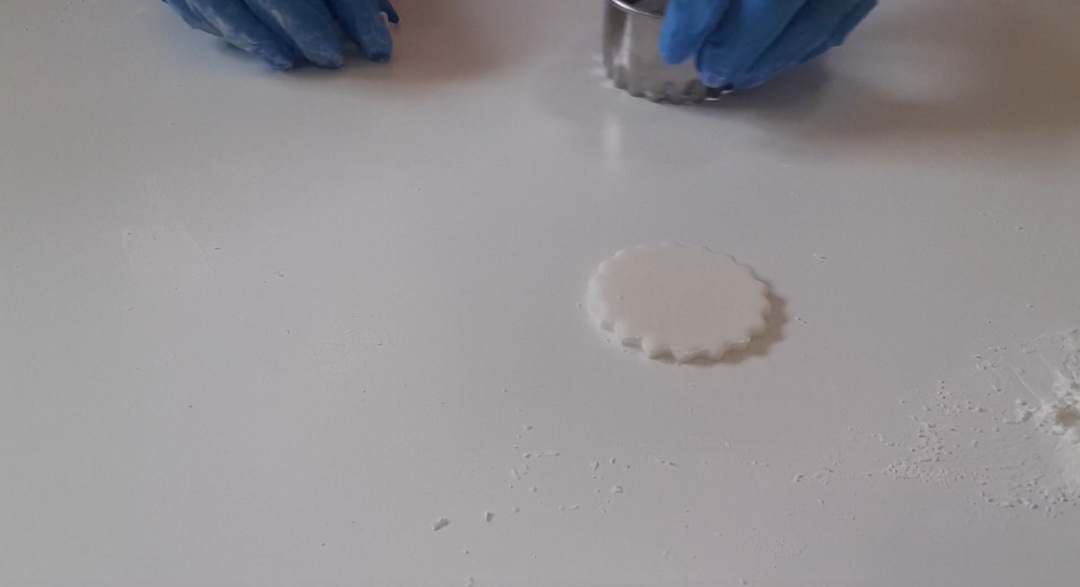
Now take your white fondant, and roll it out to your preferred thickness
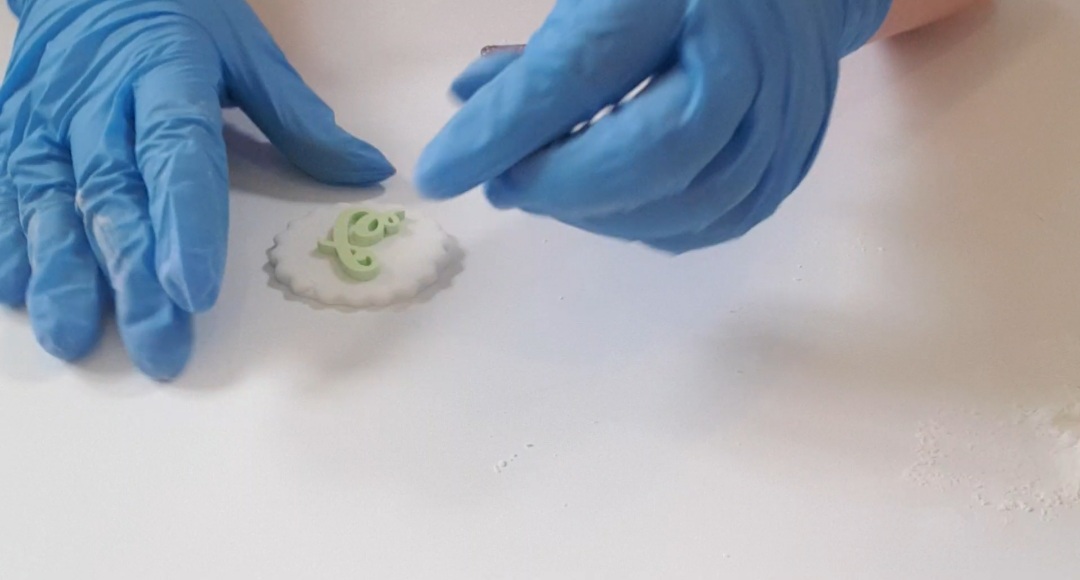
Taking your medium round cookie cutter (with the jagged edge) , again place this on your fondant and press down firmly. Twist from right to left to get a smooth edge. Remove excess fondant and leave it aside for later.
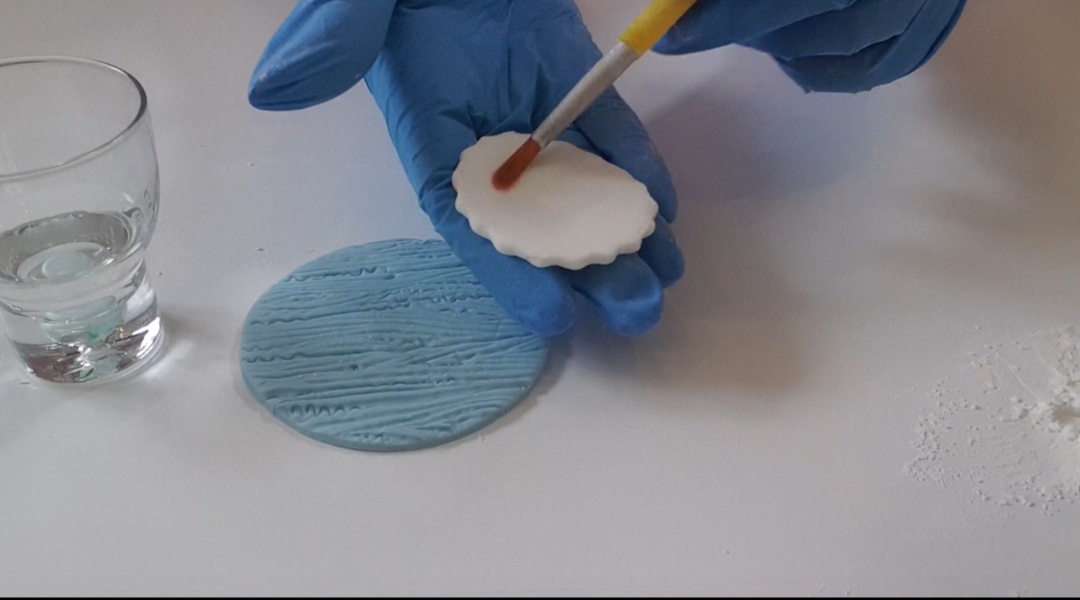
Step 4 : Assembling the topper ~
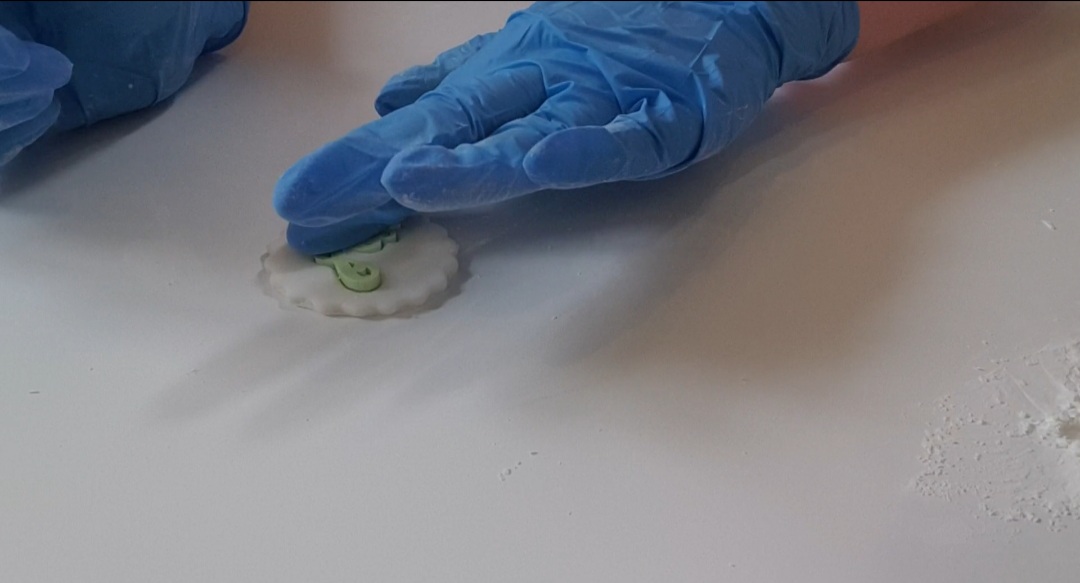
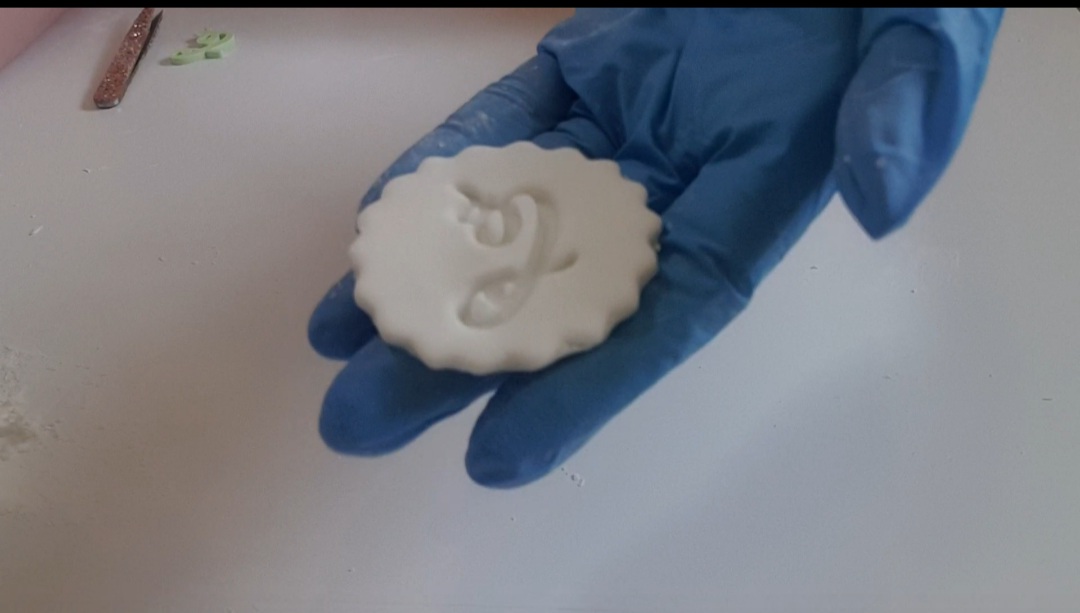
Using a small cake brush, brush the surface of the blue fondant with a drop of water. Pick up the circular white fondant, and gently brush some water on the back. Place the white fondant on top of the blue fondant, and press ever so gently so they stick together. Leave to dry slightly.
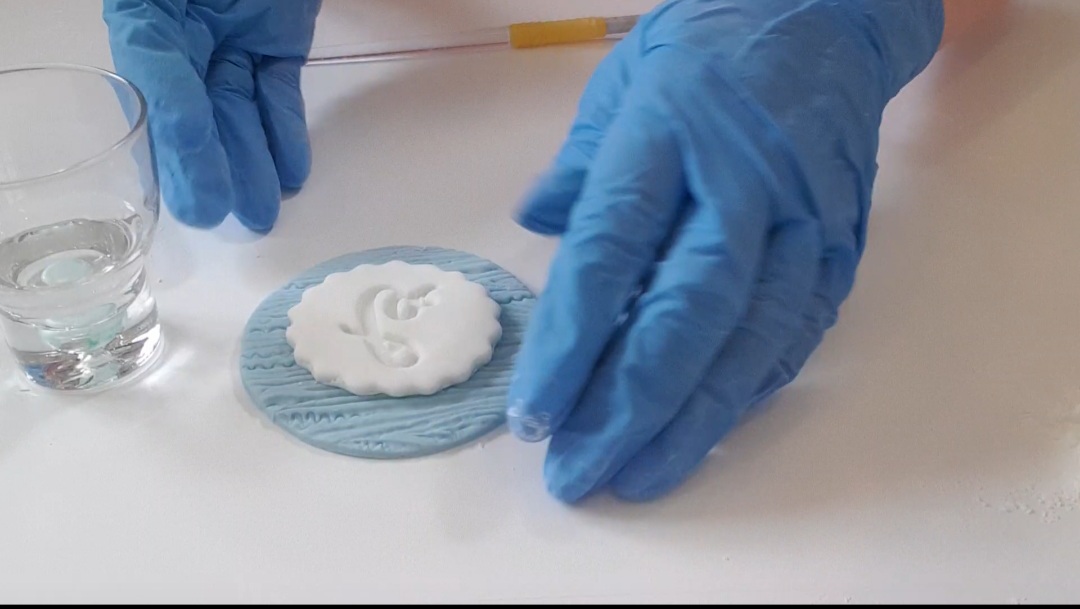
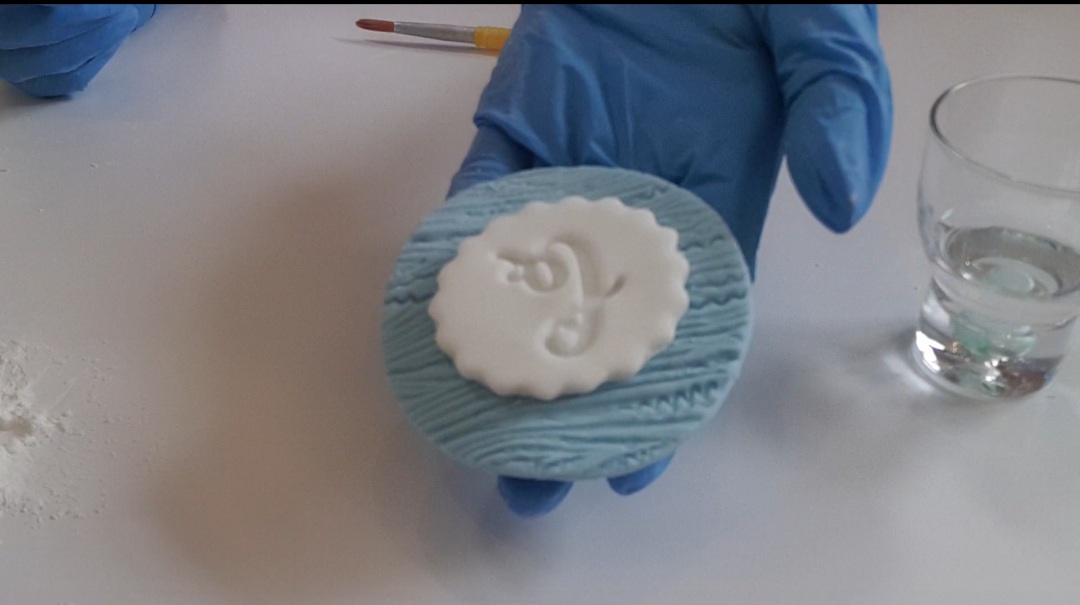
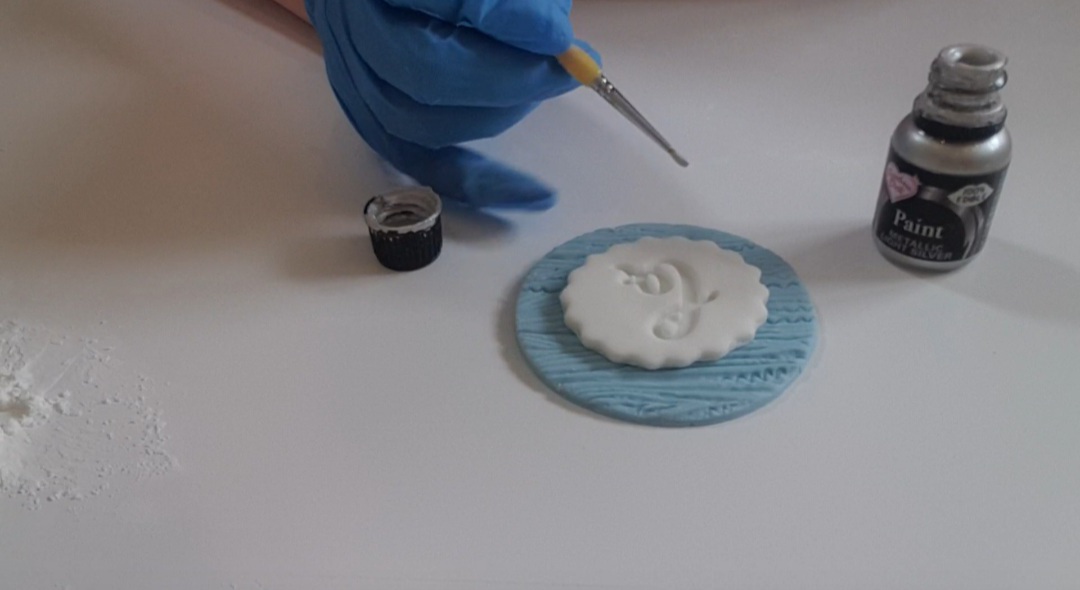
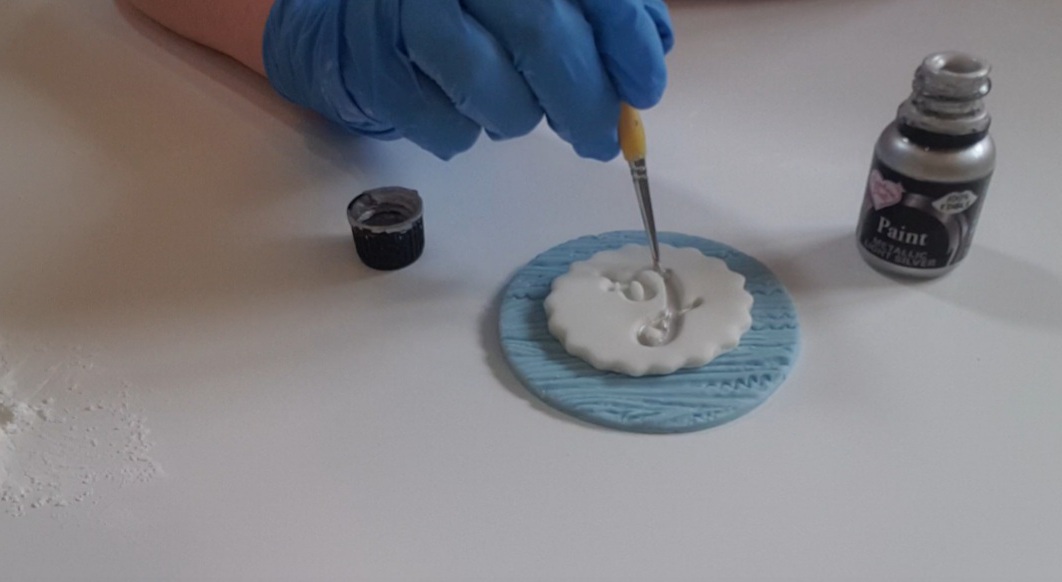
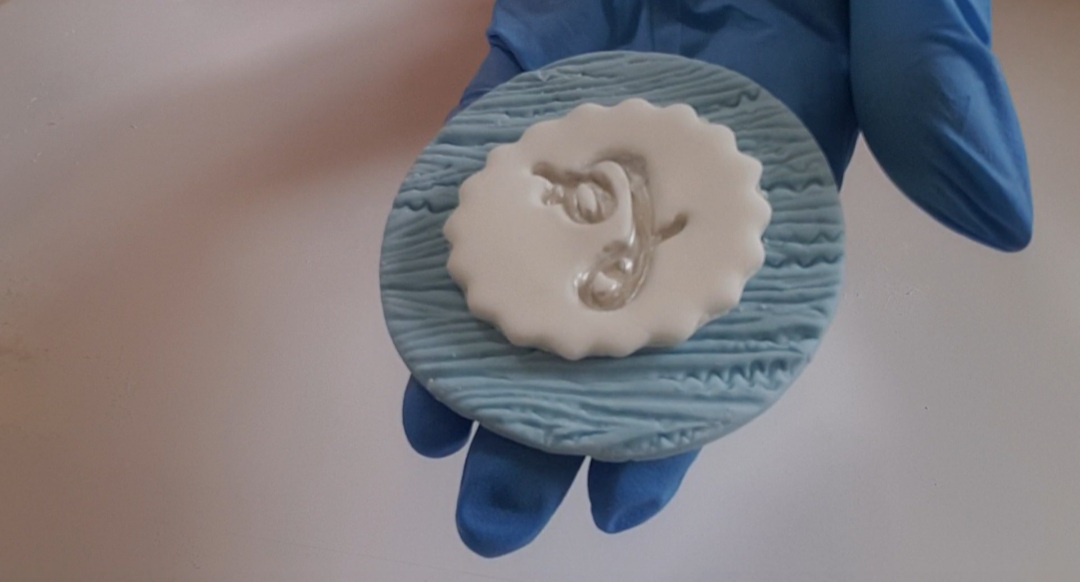
Step 5 : Painting the embossed letter ~
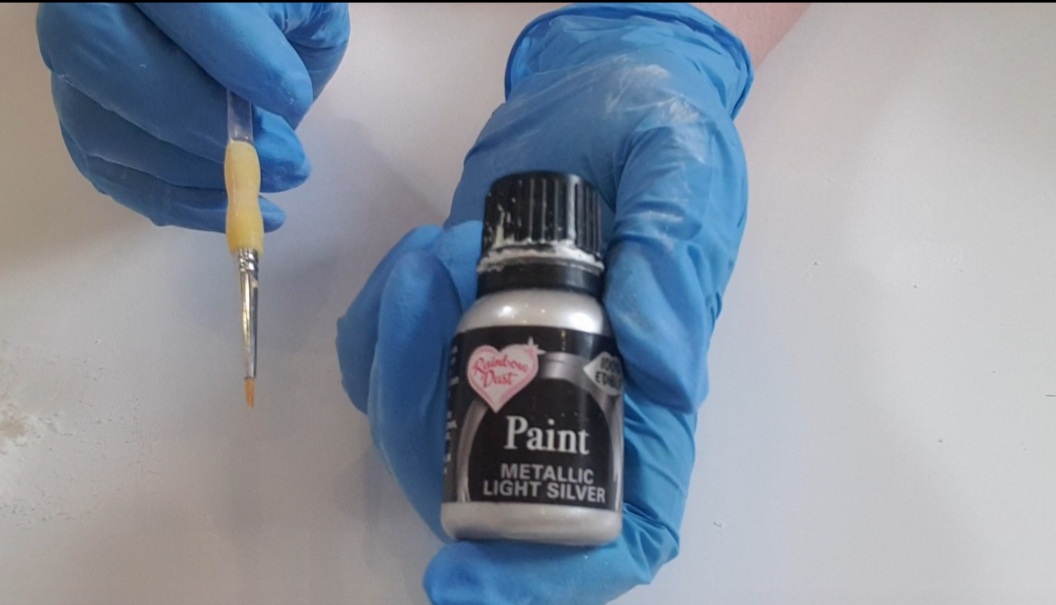
Take your bottle of silver edible paint and give it a good shake to mix up the colour.
Open gently, and pour a small bit of the paint into the lid.
Using a very fine cake brush, dip the brush into the paint.
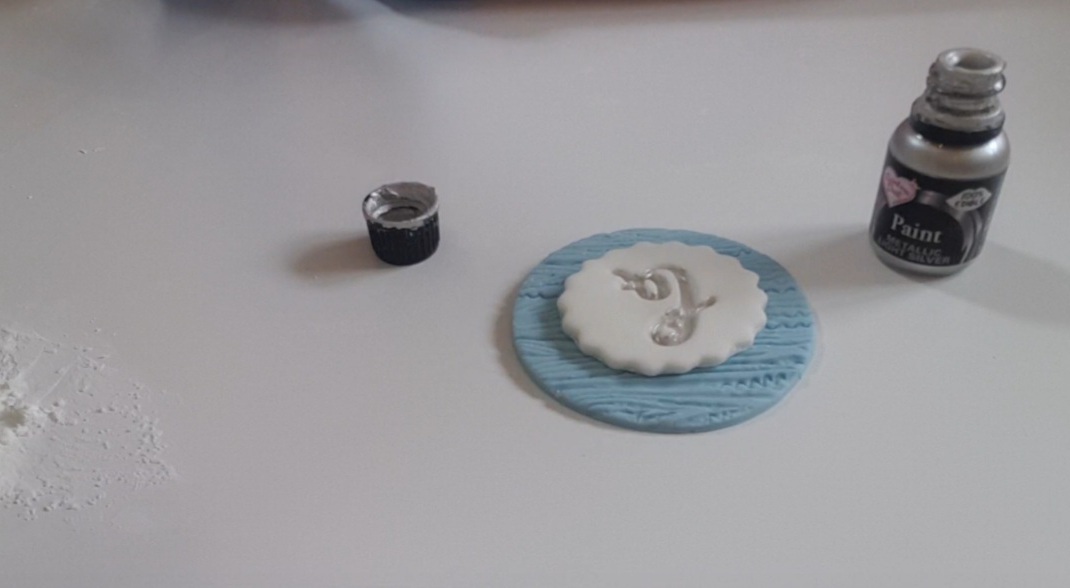
Using soft even strokes, paint the embossed letter and leave it aside to dry for 5 minutes.
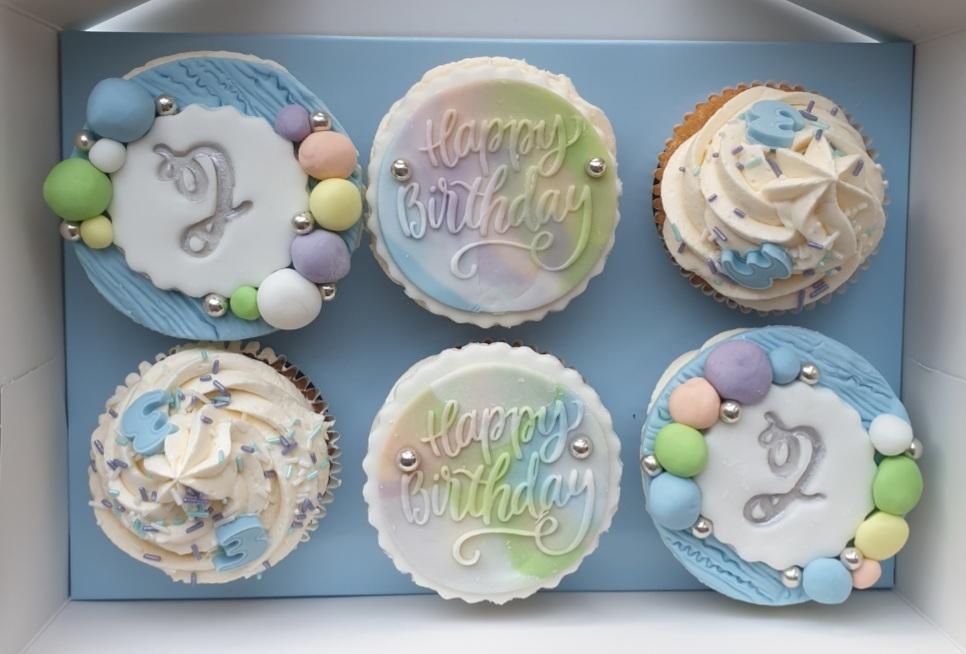
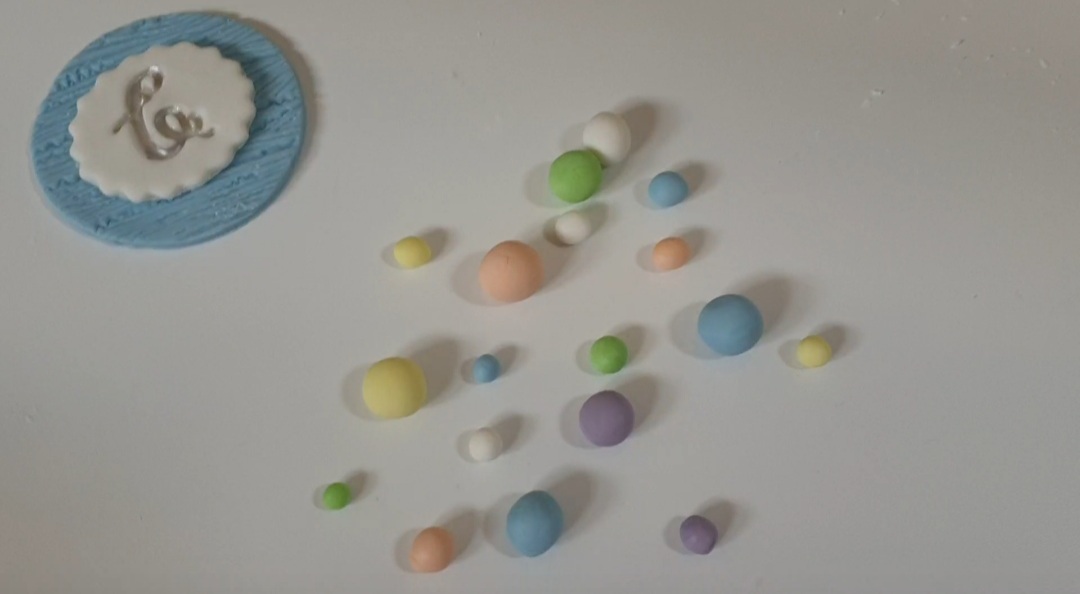
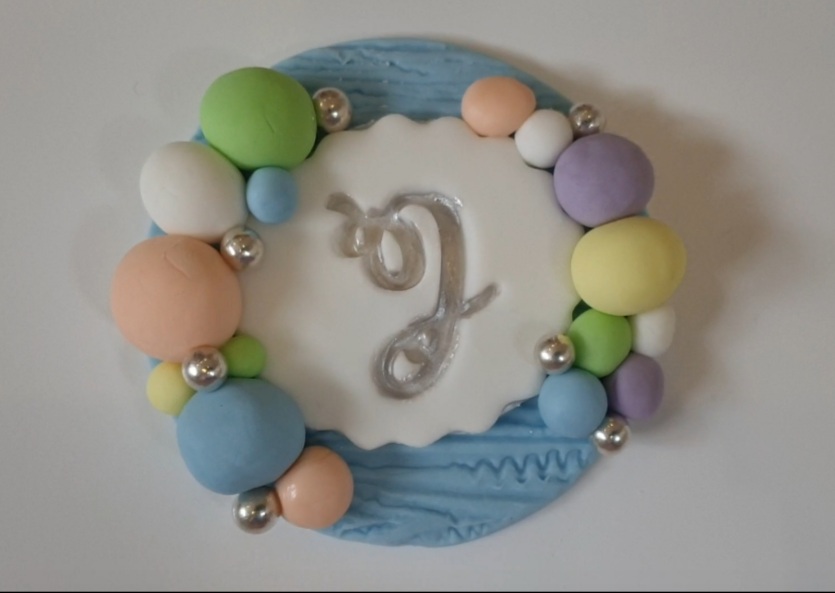
Step 6 : Decorating the topper ~
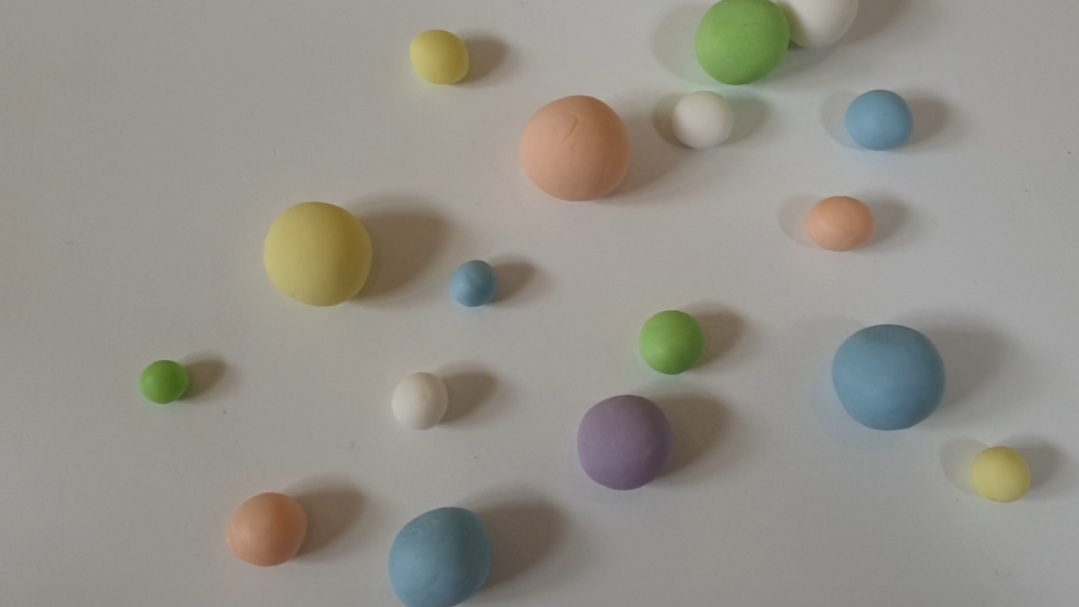
While you are waiting on the topper to dry slightly, you can make some decorations.
Start by taking the other colour fondants one by one. Break off small amounts of each colour and roll in the palm of your hand, one at a time, to create small balls. Continue this process until you have enough made to frame all of your toppers.
Again, using the small cake brush, brush around the white fondant with some water. Place the coloured balls in difference sequence to frame it. Push them down gently to secure.
Taking your 6mm silver balls, add these into any areas where there might be a gap.
Again, leave them to dry, and until you have frosted all of your cupcakes, toplace them on top!
© Copyright The Happy Spatula .ie